Wednesday, May 28, 2014

Gone, but Not Forgotten


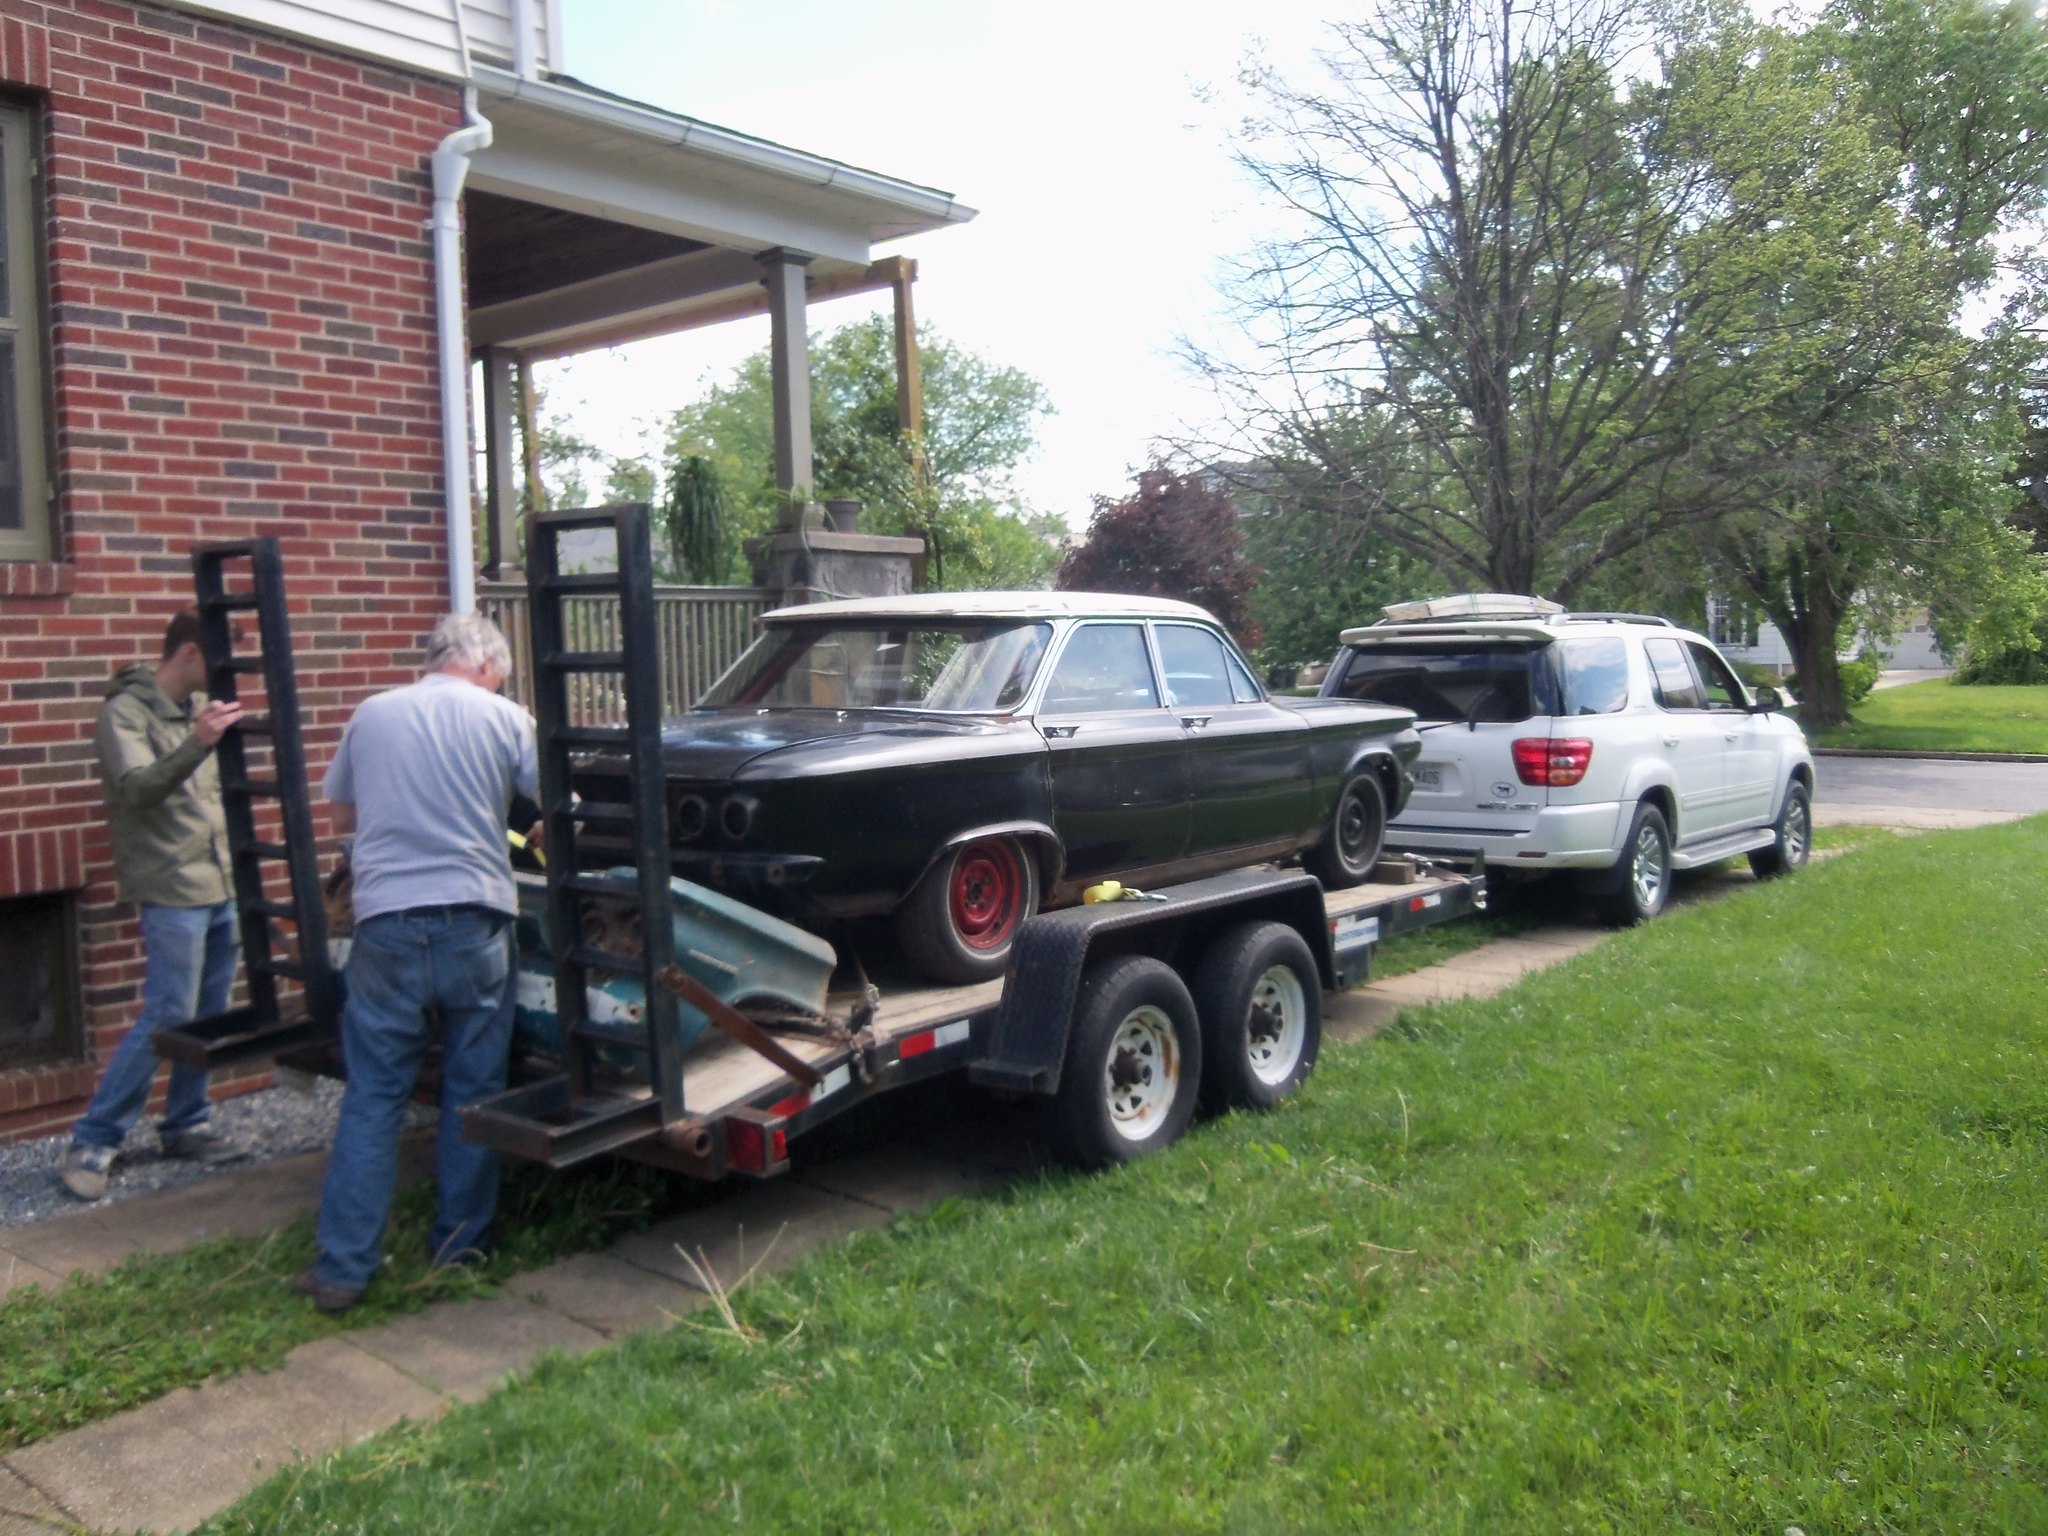
I told the lovely Loriann, there’s a space in my driveway and a hole in my heart. I’m always saddened when I sell a car; Saturday was no different when TwoTone was hauled away. I can take comfort in the knowledge that the new owner, a really nice guy and his teenage son, will probably have her back on the road faster than Mikhaila and I would have. ‘Vair buddy, John’s, free ’64 coupe sealed the deal. They’ll be converting TwoTone to a 4-speed. It’ll be too cool.

What else is happening with the fleet?

There’s no change, sadly, with the ongoing battle with Ringo’s driver’s door. Even after adjusting the door, it’s back to needing to be slammed. Irrr. It’s nice to report, though, that Ariel’s only needed to use the ignition bypass once.

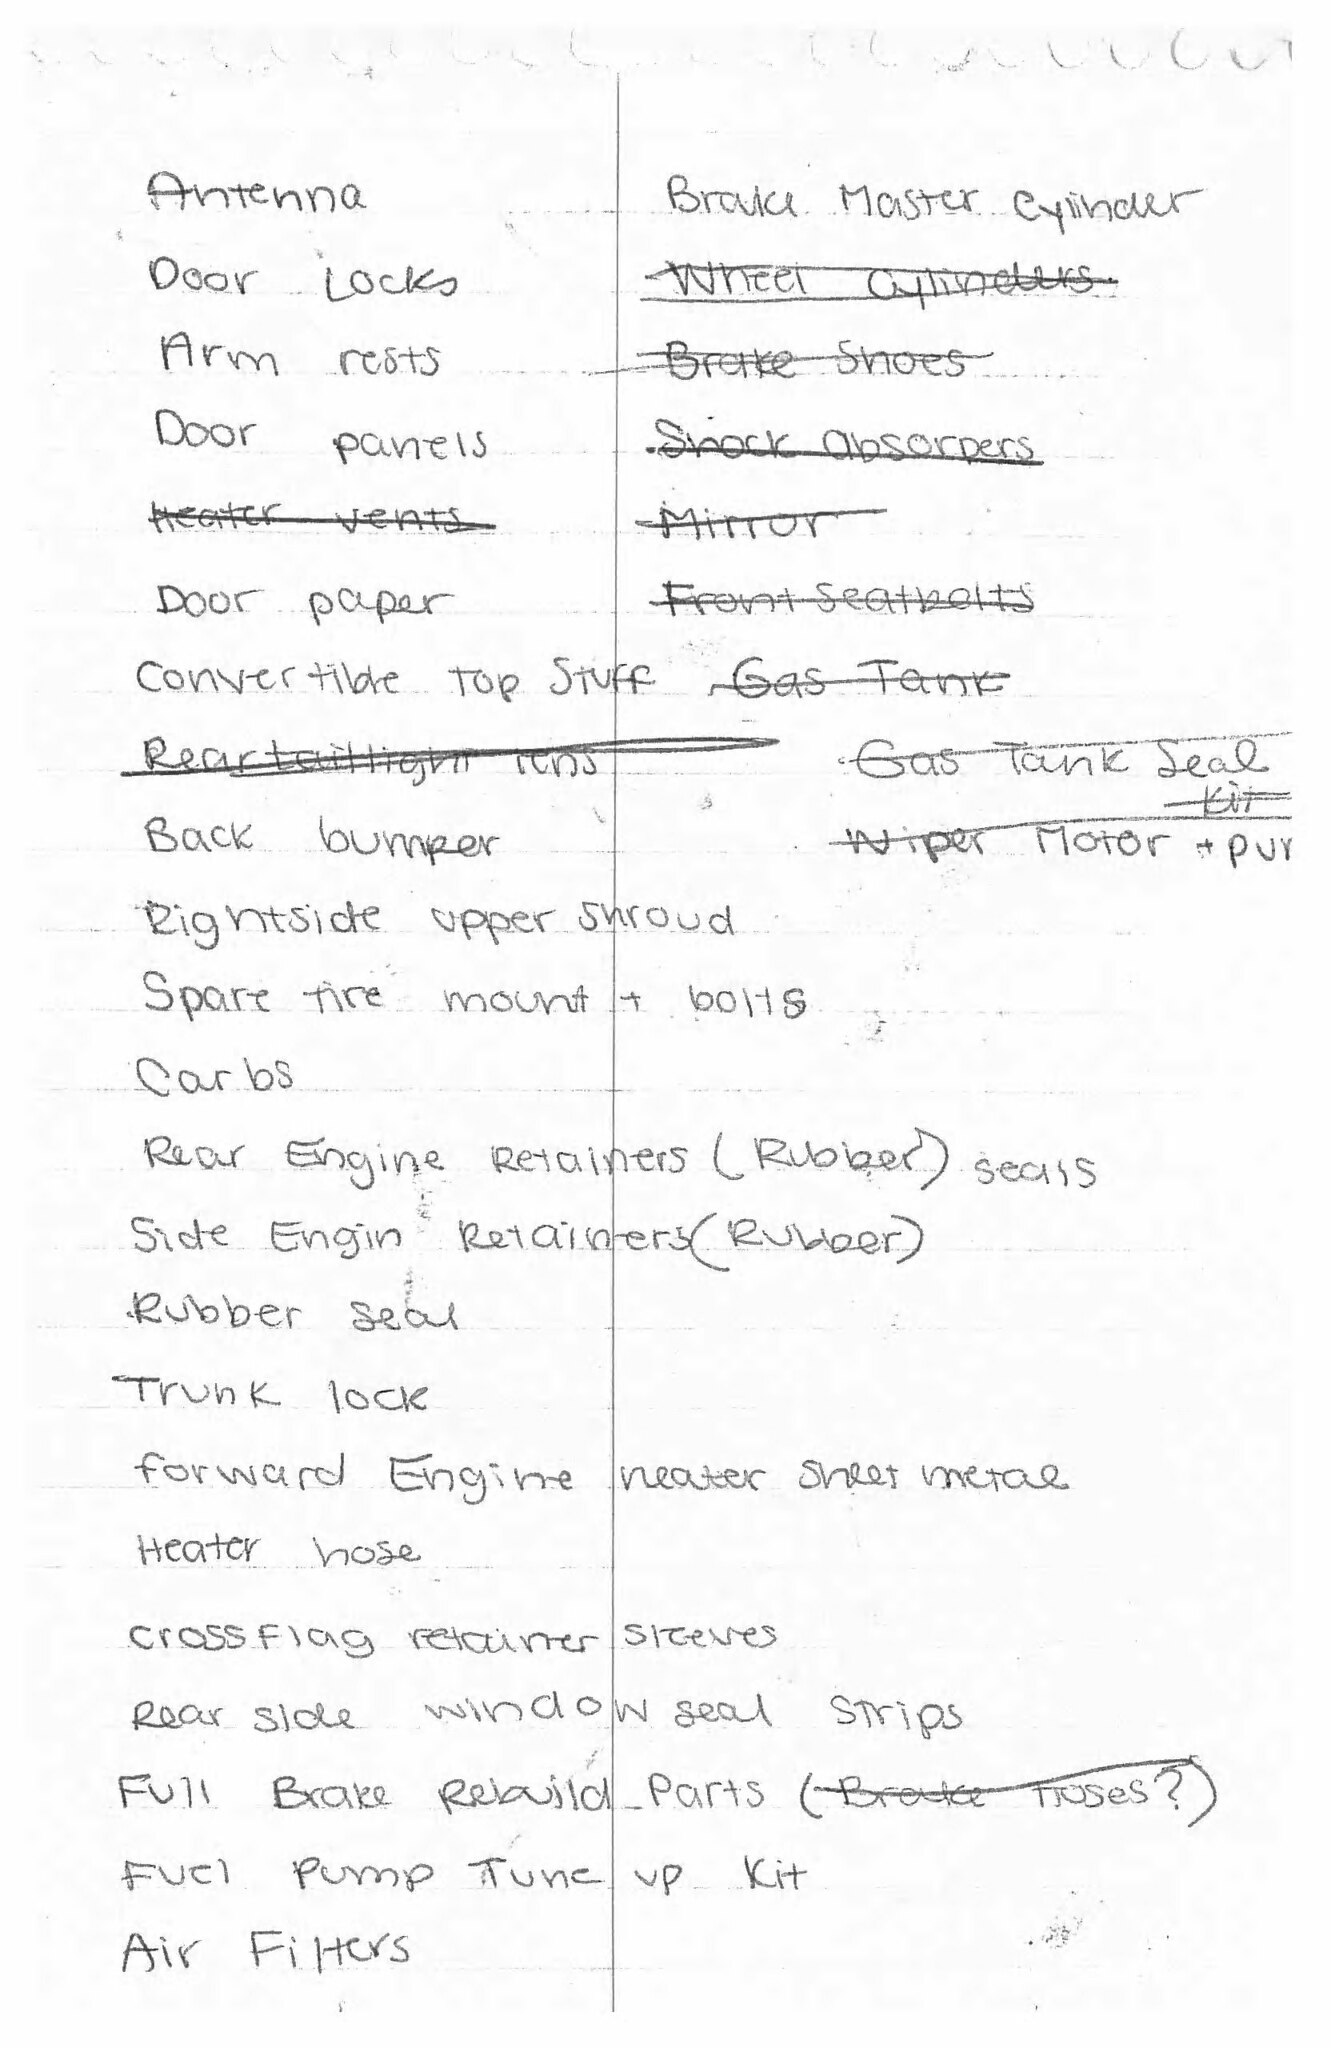
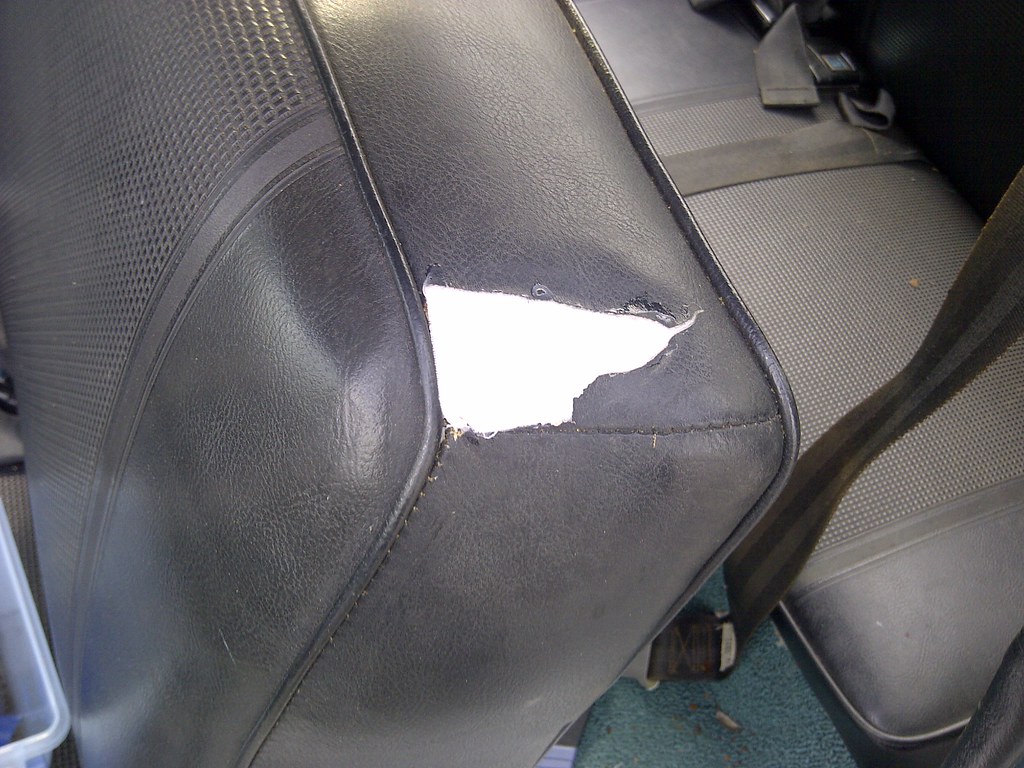
I spent some time on Glinda last weekend. Saturday afternoon I decided to install the new clutch and brake pedal assembly. When I first started planning to do this swap, I researched what I’d need to do, and had been led to believe that the large support bracket was different to accommodate the clutch, so I bought a used version along with the pedals and pertinent parts. Over the last few weeks I’d cleaned up the used parts, primed them, and shot them with a couple coats of Rustoleum gloss black. With them ready to go, I crawled under the dash to determine the best path of attack. It didn’t take long for me to figure out the bracket that was in the car looked exactly like the one I’d bought. Okay, the hardest part of the job didn’t need to be done. Yay. The existing brake pedal came out once I’d popped off the clips that held the two shafts (pivot and master cylinder rod) in place, slid the shafts out, and dropped the pedal straight down. Getting the new, longer clutch pedal shaft into its pivot hole required me to remove the defroster duct; which required me to remove the glovebox; which required me to remove the new radio housing. With all that stuff out of the way, the clutch shaft slid into the hole, through the brake pedal, out the other side of the bracket. The clutch pedal slid over the end and was retained with a washer and nut. It took a while to convince the duct it needed to go back in, but it finally succumbed, and the rest of the reassembly went well. An adjustment to the brake pedal switch completed the pedal swap. The other task I undertook was repairing the failing vinyl on the driver’s seatback. I’d purchased a repair kit a while back. Step 1 was to glue a backing cloth to the backside of the vinyl surrounding the hole. Since it required a four hour cure, that was the end of Glinda work for the weekend.


Sunday was Luna day. Yes, the car that hasn’t moved in months got some attention. Victoria and I decided it was time to tackle installing the convertible top. With the sun beating down on us, we fought with the attaching the rear window piece to the trim sticks for a couple hours. Finally, we had to give up since the baking black vinyl and cloth were getting too hot to handle. While we made some good headway, it would have been nicer to finish the job. Well, they’ll be other weekends. While she (Luna) was out in the driveway I fixed the tie-rod problem I’d discovered when we did a lube job soon after bringing her home. A previous mechanic had adjusted the joint in such a way as to bind the balljoints. I needed to turn one end relative to the adjusting sleeve, but that entailed some doing. First, I needed to loosen the two clamp nuts from there associated bolts. This was done with great trepidation since these guys are known to just torque right off due to being seized. Well, God was looking down on me since both came off cleanly with only penetrating fluid and careful wrenching. The threaded connection of the tie-rod end into the sleeve took the aggressive application of flame to get it to the point where, with me standing on the end of a pipe wrench, I could get it to move. It only took a few degrees of rotation to free the tie-rod centering it in its travel. After cleaning the bolts on the wire wheel and generously applying anti-seize, I reassembled the clamps, dropped the car off the jackstands, and called it a day.

Friday, May 16, 2014

Such a Deal I Have for You


With the acquisition of Scarlett, I find myself needing to rid myself of TwoTone to get fleet membership back to four. I could part her out and probably make back the $500 I paid for her, but she deserves a better fate. As I mentioned a few posts back, the guy who sold us Scarlett (John) also offered me his rusty, ’64 coupe complete with a 4-speed transmission and a 110 HP engine. The key word in that last sentence is “complete.” FYI – here’s a link to the Craigslist ad.

Since John never finished reassembling Scarlett after her new paintjob quite a while back, some parts have gone missing over the years. Last night Mikhaila and I did a quick inventory of Scarlett and compiled a list of items that she needed. We then raided the stash of parts we’d pulled off TwoTone for suitable replacements. We snagged the parts I’d purchased from Clark’s like brake hoses and the fuel tank install kit, the parts I’d purchased online like the dual master cylinder, and even parts that came with Wilma like shock absorbers. The only items we took that had come off TwoTone were the sideview mirror, rear taillight lenses, heater vents, and the gas tank. Hence the aforementioned “complete” since TwoTone is now not complete.

Monday, May 12, 2014

A Little Bit of Ringo

I left on a business trip last Tuesday afternoon. Less than four hours later, Ariel had finished her work day and was ready to go home. “Not so fast,” said her un-trusty steed, Ringo. Instead of a cranking engine upon the turn of the ignition key, she got nothing but illuminating idiot lights. Fortunately, I had prepared for this oh-so-expected event and left the truck parked at the house just for her usage. Victoria rescued her sister and all was forgotten until Saturday morning when Ariel and I travelled in the truck with the towing equipment bouncing around the bed behind us. Upon our arrival at the mall lot, I inserted the key, gave it a twist, and, sure enough, nothing but two red lights. With the switch left in the On position, I walked to the car’s rear, popped open the engine lid, pulled out the dipstick, unplugged the purple wire, touched the end of the dipstick to the starter end of the now-exposed connector, and bridged the twelve volt circuit by brushing the edge of the dipstick against the positive terminal of the battery. Those gyrations were rewarded with a spin of the starter and an immediately running engine.

Having averted the hassle of dragging the car to the driveway, I instead drove him home. It seemed like every mile added another annoyance to the to-do list – squeaking speedometer, bad brake pulling when pushing the pedal, and intermittent blinker blinking were thusly noted. Later that day, I made a jumper wire with a ring terminal at one end that was attached to the S terminal of the starter solenoid. The other end was covered and routed to a waiting position behind the battery. The next time the key won’t start the car, touching the end of this jumper should get things spinning. On to the brakes.

With the assistance of the lovely Loriann, I confirmed the bad brake sounds was coming from the right front, so off came the wheel followed by the hub exposing the brake components. A quick inspection showed me the shoes still had sufficient liners on them, but the self-adjusting-ness hadn’t been working so these shoes had to travel a lot farther before they contacted the drum – not good. I disassembled all the parts, cleaned things up, lubricated the adjusting screw, put a dab of grease on each of the backing plate’s six contact points, and put everything back together. I spun the adjusting screw widening the shoe spacing until I could just barely slide the drum over the shoes. As expected, given the wear of the drum, once the drum was seated on the spindle, the wheel spun freely. I hand-tightened the bearing nut and did a pedal test of the brakes. The system passed the hard, harder, hardest test and then I seated the nut and retained it with a cotter pin. The wheel was bolted back on, the wheelcover banged back into position, and the car came down off the jackstands. On to the blinkers.

These leaky, old vehicles end up with damp carpets under the dash which accelerates corrosion of any uncoated metal surfaces above. The blinker unit presses into the fuse block and it’s not unusual for this connection to go bad over time. I pulled and reinstalled the blinker a few times thus cleaning off the contacting surfaces and this fixed the intermittency – moving the stalk resulted in a blinking arrow every time. On to the speedometer.

Lying on my back with my legs dangling over the back of the driver’s seat is not the most comfortable position, but it’s what has to be done to remove the speedometer cable and spray liquid graphite onto and into the speedometer’s bushing. Thankfully the can came with a little red tube that one hand could aim while the other pressed down on the spray button. Back on went the cable, and then I was able to unfold my body and fall out of the car. On to the celebratory beer.

PS Ringo’s has started with the key every single time since I used the dipstick bypass Saturday.