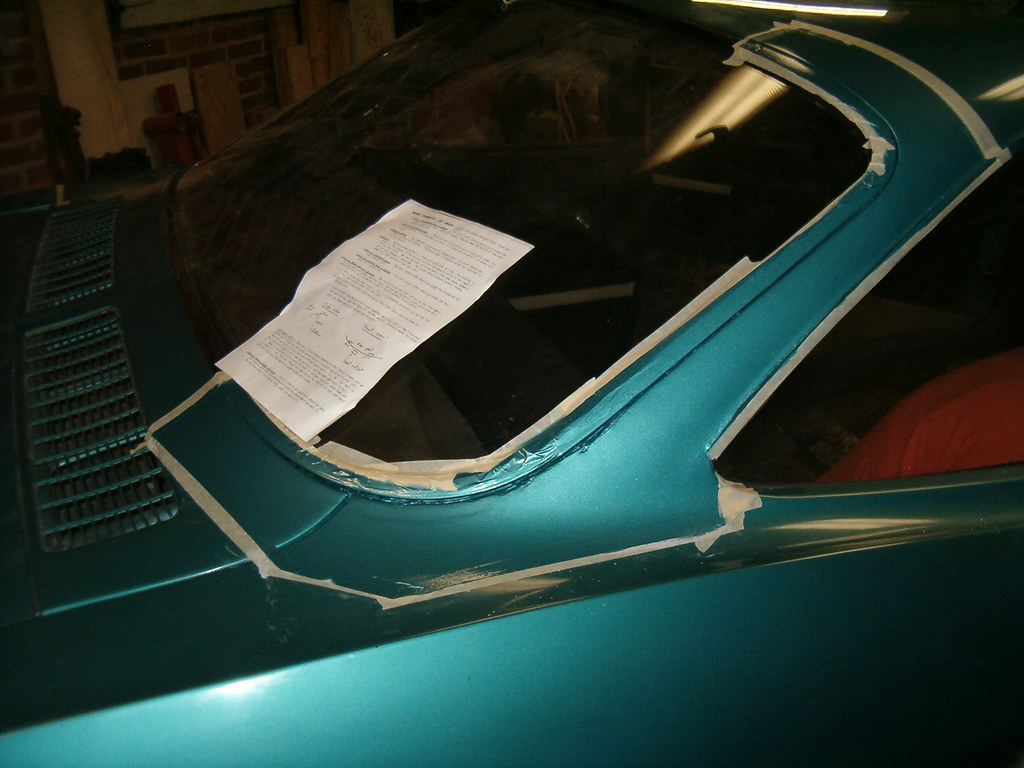
Showing posts with label suspension. Show all posts

Wednesday, May 28, 2014

Gone, but Not Forgotten


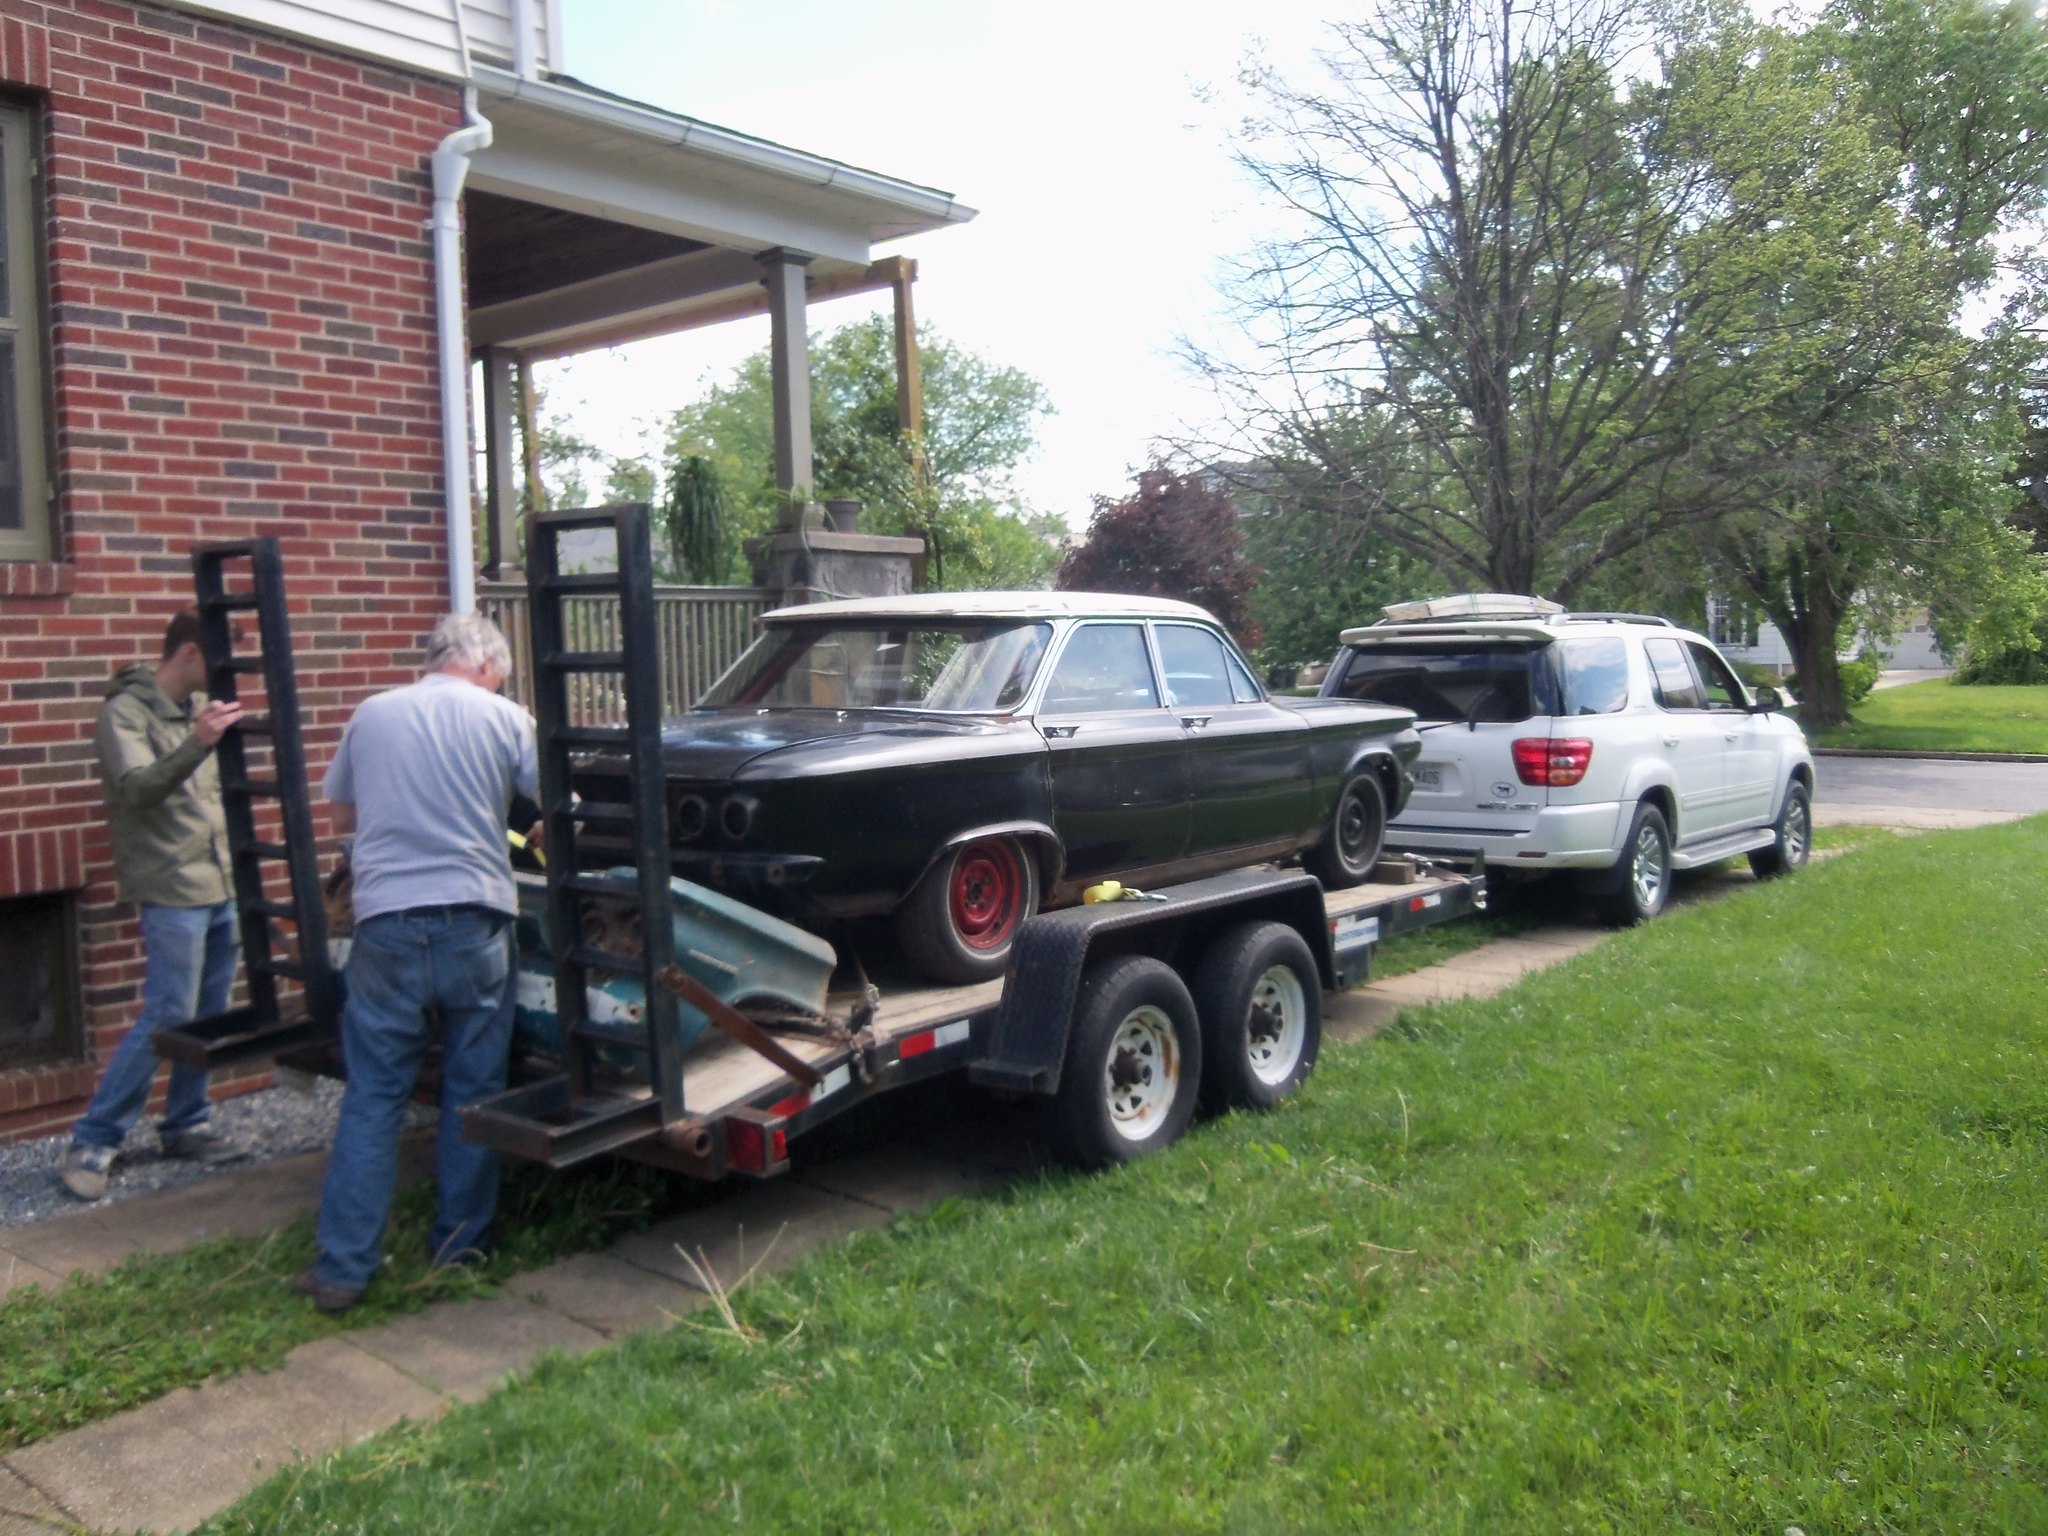
I told the lovely Loriann, there’s a space in my driveway and a hole in my heart. I’m always saddened when I sell a car; Saturday was no different when TwoTone was hauled away. I can take comfort in the knowledge that the new owner, a really nice guy and his teenage son, will probably have her back on the road faster than Mikhaila and I would have. ‘Vair buddy, John’s, free ’64 coupe sealed the deal. They’ll be converting TwoTone to a 4-speed. It’ll be too cool.

What else is happening with the fleet?

There’s no change, sadly, with the ongoing battle with Ringo’s driver’s door. Even after adjusting the door, it’s back to needing to be slammed. Irrr. It’s nice to report, though, that Ariel’s only needed to use the ignition bypass once.

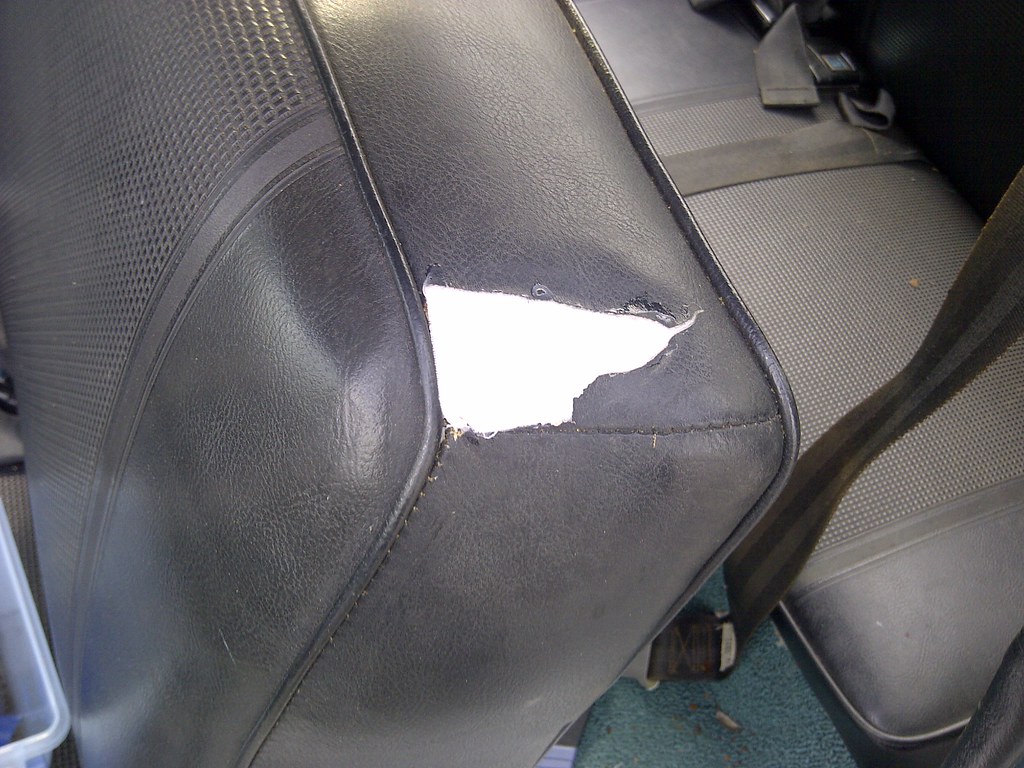
I spent some time on Glinda last weekend. Saturday afternoon I decided to install the new clutch and brake pedal assembly. When I first started planning to do this swap, I researched what I’d need to do, and had been led to believe that the large support bracket was different to accommodate the clutch, so I bought a used version along with the pedals and pertinent parts. Over the last few weeks I’d cleaned up the used parts, primed them, and shot them with a couple coats of Rustoleum gloss black. With them ready to go, I crawled under the dash to determine the best path of attack. It didn’t take long for me to figure out the bracket that was in the car looked exactly like the one I’d bought. Okay, the hardest part of the job didn’t need to be done. Yay. The existing brake pedal came out once I’d popped off the clips that held the two shafts (pivot and master cylinder rod) in place, slid the shafts out, and dropped the pedal straight down. Getting the new, longer clutch pedal shaft into its pivot hole required me to remove the defroster duct; which required me to remove the glovebox; which required me to remove the new radio housing. With all that stuff out of the way, the clutch shaft slid into the hole, through the brake pedal, out the other side of the bracket. The clutch pedal slid over the end and was retained with a washer and nut. It took a while to convince the duct it needed to go back in, but it finally succumbed, and the rest of the reassembly went well. An adjustment to the brake pedal switch completed the pedal swap. The other task I undertook was repairing the failing vinyl on the driver’s seatback. I’d purchased a repair kit a while back. Step 1 was to glue a backing cloth to the backside of the vinyl surrounding the hole. Since it required a four hour cure, that was the end of Glinda work for the weekend.



Sunday was Luna day. Yes, the car that hasn’t moved in months got some attention. Victoria and I decided it was time to tackle installing the convertible top. With the sun beating down on us, we fought with the attaching the rear window piece to the trim sticks for a couple hours. Finally, we had to give up since the baking black vinyl and cloth were getting too hot to handle. While we made some good headway, it would have been nicer to finish the job. Well, they’ll be other weekends. While she (Luna) was out in the driveway I fixed the tie-rod problem I’d discovered when we did a lube job soon after bringing her home. A previous mechanic had adjusted the joint in such a way as to bind the balljoints. I needed to turn one end relative to the adjusting sleeve, but that entailed some doing. First, I needed to loosen the two clamp nuts from there associated bolts. This was done with great trepidation since these guys are known to just torque right off due to being seized. Well, God was looking down on me since both came off cleanly with only penetrating fluid and careful wrenching. The threaded connection of the tie-rod end into the sleeve took the aggressive application of flame to get it to the point where, with me standing on the end of a pipe wrench, I could get it to move. It only took a few degrees of rotation to free the tie-rod centering it in its travel. After cleaning the bolts on the wire wheel and generously applying anti-seize, I reassembled the clamps, dropped the car off the jackstands, and called it a day.

Wednesday, October 2, 2013

One of the Those Days

In a 24 hour period, the following has happened. Ringo became undriveable on the outer loop of the Baltimore beltway, Glinda failed an alignment check due to excessive play in the left front wheel bearing, the lovely Loriann was handed a $3200 estimate from a local mechanic to replace failed and failing items causing creaking and clunking in the front end of her PT Cruiser.

Around 1:30 yesterday, I got the call that I dread – the one that starts with, “Daddy, Ringo died and we’re sitting on the side of the road….” I had been warned by an early-morning text telling me he had been chugging during her twenty-mile morning drive. My hope was the issue would clear up. It didn’t. I left work, drove home, changed into grungies, loaded the tow-bar stuff, and drove to his location. In the meantime, Victoria had been nice and gave Ariel a ride to her next destination. Upon my arrival, I took a quick look under the engine lid – a lot of fluid in the right carburetor region.  Hmm; stuck needle-and-seat perhaps? I should be so lucky. I got him hooked up to the truck and we were parked back in front of our house by 3.

Loriann pulled up minutes later with a new grease gun and a cartridge of synthetic grease so I could finish lubricating the joints. The hand pumper seemed to do the job with a few strokes at each zerk fitting resulting in a small bit of grease peeking out of each rubber boot. Since Ariel was going to get to drive Glinda while I dealt with Ringo, I decided to keep the proven stock wheel and tire set on the car. Once off the jackstands, I took her for a spin around the neighborhood. No untoward twitching, no nasty noises – all must be good.

This morning the lovely Loriann drove Glinda to a 10 o’clock appointment at the local Goodyear shop. I had verified the appointment earlier and also verified there would be no charge. At 11:15, they finally drive Glinda onto the alignment rack. Ten minutes later, the technician backs her off the rack and announces the check can’t be made since the left front wheel is not tight. Hence the aforementioned loose bearing. Sadly, all it would have taken to tighten was a couple minutes for the guy to pull off the dust cover, remove the cotter pin, turn the nut, and replace the pin and cover. Irrrr. Now I get to take it back some other morning. I was VERY careful to mark the locations of the camber bolts, so I think everything is pretty darn close to where it needs to be anyway, but a free check is a free check.

Back to Ringo. With Glinda out of the driveway, I fired up Ringo’s engine and backed him to the entrance of the garage.  Yes, it was definitely chuggy, and worse still, it wasn’t gas around the right carb, it was oil. Additionally, there were signs of oil around the dipstick. These point to an excessive blow-by condition caused by piston rings failing to do their job. The chugging is probably is probably a few spark plugs that are too clogged with burnt oil to do their job. A compression check on all cylinders is the first step in diagnosing what’s causing the blow-by. Sadly, it was this same condition that prompted me to put in a rebuild in the first place. The problem, I’ll bet, is that I tried to re-use pistons and cylinders. Improper honing or too much clearance resulted in rings that never seated.

While the PT Cruiser isn’t part of the fleet, all the work I get to do on it will take me away from my ‘vair-time. I priced the parts and they came to about $600. I also went through the manual and none of the work looks like it’s beyond my skill level or will require expensive tools I don’t have. The question of the day is, “Where will I do the work?” TwoTone is Group Red (see sidebar) in the garage without front wheels, so rolling him out is problematic. Also, as long as Ringo’s out of commission, the family is one car short if I also take the PT Cruiser down for a few days.

Yep, it’s been one of those days.

Monday, September 30, 2013

A Big Dent

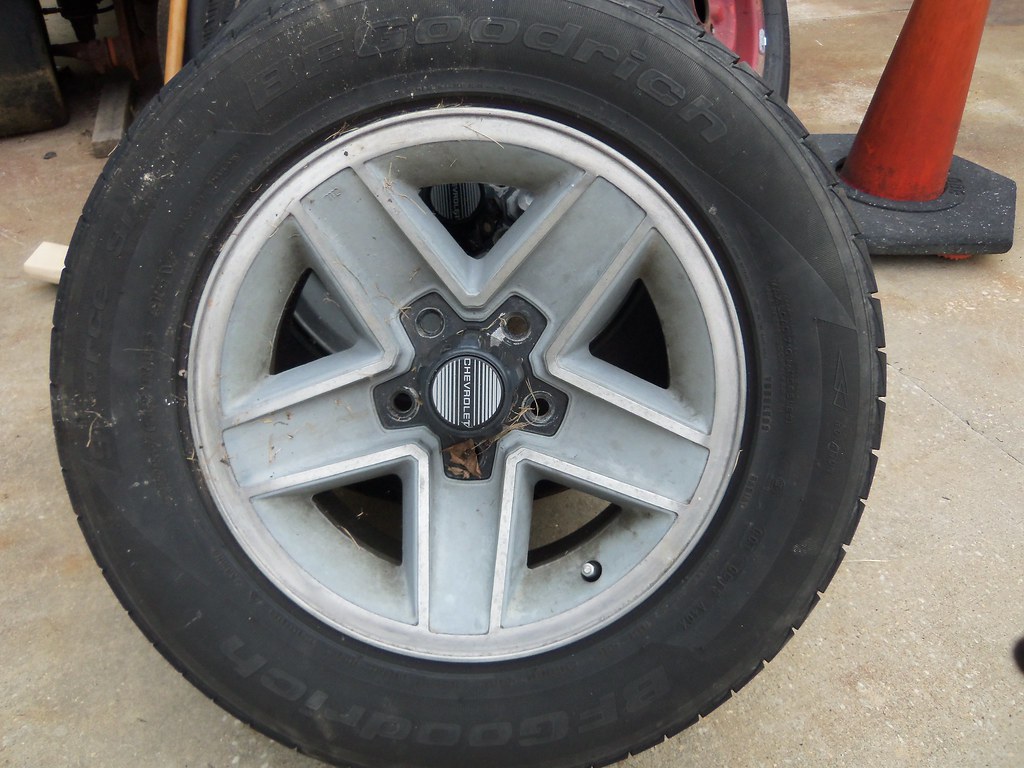
I’m talking about the parts sale yesterday, thankfully, not one of the fleet. At least a couple dozen buyers showed up yesterday and scarfed up a bunch of Rich’s stash. With proceeds over $6000 and low prices, that’s a lot of parts going to a lot of happy Corvair folks. I bought two sets of wheels, an IROC –Z set with tires for Glinda

and a set of 14” Torque Thrust wheels for my LeMans.

I also selected a gasket set to re-seal TwoTone’s engine, a Hurst shifter and LM manual shift dash for Glinda’s transformation, a complete LM engine block (all cleaned up and read for assembly) to replace the 140 block that’s still greasy and has broken bolts stuck in it, an interesting custom dual exhaust pipe with a crossover for Glinda, a set of brand new VelveTouch brake shoes for the next time she and I hit the track, and a GUP Powerglide shift cable for Ringo. I’m reviewing the parts list and photos to see if there’s anything left that I’m still interested in. At the same time, I’m struggling with where I put all this new stuff.

Speaking of Ringo, I answered a local e-mail offering a free bucket seat to the first person willing to drive to Laurel, MD to claim. I immediately replied since Ringo could really use a new driver’s seat that had enough life left in to to allow Ariel to see over the steering wheel. That seat is now sitting on Luna's engine lid waiting for me to have a day where I can do a seat cover swap with Ringo's sad seat.

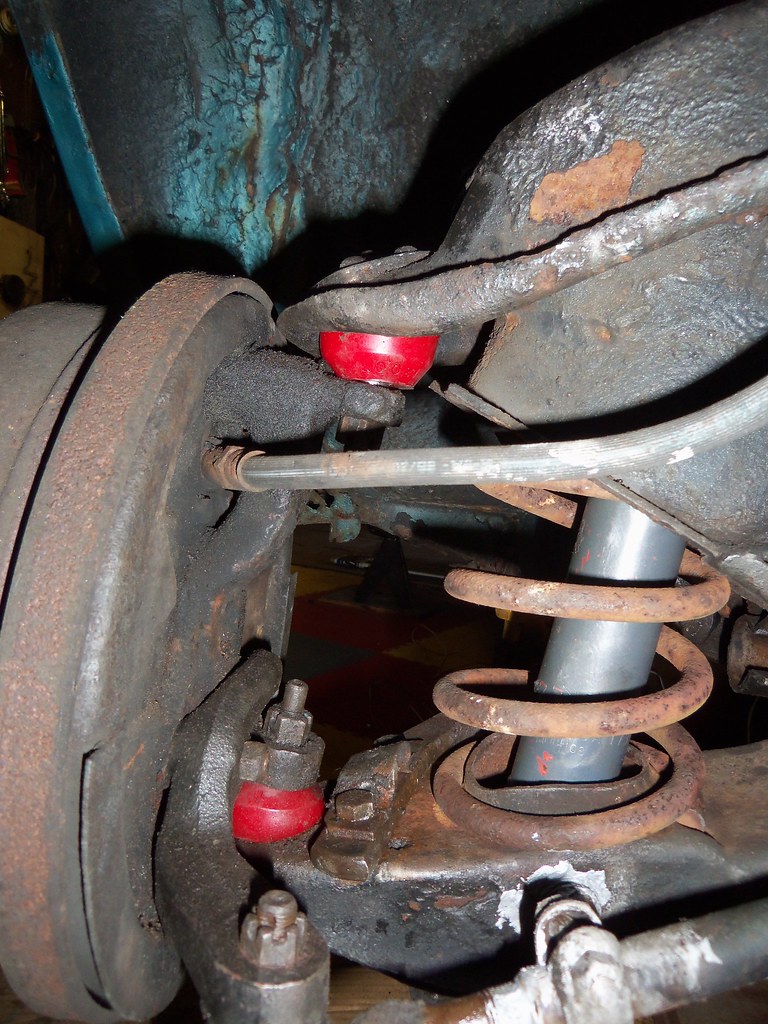
I did get a few hours of garage/driveway time this weekend. Friday night, I disassembled Glinda’s front suspension enough to extract the two lower control arms. Saturday, after helping with the sale setup (which included loading all my buys into the bed of my truck), I stopped by guru Gary’s house and borrowed his balljoint R&R tool. When I got home, I drug Mikhaila out to the garage where she applied the rest of the primer coat to TwoTone’s gas tank while I did battle with pressing out the old balljoints and pressing in the new. When we were both done, she and I disassembled TwoTone’s left front brake assembly, disconnected the incoming hard brake line from the old flex line, and tapped out the innards of the wheel cylinder. Just by virtue of us being able to tear down the cylinder assembly, I’m confident the bore will be in usable shape after a good honing.

After dinner, she was too tired to continue, so I went back out to complete Glinda’s suspension renew and had the last bolt in place and the rubber of the new-to-her front wheels on the ground by 10:30. Only a few issues: 1. it appears my grease gun doesn’t have the gumption to pump grease into the new joints - I’ll buy a new one this evening; 2. the right front tire was flat – hopefully it’s just from sitting for a few months; and 3. I’m just not sure about how I’ll like Glinda’s stance and look with the new-to-her IROC wheels and tires. The front tires are lower profile 205/50-15s while the rears are 225/60-15. With the fronts being about two-and-a-half inches smaller in diameter, I decided to leave Glinda’s front springs alone rather than executing my original plan of cutting off another half a coil - I figured the difference in tire diameter would drop her front enough to level out her current up-facing rake. That may still be, but the look I need to get used to (or not) is front tires that look tiny in the large wheelwell. I’ll drive her with the new set up for a while and see if it grows on me. I still have the option of swapping the stock steelies and tires back on. Photos forthcoming once she’s completely re-shod.

Monday, September 16, 2013

I Love a Productive Weekend

The disappointment I felt as Rich’s Corsa drove away Saturday with a new owner behind the wheel has turned to relief since, sadly, I’ve been in communication with the new owner and the Corsa’s giving him nothing but trouble. First, it wouldn’t start as he tried to leave my driveway (needed a jump), then it wouldn’t idle (needed the idle speed screws turned up a bit), then it died about forty miles down the road and wouldn’t re-start, so he had to have it towed the last twenty miles to his house. When working on it yesterday, it refused to start and then made an ominous clunk and the starter stopped turning altogether. I’ve given him some words of advice, but I told him the most important thing he could do was get connected with the capable guys of the Northern VA Corvair Club. I feel badly for him; it’s strange how well the car ran before he drove it away.

A large portion of Sunday afternoon was spent in the driveway and garage – yeah, car time. It started with Mikhaila and I getting TwoTone’s carburetors about 95% reassembled. Sadly, my breaking a cardinal rule of old car repair prevented us from getting the final pieces (throttle shaft assemblies) installed - don’t ever throw away an old part until the replacement has been installed and is functioning. I was confused by Clark’s catalog drawing showing the throttle shaft with its endplate attached. I thought that meant the new shafts I had ordered included the endplate, but it was just a bare shaft enclosed in the box I recently received. I only had one spare in my bucket of carb parts, so completing this task will have to wait until the Corvair Ranch comes through with a box of parts I ordered today.
Along with the used throttle shaft with endplate still attached, I asked Jeff to ship me two GNP fuel filters for TwoTone’s carbs, and for Glinda two GNP lower balljoints, four GUP special washers for her rear suspension, and a broken ’68 turn signal switch assembly that I can cannibalize. Jeff had to give me a hard time about my actually buying a few new parts. Normally, I limit my purchases to good AND used.

The parts for Glinda were a result of some checks I made yesterday. I confirmed that both lower balljoints on her front suspension were loose and that the issue with the turn signal not latching on right turns was due to a broken post in the baseplate of the switch assembly. I also decided to order the special washers (they center the outer bushing of the rear strut rods) since they were damaged during disassembly part of the suspension rebuild.

When I was done with Glinda, I returned to the garage and went back to work on TwoTone. I only broke three bolts during the extraction of her stabilizer (anti-sway)bar and then just one J-bolt while removing her gas tank [note: I’m calling Mikhaila’s as yet unnamed car a her since I’ve had more trouble with male-named (Ringo) than the all the female-named Corvairs]. Part of the gas tank removal required me to also remove the forward tunnel cover. It is still so refreshing to find the parts on the nearly fifty year old car to be in such good condition.

With the tank out, Mikhaila’s now got a big chore added to her to-do list – flushing, brushing, painting, and sealing the reservoir. Good luck to her.

Friday, September 13, 2013

Not Too Small

Last night I was out in the garage prepping the family bikes for tomorrow morning’s ride. When that bit of mechanicry was done, I moved on to a ‘vair-related activity. I had borrowed a buddy at work’s set of micrometers to find out the condition of the journal diameters on the 140 HP engine’s crankshaft. As my amateur fingers manipulated the measurement tool, I came up with values I jotted down as shown above. The pertinent excerpt from the specification pages of the ’65 shop manual is included for comparison.
Bottom line is I’m comfortable using the crank as-is with stock-sized bearings – both mains and rods. I’ll give Jeff at the Corvair Ranch a call and see if he’s got some main bearings in stock to send me. I already owe him for a recently delivered and installed speedometer cable for Glinda, may as well owe him a little more. Speaking of which, I need to first check Glinda’s front suspension for more loose balljoints in the front and also determine what’s caused the change in the left rear wheel’s camber.

When I was changing the aforementioned speedo cable, I discovered the right lower balljoint has some play in it. When I rebuilt this front end, I felt that a couple of the joints were questionable, but lacking time and money, I plowed ahead with the rebuild and the car seemed fine once everything was bolted together and greased. Now, not so much.

Regarding the rear camber, I noticed the other day that one rear wheel appeared to be slightly more splayed than the other. During the recent rebuild, I had to cut through the large bolts that retain the outer end of each strut rod. This damaged the special shoulder washers that center the bolt in the bore of the rod’s bushing tube. I thought there was enough shoulder left for these washer to do their job, but I may have been too optimistic. A quick look and I’ll know whether or not I need to add “used special washers” to my Corvair Ranch shopping list.

As I was cleaning out my can (it’s my repository of miscellaneous paperwork like bills I want to forget about, prescriptions for drugs I should take, etc.) this morning, I came across the notes I scribbled down while being schooled by Dave Edsinger on an LM street suspension setup that would work for a daily-driver. Before I lose any of this excellent information, I decided I’d put it down here for my memoirs and anyone else’s edification.
-     - Front strut (reaction) rod modification: cut off roughly 1” from the length of the inner sleeve to give more compression of the bushings and, thus, higher stiffness and less movement under braking.
       - Front springs: Cut-down HD (heavy-duty) Corvair springs. (note: I cut off one coil, but I’m thinking about taking off another half coil, but only after I move the battery from the rear to the trunk and look at Glinda’s stance – needs to be level or slightly nose-down).
       - Rear springs: 250 pound-per-inch Chevelle spring from a stock car supplier. (note: I cut off a coil from a couple HD Corvair springs, so the  racing ones may need to be cut down to get the same height as my current set up - they will certainly be stiffer)
       - Camber setup: ¾ to 1 degree both front and rear
       - Toe-in setup: 1/16th inch front and rear
       - Castor setup: 5 degrees
       - For correct vintage racing events, Dave runs 205/60-13 slicks. He loves this size and someday, if I’m in the right place at the right time, he might pass on some of his used ones my way. I can’t begin to imagine how cool that would be – Glinda shod with slicks for our next track day.

Thursday, July 11, 2013

Too Many Titles

I always try to put a little thought into the title that goes above each blog post, and this morning I have a number of relevant headings that I could not choose between. “Up The Creek, But Gary Threw Me a Paddle,” “The Eagle (ir, Glinda) Has Landed,” “She’s Low, But She Better Not Be Slow,” and “Hey, Five Hours Sleep is Plenty” all would work.

“Up the creek” is appropriate since in my post of yesterday, I stated how much trouble I’d be in if I couldn’t break loose the tie-rod adjustment sleeve. Well, it broke loose, but it also just plain broke. The spanner I was using, once popped with a hammer proceeded to break off a piece of the sleeves rendering the part unusable. A quick call to the local Corvair guru, Gary, confirmed he had a replacement, and I was back under the car installing the part within an hour.

The “landing” part refers to Glinda FINALLY (after exactly one month) sitting on solid ground again. Last night I was able to mount her wheels and lower her off the jackstands. The funny thing was I kept lowering the jack and lowering the jack before she finally settled on her cut-down springs. Needless to say, her underbody is MUCH closer to the ground than when I started this suspension upgrade. Standing next to her I think her roof is no higher than my chest, hence the “Low” title. With the suspension work complete, I moved on to the engine compartment. Job one was getting the carburetors synchronized. After pouring some gas down the carb throats, I cranked the engine and it started to raggedly run, but almost immediately the engine smoothed out as fuel filled the bowls. All was not well, however, as gas was geysering up through the left carb’s vent tubes – the needle was not seated. Off came the carb’s top and a quick check revealed just handling freed the stuck valve. A few minutes later, top was mated to bottom and the engine refired and settled into a nice idle. All my initial adjustments made while rebuilding the pair were close enough to optimum that it only took a few turn of the idle screws and linkage to ensure both were working in concert.

With fuel delivery set, I moved on to the engine’s electrical needs. I’d bought a new set of points, so I pulled out the old and bolted in the new. With a cursory adjustment of dwell, I popped the rotor, shield, and cap back into place and started the engine. The dwellmeter said I nailed the dwell at 32 degrees. The timing light said I needed to retard the timing from 16 down to 14 before-top-dead-center so I did.

The last task for the evening was hooking up the coil end of the tachometer wire. By that point, it was 1 AM and I was so very ready for bed. When I drug my butt off the sheets this morning at 6:30, I’d only gotten five hours of sleep. Now you know the inspiration for the last title.

I just made an appointment to get the alignment done tomorrow at the local Goodyear, so I’ll drop off the car tomorrow morning with the racer-provided specs for the Castor, Camber, and Toe-In. When I pick her up after work, I’ll have to add another $75 to the Pocketbook Status, but I’ll have a transformed LM Corvair.

Wednesday, July 10, 2013

The Washer Arrived

With the last piece to the puzzle that is Glinda’s front suspension finally in hand, I could commence completing the last step in getting her back on the ground. After a nice dinner, I opened the garage door and went to work. Assembling the driver’s side control arms, spindle, spring, stabilizing rod, steering arm, and swaybar went fairly easily. The hardest task was getting the swaybar with its new bushings into place. Next was to clean and soak the tie-rod adjuster threads – both bolts and sleeve. Hopefully, they’ll be able to move tonight – they'd better or I’m up a creek. In hindsight I should have made sure I could loosen them before I even started tearing down the front suspension. Oh well, live and learn.

The new seat brackets and the exposed metal on Glinda’s underside got a coat of black paint. The last, long task of the day was finishing routing the wires and oil pressure tube into the engine compartment. I got the final screw that holds the front tunnel cover torqued in around 12:30 AM.

I’ve been praying off and on all day that I’m able to get the final tie-rod adjuster loose tonight. I’ll let y’all know tomorrow.

Monday, July 8, 2013

Will She Be Ready?

A brief post to update what I’ve accomplished since my last posting and what’s still left to do in the next four and a half days.

Done:
  • I’ve got three-quarters of the suspension assembled. That includes cutting a coil out of each heavy duty spring, koni shocks set at halfway between soft and firm, new ball joint boots, and new bushings throughout except for the ones in the rear trailing arms and the outer ones in the rear strut rods. I’m waiting for a special washer to arrive in today’s mail before I can finish the left front. The hardest task was removing the two large nuts on the stabilizing rods. I ended up cutting them off.
  • With help from the lovely Loriann and Mikhaila, the backlight was installed, sealed, and trim sticks snapped into place.
  • My new tachometer is installed to the steering column with a hose clamp. I first wrapped electrical tape around the column to protect it from scratches.
  • The modified carburetors have been rebuilt and installed onto the engine. I’ll need to balance them once the car is back on the ground.
  • Once I found out the old Sun oil pressure gauge I’d planned on installing had broke, I went online and bought a three-gauge set (oil pressure, voltage, and temperature) on Amazon. I’ll install the temperature sender somewhere in Glinda’s oil path and be able to monitor oil temp.
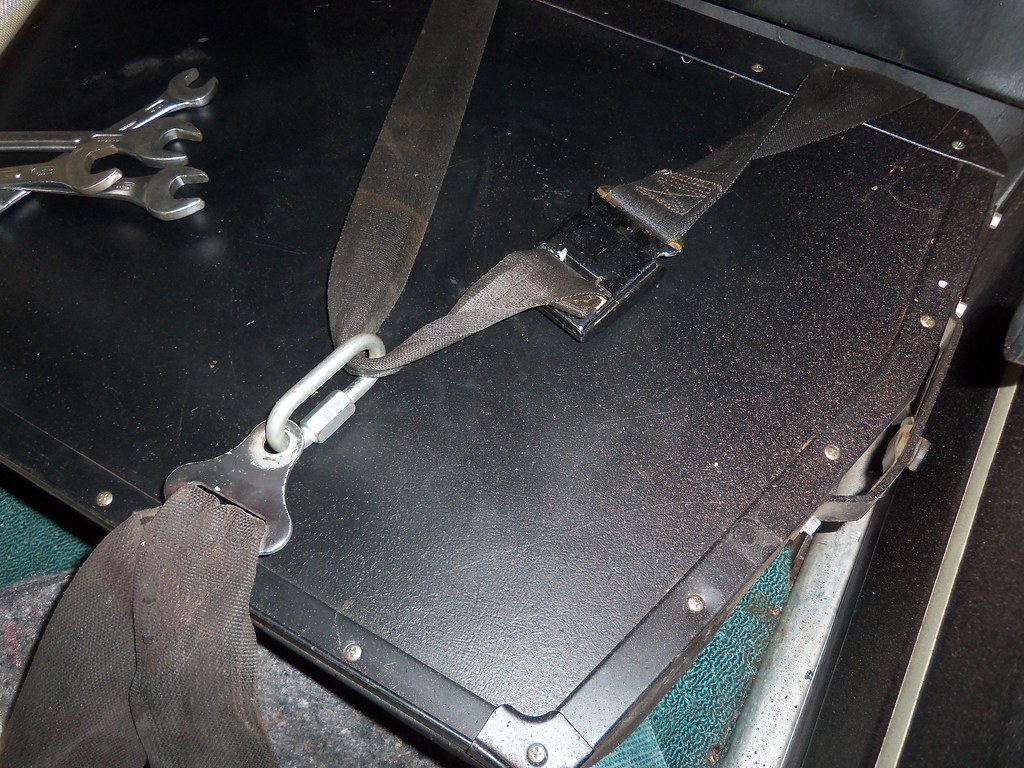
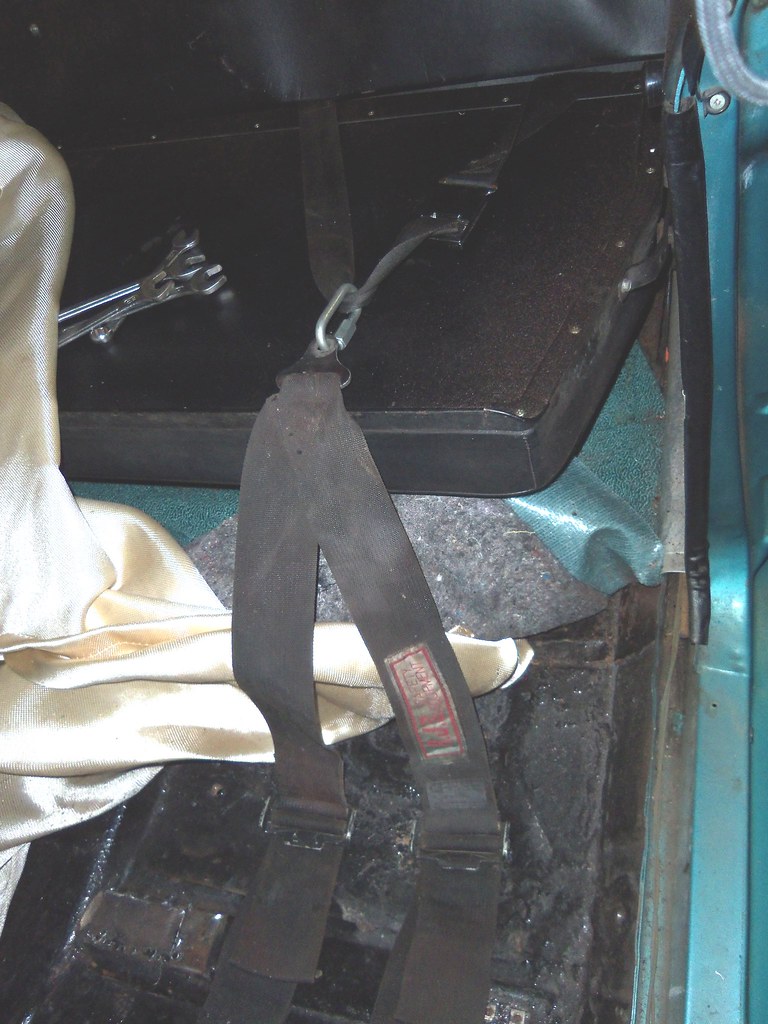
  • Using an idea I read on the CorvairCenter forum, I flipped down the rear seat back and pulled left side passenger seat belts up and over the seat back. I latched them which provided an anchor for the shoulder harness belts of my 5-point racing harness. I drilled a hole in front of the driver’s seat for the anti-submarine belt and then bolted the lap belts in using the stock weldnuts in the floor.
  • I spent a long time fiddling with the location of the racing seat. I wanted to make sure it was mounted so that, 1) I could get in and out of it, and 2) I could reach the shifter once I was firmly belted in. Once I set upon a location, I then figured out how to mount the seat. It took a trip to Home Depot and some more cogitating whilst standing in their Hardware aisle before I walked out with a piece of angle iron and a bunch of five-sixteenths fasteners. Once home, I cut bar to the measured lengths, drilled holes where I needed, and the mounting scheme was implemented. I still need to get some longer screws and paint the exterior bar before that item can be completely crossed off the to-do list.
Still to do:
  • Buy and install the aforementioned bolts to finish the racing seat installation.
  • Buy another chain link so I can lengthen the shoulder belts as necessary.
  • Buy and install a fuel filter.
  • Install and hookup the new gauge cluster.
  • Hook up the tachometer and finish routing the wires/tube.
  • Do a tune-up on Glinda’s engine and synchronize the carburetors.
  • Install the tubes that raise the air cleaner. This should be a cleaner installation than I attempted to affect on Lucy.
  • Adjust the throttle linkage to raise the transmission shift point.
  • Install the driver’s front suspension.
  • Break free that side’s tie-rod adjuster.
  • Find the best four stock-size tires.
  • Take the car in for an alignment.
  • Have the tire place reverse the tires to have blackwalls facing out.
Will I be thrashing Friday night or will I have this all done with packing time to spare?

Here are some recent photos.

Friday, June 28, 2013

I’m Getting REALLY Nervous

Last weekend was an eventful one, Corvair-wise, but not one that resulted in me getting greasy (and thus getting Glinda closer to being back on the road). I'm concerned that Glinda will be ready for the imminent departure to Michigan. I need to find another gear and get going.

Saturday morning dawned early with the lovely Loriann and I driving up to the Corvair Ranch to pick up the newly-bushed front control arms. Unbeknownst to my willing wife, I’d also intended to dig through Jeff’s bin of coil springs in search of Heavy Duty (HD) versions of the LM fronts and rear. After greeting Jeff, I dropped my truck’s tailgate, pulled out a milk crate containing an example of Glinda’s current coils, a Vernier caliper, tape measure, and two pairs of gloves. When I handed her a set, she gave me a incredulous look and asked me I expected her to do with them. “You’re going to help me find some springs,” I replied. Grudgingly, she followed me to the bin as I explained what we were hunting for. Within 20 minutes, our mission was complete – and her sharp artist eyes were the reason it hadn’t taken much longer. She’d found the springs just by looking through the grid of the bin. I was mightily impressed. A few minutes later, I’d paid Jeff for his work along with a few parts I needed from him and we were on our way.

About thirty minutes down the road, my cell phone rang. It was Jeff, and he was looking at a box of control arms complete with nice, new bushings. I’d been so focused on finding springs, I’d completely forgotten about the control arms. Irrr. An hour was wasted running back up to Gettysburg. Once home, there were a number of chores I needed to deal with, so no more garage time was available.

Sunday afternoon I bid farewell to the lovely Loriann and Mikhaila for their week of mission work in central PA. Afterwards, I ran over to Gary Segal’s to buy some new rear suspension bolts and then on to another ‘vair friend’s house. The purpose of this visit was quite sad. Rich has been fighting lung cancer for a while, and the decision was recently made to stop fighting the battles and make the most of his last days. He has an extensive collection of cars, parts, and tools, and, while his son is keeping a number of vehicles and the parts and tools to support their restoration and maintenance, there will still be a very large stash of goodies that will need to find new homes. Back when I found out about Rich’s terminal situation, I offered to help the family in any way I could. A few days later, I got an e-mail asking if I’d be willing “to dispose of his Corvair items.” It is his wish that the local club members get the first opportunity to buy items, but then it will open up to the surrounding chapters of CORSA before going up on Craigslist and eBay. Anyway, I got to Rich’s house and spent about an hour talking with him and his son, Vince, about all things Corvair. Vince gave me a tour of the collection so that I had a sense of what would be available. Bins of parts (including quite a few sets of wheels), shelves of tools, and at least two vehicles will need to be sold. I’m hoping I get to see him at least one more time before the cancer claims another victim.

Since then, I’ve been putting in quite a few hours at my paying job as well as spending yesterday and Wednesday at the mission camp. Last night, after returning home, I headed out to the garage and worked on the backlight installation and suspension. I inserted the trim clips and coated the mating surface of the pinchweld with primer before moving on to removing the useless inner bushings from the rear strut rods. After modifying their replacements, I partially pressed them into place. My vise doesn’t have enough oomph to fully seat them, so they’ll need to be shoved home by a real press. The last task of the day was removing the nuts and freeing the control rods from the crossmember. The first nut took about an hour of heating, soaking, beating with the imact wrench, heating again, more beating, and finally standing on the end of the torque wrench de-seized that which was one. A few minutes after that, I had the nut off and the rods rusty threads cleaned up. I tried the same approach to the other rod, but instead of breaking the nut-to-rod bond, I broke my torque wrench. It was then definitely time to call it a day.

Today I visited my favorite toy store and bought the largest ½ inch breaker bar Harbor Freight sells. Tonight that nut is mine.

Monday, June 17, 2013

A Vairy Nice Father’s Day Weekend


When last I posted, I’d just broken the nuts off both rear strut rods where they bolt at the rear wheels. A few minutes yesterday attacking the remaining bolts with the 4” cutoff wheel on my grinder and the rods were lying on the garage floor. Unlike the oil-destroyed inners, the outer bushings look to be in decent condition, so, rather than buy entire new rods, I’m following a helpful post on the CorvarCenter forum and bought a couple replacement bushings. Gary (the local Corvair guru) offered to sell me a couple replacement bolts to replace those I just cut up.

I also got the stabilizer rods and shock absorbers removed, and was fortunate enough not to break any more fasteners.

With the suspension all out, I tackled the backlight opening. It took a couple hours, but I got the channel completely cleaned out and ready for some coats of POR-15. I’ve decided I don’t have the time to fix the rust correctly (cutting out and welding in patches), so I’ll be coating with POR-15 and patching with fiberglass cloth laid in. Fortunately, there are only a few rust-throughs, so this fix should be sufficient to keep the window in and the water out.

After working on Glinda, I was treated to a delicious Father’s Day dinner followed by card opening. The girls gave me two cards since they couldn’t decide between two funny ones. Each card contained a coupon, one for a six pack of the beer of my choice each month for the next six months. The other coupon was for a set of racing stripes for Glinda. I’m quite excited about that and have already started perusing the web for the perfect scheme. I’m leaning towards this design. You've got to use your imagination to change the colors to turquoise body and white (or maybe gray or maybe silver) stripes.

Thursday, June 13, 2013

I Know How To Break Bolts

Last night I got Glinda’s rearend up on jackstands and began working on her rear suspension. I immediately saw some serious rubber failure on the strut rod bushings. They’ll have to be replaced before the car hits the track. After wire brushing all the threads I could get to of the suspension bolts, I attempted to loosen the right side's strut rod outer nut using my impact wrench. After about four minutes of cycling torque on the nut and then on the bolt head and still no movement, it was time to bring out the torque wrench. This was the successful tool when I needed to get the big nuts off the front suspension’s lower control arms. This time, however, the wrench was too strong for the job and the bolt broke just beneath the nut. Oh well, I was going to replace the bolt anyway. On to the other side. I contemplated getting the torch out, but didn’t really want to deal with the fumes of burning rubber. With my optimism curbed and my torque wrench engaged, it didn’t take long to get some movement of the nut. Sadly, it was the bolt twisting, and a bit more pushing on wrench handle and the second bolt was twisted off.

Some quick research this morning on the CorvairCenter forum comforted me in that I’m certainly not the first to experience this frustration. There was a lot of conversation regarding replacement of the nearly $100 a piece strut rods with adjustable ones used on Corvettes. I’m trying to score some GUP ones for cheap from local guys, but I’m will to go the ‘vette design route if that doesn’t pan out.

Wednesday, June 12, 2013

This Part of the Nightmare is Over


All the tools I’d hoped would be necessary to remove the upper and lower front control arms:
  • Needle nose pliers (to pull cotter pins)
  • 3/8” impact wrench, assorted sockets, assorted wrenches (to remove nuts and bolts)
  • A couple sledgehammers (to release ball joints using the magical method of banging both sides of the attached part at once)
All the time I’d hoped it would take:
  • 1 evening
All the tools it actually took:
  • Needle nose pliers (to pull cotter pins)
  • 3/8” impact wrench, assorted sockets, assorted wrenches (to remove less than 20% of the nuts and bolts)
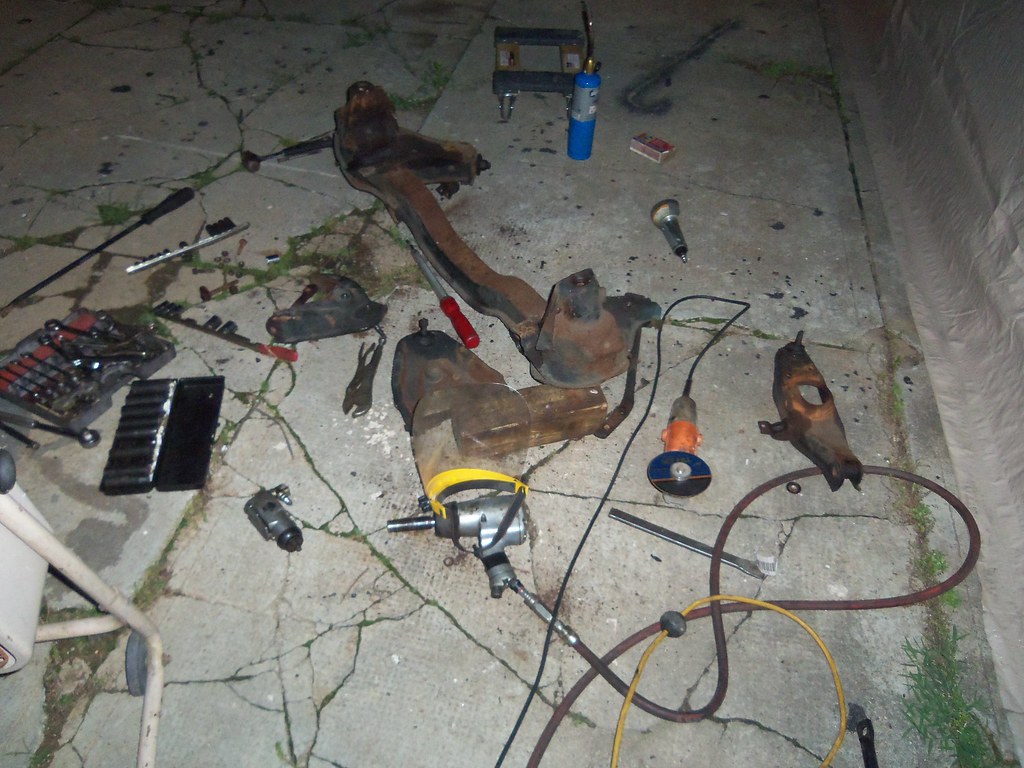
  • 1/2” impact wrench, assorted sockets, assorted wrenches, propane torch, center punch, drill, drill bits, pneumatic chisel, cold chisel, sledgehammer, pry bars, jack, mover’s dolly, drift, 3” pneumatic cut-off wheel, 4” electric cut-off wheel, torque wrench (to get the other 80% of the nuts and bolts out, as well as remove the entire front crossmember to give me access to the more stubborn fasteners)
  • Pickle fork and sledgehammer (to release ball joints)
All the time it actually took:
  • 3 evenings
On the plus side, I can now apply POR-15 to the top of the crossmember.

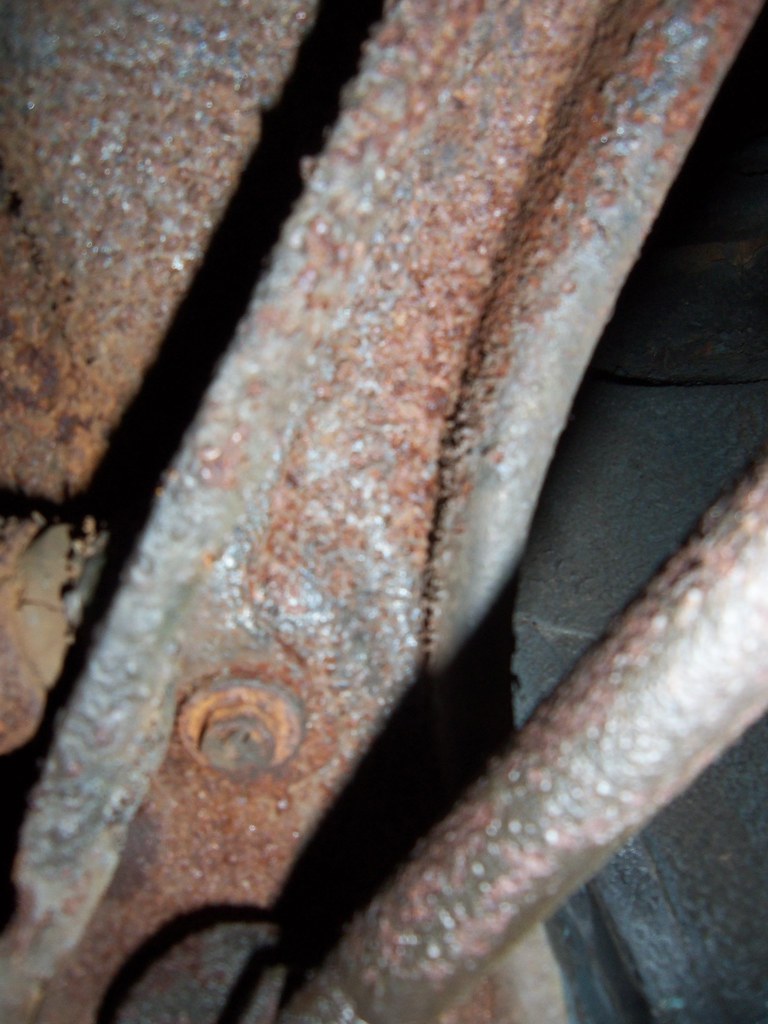
Driver's side bolt with rounded off head.

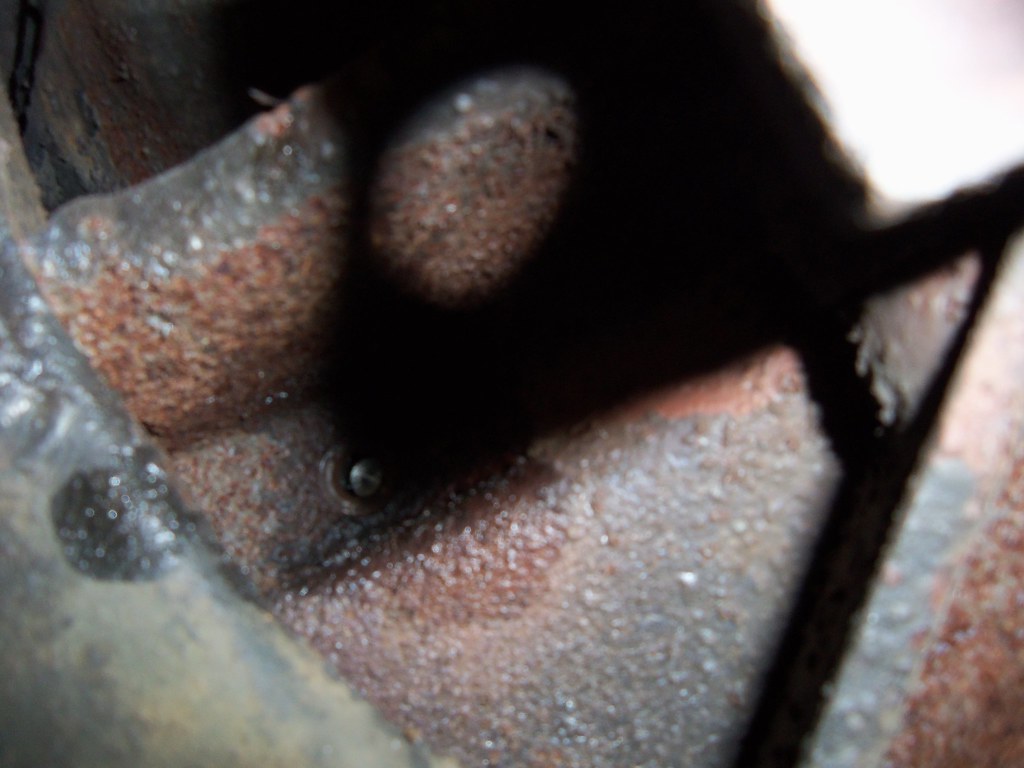
The other bolt with the head drilled off.

A lightened front end.


The control arms are in the back of the truck, the new polyurethane bushings are in the cab, the shipping box is in my cubicle, the Corvair Ranch's address is in my phone, and a lunch-time trip to FedEx is on my calendar. Given the high price of shipping things, I toyed with the idea of just driving the parts up to the Ranch, but my time is too precious to give up an evening. I'm already planning on driving up there to pick them up once the new bushings are in since I'll also be going through Jeff's stash of LM coil springs to find Heavy Duty front and rear coil springs to replace Glinda's standard stiffness springs.

Monday, June 10, 2013

I Jinxed Myself

The other day, when I typed “schedules are made to be broken,” I really didn’t think it would go as far making every task on the list a big pain in the butt. I knew suspension disassembly would be difficult, and it’s proving that and more. Friday evening I spent a few hours in the garage working on the passenger side and couldn’t finish much more than removing the shock, breaking loose the balljoints, and removing the coil spring. The issue that held me up after that was removing the big bolt retaining the lower control arm. It took the leverage of the torque wrench to break free the nut, but that was as far as I would get that night. Beating and banging on the end of the bolt wouldn’t budge it. The impact wrench would spin the bolt in the inner sleeve of the arm’s bushing, but it would not come out.

It wasn’t until last evening that I could get back out to the garage. A few more spins of the bolt followed by some aggressive whacks with the sledgehammer and the bolt finally moved. A few minutes and a few whacks later the bolt was out and the control arm was free. The futility of trying to remove components from the crossmember was heightened by the struggle to loosen the two nuts holding the upper control arm in place. Finally, I got it through my thick skull that the crossmember would have to removed.

First, however, I broke loose the balljoints on the driver’s side and removed that side’s coil spring. It is safer to remove the spring when the crossmember is still attached to the car to keep it immovable while lowering the control arm to free the spring – lots of energy in a car’s compressed coil spring.

Next, I said a prayer and proceeded to spin out the first two bolts on the right side – that was too easy. With the jack supporting the crossmember, I engaged the 9/16ths 6-point socket over the third bolt and pressed the impact wrench’s trigger. I was immediately rewarded with spinning of the socket, but NO spinning of the bolt - it’s points were rounded. Crap! Moving to the driver’s side, the first bolt did the same thing, but the last two spun right out. In baseball, batting .666 is phenomenal. In automotive disassembly nothing less than 1.000 is allowed.

That seemed to be a good time to quit, clean the grease from hands, arms and face, and pop open a Yuengling’s Black and Tan.

Monday, June 3, 2013

Now I Really Need to Get On the Stick

I spent part of Saturday afternoon working on Glinda. I drove her into the garage guiding her front end up onto the ramps to give me good access to all the front suspension fasteners. Using an eye dropper applicator, I liberally applied the proven 50-50 mix of ATF and acetone to as many threads as I could get to before rolling the car down off the ramps. Then, I dug out all the silicone and hardened original adhesive that filled the channel surrounding the backlight. With all that out of the way it didn’t take too much of an effort to cut through the remaining adhesive with my nifty windshield removal tool. With the glass out of the opening, I was reminded of the filler work I’d had to do a few years back. Back then I hadn’t wanted to remove the glass so I’d carefully brushed off the loose rust, treated the remaining rotten steel, and artistically sculpted bondo to fill in the missing metal. That work was followed by a few coats of primer and paint to hide my handiwork (as pictured to the right). I now get to make the repair correctly – with sheetmetal patches MIG welded into cleaned out holes. Holes that will be carefully cleaned up to remove all rot. All this work is additional to my current plans of trackification, hence the title of this blog. By the way, I love mixing the aviation origin of the phrase with a car blog.

Speaking of trackification, Friday evening I had a very nice conversation with one of the more respected Corvair racers, Dave Edsinger. Dave had me share with him my plans for the car and what I’ve already done. Fortunately, none of the handful of new suspension parts I’ve purchased will have to go back. Furthermore, he gave me a lot of help towards getting Glinda set up to be an awesome streetable track car. Some of the changes he recommended for the front end included getting heavy-duty springs and cutting a coil off, shortening the control arm bushing spacer to increase the stiffness of that joint, and installing the quick-steer arms I’ve got. For the rear, he urged me to buy some 250# stock car springs and ensure the bushings in strut rods, control arms, and stabilizer links are all in good. For both ends, he gave me alignment values he’s found work best and encouraged me to find some good shocks (“even in they’re used”). The new front end bushings should all be her this week, so I may need to make a trip up to the Corvair Ranch Saturday morning to get Jeff’s mechanic to press off the old and press on the new. That means I need to get Glinda’s front end disassembled this week.

Like the title says – it's time to get on the stick.

Thursday, May 30, 2013

Pulling The Trigger


Given these politically correct times, the title will probably offend someone (don’t care).

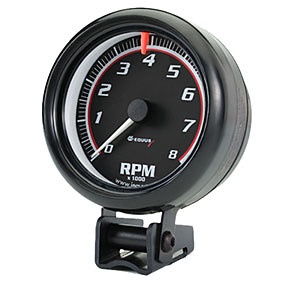
It’s not the best time for me to spend money on Corvairs – we’re in the process of buying a second home and the lender is watching our accounts pretty closely - but I can’t wait until we’re through closing to start trackifying Glinda (hence the uptick in her sidebar dollar figure). Corvair Underground happened to be having a sale on their front suspension components that lasts only through the end of the month, so I just had to place an order with them for new urethane (stiffer) control arm and strut rod bushings. Also, an article in an online CORSA club newsletter inspired me to find a great deal on an Equus tachometer that I’ll be installing in the empty bucket in the middle of her dash (where a clock could have gone). Previously, I’d bought the materials to reinstall her backlight. Part of this project will be un-denting the stainless window surround that I wounded while trying to install it a month or so ago. It was that futile effort that caused me to order the adhesive and primer.

I’ve resigned myself to the fact that I will not have enough time or money to convert Glinda to a 4-speed car. The day at the track will be interesting, as will the national convention’s autocross competition. Not that I hold any hope of winning my class this year, but I can take solace in the fact that one of last year’s winners drove a Powerglide equipped LM.