
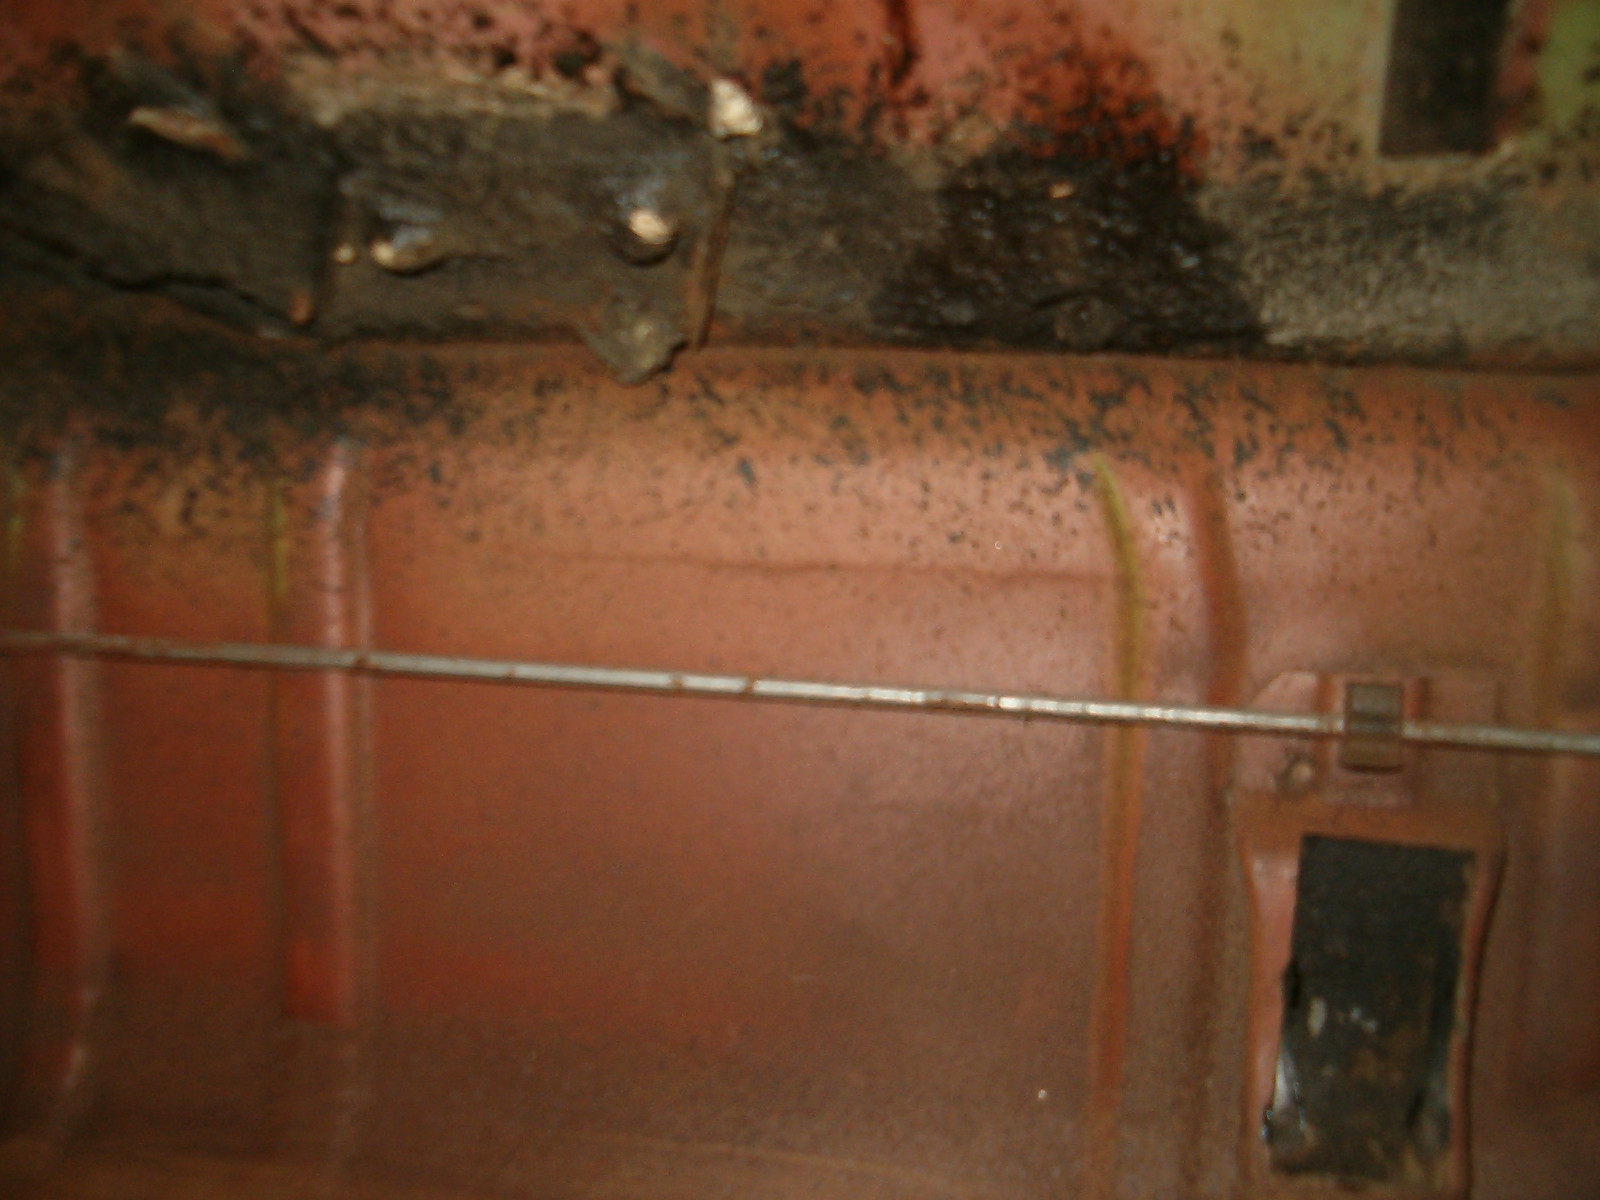
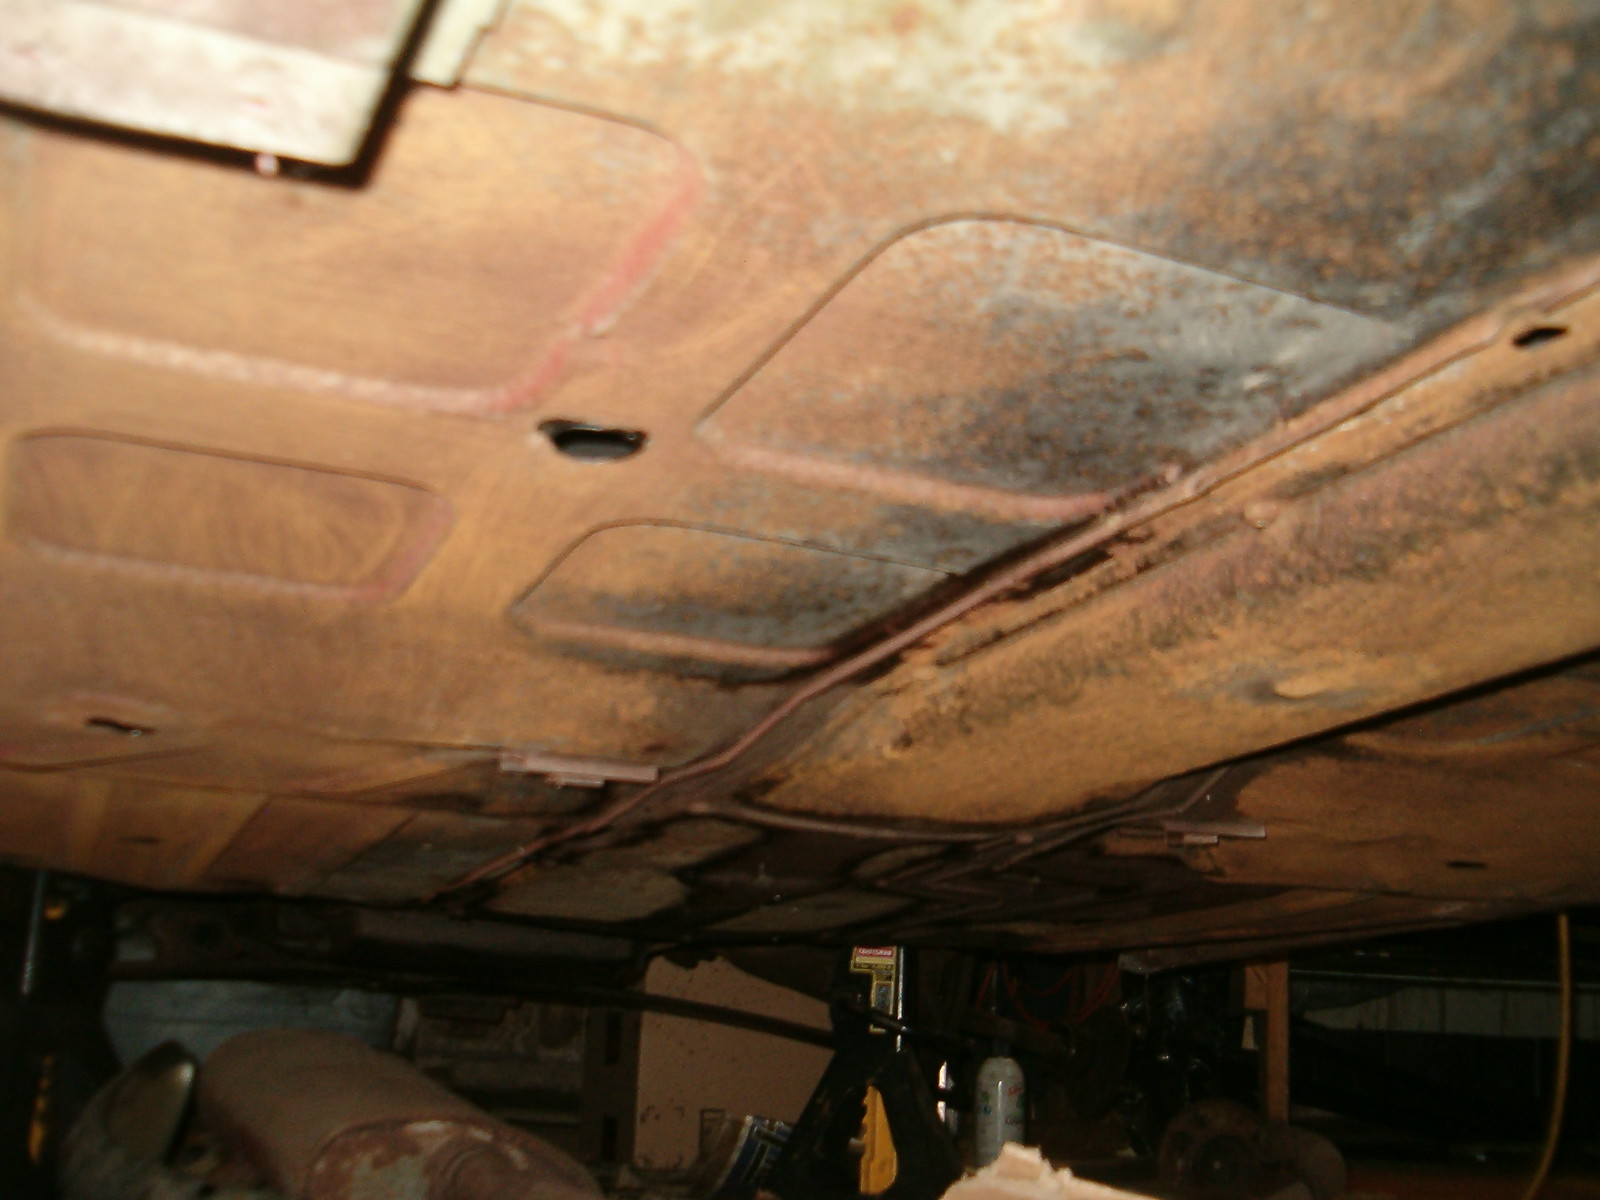
Mikhaila and I had a great weekend working together in the garage. I’m trying to balance disassembly and cleaning projects with reassembly and coating ones to keep her enthusiastic. This last weekend she climbed under the car and wire brushed all the loose rust and gruck from the underside surfaces while I carefully inspected the brake lines for corrosion. Since this car spent such a long time in storage, the galvanized lines are in very good shape and don’t need replacing.
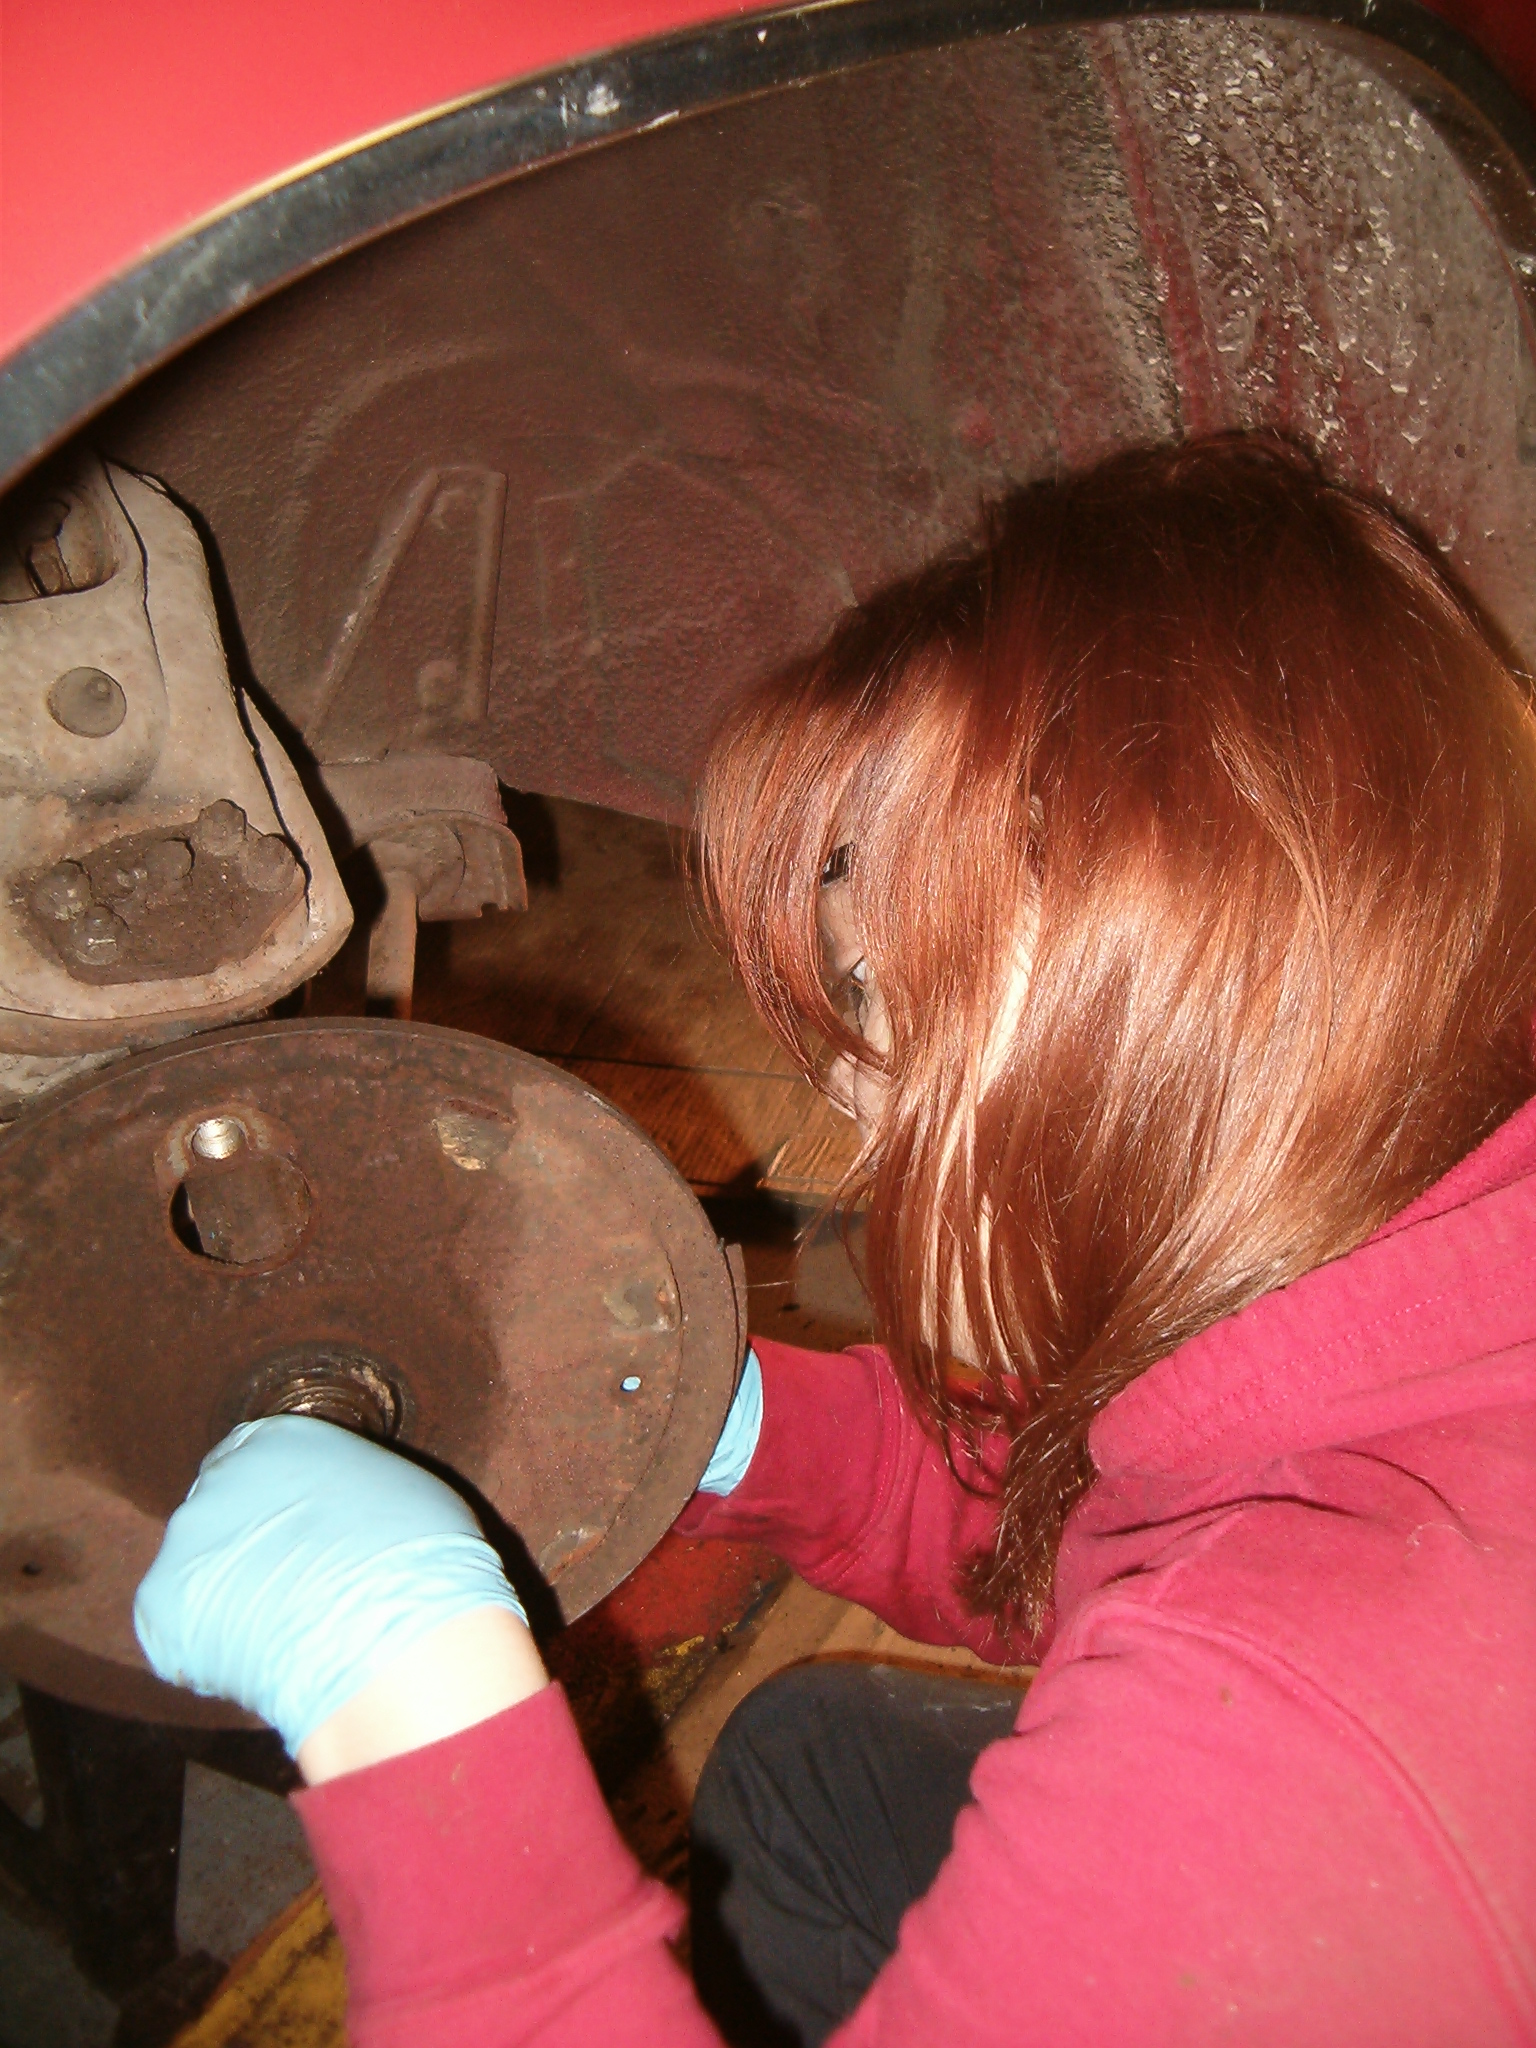
Next, we assembled the two front brake assemblies. The left side went well until we went to bolt on the drum. Once the nut was torqued the drum refused to turn. We concluded the outside ear of the new wheel cylinder is sticking out too far interfering with the drum. Sadly, this is a known possible issue, and we got bit by it. As others have done, I’ll grind down the ear until the drum spins freely.

Speaking of wheel cylinders, we next discovered the wheel cylinder I had in my stash of stuff was not for the right side as I’d originally written down. Therefore, we were dead in the water until I made the call to Clark’s … or were we? I’d saved the old cylinder, so I punched out the used-up innards and inspected the bore. It wasn’t too bad looking, so, after unscrewing the bleeder valve, Mikhaila and I honed out the inside until it was clean and smooth. I cleaned up the two pistons and then handed Mikhaila one of the 7/8ths rebuild kits from the storage box marked RJS. She stuffed the cylinder’s bore with spring, cups, and pistons generously coated with DOT 3 brake fluid. On went the end caps and we could continue putting the right front brakes back together. Since we’d re-used the original wheel cylinder, the drum spun freely once it was installed with freshly greased bearings. The last brake task we undertook was installing the new brake hose. While it easily screwed into the cylinder’s threaded hole, it took some finagling to get the brake line’s fitting screwed into the other end of the hose. It wasn’t until this morning I remembered I’d forgot to insert the new copper washer. Irr.
Our time in the garage ended when we almost completed the rebuilding of Scarlett's second carburetor (the other carb came off Glinda – more on that later).
By that time on Sunday evening it was getting cold and windy – perfect timing for me to leave the heated garage for the brisk driveway where Glinda waited to have a new fanbelt put on and the second modified carburetor reinstalled.
Regarding the fanbelt, I’d blogged back in mid-November how high-rpm escapades had caused Glinda’s fanbelt to come off. Since I wasn’t carrying a new belt at the time, I reinstalled the flipped one and crossed my fingers. Last Friday I had to come in to work, and I decided to drive Glinda forgetting – again – to put a spare belt in the trunk. Well, my lame-ness was rewarded as the wounded belt busted soon after I left my work’s parking lot. Not having a spare, I first tried to nurse the car home with occasional stops. Finally, engine clattering on a hill forced me to give up and call upon the lovely Loriann to come rescue me again. Even though she’d brought me a replacement belt, I’d decided I didn’t want to deal with disconnecting the line feeding the oil pressure gauge in the dim illumination of a streetlight, so we left the car parked in a church parking lot and I returned an hour or so later with the truck and tow-bar and drug Glinda home. In the comfort of my own driveway with plenty of light, I undid the oil line, installed a new Clark’s fanbelt, and reconnected the oil line in a matter of minutes.
Along with a carburetor rebuild kit, my last order from Clark’s Corvair Parts included four accelerator pump cups. I installed one of these on a GUP pump and tested it in the shelved modified carb base that wouldn’t work previously, and the new cup did the trick – nice squirts with each blip of the throttle shaft. I removed Glinda’s right carb assembly (it had the borrowed unmodified base), carefully separated the top from the base preserving the gasket, swapped on the newly tested pump, and mated the racing top (added vent tubes) with the racing base (relocated jets). The assembly was then installed onto the engine and a turn of the ignition key resulted in the wonderful rumble of the Corvair 110 pumping air through the Flowmaster. After both chokes had fully opened, I shut down the engine, disconnected the choke pull-off hoses from each carb, connected the ends of my clear tubing containing a few tablespoons of water to the aforementioned vacuum ports, and re-fired the engine. Minor tweaks of the throttle screws and the water stopped moving. I tightened the fancy linkage and the carbs were synched. After reconnecting the pull-off tubes, Glinda was ready for a test drive. There was still some stumbling around mid-throttle, but, finally, putting my right foot to the floor elicited a grin rather than a grimace.
She's now ready for some sprited commuting - just in time for snow to force me to permanently pull her off the salty roads.
No comments:
Post a Comment