Monday, September 29, 2014

The Beat Goes On


Sunday afternoon afforded Mikhaila and me the opportunity to spend some quality time tearing apart Scarlett. Per her previous request, we focused on brake disassembly. We were able to safely remove the four brake hoses, all four brake assemblies, the four wheel cylinders, and the master cylinder. I loved her comment about how she was so much dirtier than I was. “It’s because you’re doing all the work,” I replied. We took lots of photos of the brake assemblies as we dismantled them to ensure we got everything put back correctly. My next task is to get the tubing parts to complete the dual master cylinder conversion and to find the wheel cylinder that’s hiding somewhere amongst my GNP stash.


After two hours, the mosquitoes starting biting, so I released her to go inside, and I turned my attention to Glinda. Since I was already dirty and there was a couple hours before dinner, I thought, “what the heck.” After placing her rear up on jackstands high enough to get the tires off the ground, I set the ignition to ON, and shorted the purple starter wire to the positive battery terminal to make the engine spin. As soon as the engine started turning, I heard and felt some clunking that I perceived as coming from the starter/clutch area. After a second or two of slow turning, I decided to pursue investigating that area before starting the engine. I slid under the car and removed the starter and took a series of photos slightly rotating the engine between shots. I didn’t really see anything significant like bits of metal or broken teeth, but I didn’t go more than forty-five degrees or so before moving on.


One issue that I definitely needed to address to rule out as a cause of the banging was the ineffective bolt hole in the front of the transmission. This stripped hole was allowing the drivetrain to shift from its designed orientation. I removed the loose bolt, made a quick trip to Home Depot to buy a replacement bolt one size longer, and then slid back under the car to try out my fix. With the other two bolts still snug, I drove the new screw into the hole. Even though I felt I was engaging more threads than before, the gap failed to close and the bolt failed to tighten.

At this point, I knew the only fix would be to install a helicoil in the failed hole. To prep for that operation, I disconnected the clutch, throttle, and shifter couplings, put the jack in place to support the transmission, and removed the bolts holding the trans to the support. I then lowered the trans to ensure I could get access to the bad hole (which I could). After that I placed the transmission on a jackstand and put all the tools away.

Once I was cleaned up, I went to Amazon.com and placed an order for 3/8-16 helicoil kit. It should arrive in a couple days.

Thursday, September 25, 2014

Money Still Being Spent

While I may be ignoring Glinda and her issues, it doesn’t stop me from I was perusing the entries in the CorvairCenter forum when out jumped one entitled, ‘for sale " Pert 2"’ A Pert 2 (actually called a Pertronix Ignitor II) is an electronic ignition module that fits under a stock distributor cap and replaces the points and condenser, and I was going to buy one with THRaF money, but a change in priorities made that $117 purchase unfeasible. Anyway, I clicked on the link and found the seller was only asking $50 for a slightly used one. Cool! I don’t mind used as testified by my Craigslist tendencies. A quick message to the guy, and I was hooked up. I will, however, need to buy a new coil (a Flamethrower 2), but I was going to do that anyway given Glinda’s rough running at higher rpm.

Monday, September 15, 2014

Done With Racecars For a While


Sunday afternoon Mikhaila joined me in the garage for some quality Corvair time with her car. While I returned to Luna her borrowed wheels, Mikhaila continued cleaning Scarlett's (this post marks the date where she agreed to give her car a decent name in place of RedVert) seats. So far it appears the original upholstery will be usable.

Once Luna was down on the ground and the jackstands were available, we put Scarlett up in the air and removed her wheels to give us access to the hub ends of the brake system. I had given Mikhaila options as to where we start first on her car: engine, brakes, bearings, fuel. She chose brakes. We’ll be doing this job in stages with stage 1 being inspection of what’s there. From what we could see, the lines and hoses are actually in pretty good shape, but we’ll be replacing the rubber hoses anyway. To improve access to the rear fittings, we undid the outer ends of the heater ducts. While under the car, I noticed the exhaust pipe has rusted through in one spot, so I decided we should also remove the exhaust system which helped with brake fitting access as well. We sprayed both ends of all four hoses before moving on.

I’m anxious to determine the condition of the engine, so Mikhaila and I went to work prepping the engine for starting. After removing the spark plug leads, we discovered mice had moved heater box insulation to the volume under the Upper Shroud (turkey roaster). That meant that we needed to remove that shroud to clean out all the finned passageways of the heads and jugs.

We accomplished that in surprisingly quick order by removing the alternator (this EM’s been modified), the vacuum balance line between the carburetors, the PCV valve tubing, and all the screws holding the shroud in place. Since the top shroud is sandwiched by the front shroud, the three screws for that piece had to be loosened. With the top now free, we finagled it off the engine. Mikhaila then gave each spark plug a generous shot of penetrating fluid which we decided to let sit and work its magic for a day or so.

Some of the parts Scarlett is missing include the side shrouds. John had allowed me to go through his stash of used parts and I did uncover a side shroud, but it ended up being for a turbo engine, and won’t work for us. The last task for Mikhaila and I before knocking off for the day was to go through my GUPs and see if I had the sheetmetal that Scarlett required. We found side shrouds (with good seals), a rear engine mount cover, and a couple lower shrouds (both with good thermostats). I really need to get rid of all the excess crap I’m keeping on shelves. It makes it very difficult to find the right GUP. Wait, the crap are the GUPs.


Tuesday, September 9, 2014

It Was Fun While It Lasted

My day at the track was fantastic while it lasted. Yesterday morning I pulled into the paddock around 7:30, and, after tightening a wheel bearing nut, got Glinda to pass tech inspection. While waiting for the 8:30 drivers' meeting, I walked over to drool all over a super-cool '68 Model 500 and meet Geoff Flynn and Mike Pietro. I’d been communicating with Geoff on Facebook for the past few weeks following his documenting the work they’d been doing on the car. They, like me, took it to the wire on making some significant modifications to Mike's 27,000 mile, basically original car which they then drove down from Albany, NY for the day. A couple of great guys.

While we were chatting, Smitty Smith walked over to join our conversation. He’s an older gentleman with MANY years of wonderful Corvair experiences. I could stand and listen to his stories for hours, but we were being called over for the driver’s meeting.

I sat down in front of John Egerton, a fast driver with a rare EM racercar. He had to hassle me about “going over to the dark side” (my decision to sell my EM street/track car and focus on racing a LM). After being instructed on how the day would be run, Group A (the non-Corvair cars) racers headed out onto the track for 20 minutes of getting acquainted with the twists and turns of the Thunderbolt circuit. I was in Group C, so I took advantage of the wait by driving around the paddock area to heat up Glinda's transmission. Shifting into first, when she's cold, is almost impossible. I needed to engage third, let the clutch out, and then second and let the clutch out before I could get first gear. Frustrating, but at least all the up- and down-shifts seemed fine between second, third, and fourth.

When I returned to my parking spot, I found my newly arrived neighbors were Brett Aston and his son. I’d met Brett at the 2012 Convention Autocross, where we ran in the same group, so we’d spent a lot of time chatting while waiting for our turns. A really nice guy with the fastest 2-carb ‘vair I’ve seen (I’m sure a good part of that speediness is his skill behind the wheel).

Finally, it was my group's turn to enter the track. I lined up second on the pit lane behind Brett, and, after he was through turn 2, I was waved onto the course. Soon after heading out, raindrops appeared on the windshield, but fortunately it wasn't anything more than a slight drizzle - the track never looked or felt wet. The first two laps were run under yellow flags to keep our speeds down, but after that, they cut us loose. I drove another eight or so laps, braking later and accelerating sooner at each corner. Most of the turns were taken in third gear, while a couple were fast enough that they could taken in fourth. Two annoyances quickly reared their heads. First, hard turning would cause the engine to bog (running only one race-modified carb), and, second, the engine didn't want to pull much higher than about 4500 rpm in third and less in fourth. At the end of the front straightaway, the speedometer's needle was bouncing, but I think I the engine was turning around 4300. That calculates out to about 90 mph.

I actually passed someone on the track – an experience I’m not really used to. Another unusual occurrence for me was that throughout my track time, no one came up behind me.

Way too soon, the black flags came out signaling us to exit the track since our twenty minutes were up. As I coasted into the pit, I heard a racket coming from Glinda’s rear end and saw the tachometer bouncing around. After parking near the truck, I pulled off my helmet, unbuckled my harness, climbed out, and immediately popped the hood of the still-banging engine compartment. Nothing appeared loose, but it was making a metal-hitting-metal sound. As soon as I gave the throttle a little blip, the noise went away immediately only to come back as soon as the rpms dropped back to idle. One of the racers walked by and told me it was just a starved lifter clattering, but I didn't believe him. Brett came over and thought it sounded like a noise his car had made when one of the transmission mounting bolts had come loose. Remembering that one of the three bolts attaching the transmission to the crossmember never really torqued up, I jacked up the right side, lowered it onto a jackstand, and slid under to investigate. Sure enough, the bolt had backed out and there was now an eighth-inch gap. I grabbed a wrench and with only some optimism started tightening the bolt. As soon as the gap started to close, I'd hear a pop and feel the bolt loose its torque - a stripped hole. Brett went through his collection of spare parts, but couldn't find a new bolt. I was sent to the trailer of another racer who, it was thought, would have a helicoil, but he didn't.

Knowing I had to have all four of her wheels spinning to get her home, I made the hard decision to hitch Glinda back up to the truck and go home. I'd been fighting a head cold, and I didn't have a decent camera with me, so I was not enticed to hang around to take any videos or photos. While I was packing, John wandered over to find out what was going on and to share a couple great David and Goliath stories where he and his unsafe-at-any-speed car beat some impressive competition. A nice way to end my time at the track – a reminder that it’s the people, not just the track time that make me enjoy these events so thoroughly.

After a long two-and-a-half hour drive home, I pulled up in front of the house. Later, I unhitched Glinda from the truck and fired up the engine. The noise sounded worse, but I was able to get her backed up the driveway and parked by the garage.

Combining the shifting problems and the noise, I’m more inclined to point my finger at something inside the transmission. I will, though, helicoil the stripped hole and get everything back in line before I go pulling the transmission apart. But NONE of that's going to happen any time soon. I'm done with working on Glinda for the foreseeable future. All my Corvair time is going to be spent working on Mikhaila's car.

Highlights of the day were: spending time with Corvair racers, getting some green flag time while being oblivious to my car’s woes, listening to the awesome-sounding engines as they raced around the track and cruised through the paddock.

It’s All in the Prep


Last Friday night seems like a week ago already; so much has happened since then. I’ll put off my write-up on yesterday’s track event for a second blog post.

Friday evening I had some driveway time available to me, so I took on the task of giving Glinda a tune-up. I’d sprung for the good stuff when I placed my order with Clark’s so I was optimistic that, once done, she’d run smoothly up into the higher revs. The job went surprisingly well. I got the new points and condenser installed without dropping any of the tiny screws – TYL. I got the plugs changed without stripping out any threads - TYL. I got the rotor and cap changed without crossing any wires. With all the new parts in, I adjusted the point gap to an indicated 34 degrees on the dwell-meter and the distributor twisted to an indicated 12 degrees BTDC (before top dead center) on the timing mark. With that done, I cut down and installed the two-and-a-quarter inch tailpipe I’d recently bought. This would ensure that the hot exhaust gasses would exit aft of the car’s body. While I was fitting the pipe, I discovered the bracket I’d clamped to had broken, so I needed to re-clamp – this time grabbing more metal under the clamp.

Saturday, the lovely Loriann posited, “Wider tires means a safer car, right. Well, put the longer studs on.” With that encouragement I dove into the stud replacement project. Starting at Glinda’s right front, I jacked up the right side of the car, supported it on a jackstand, removed the front wheel, followed by the drum, and finally the hub. With a lugnut in place over the end of each stud, I whacked them all out with a hammer and then, using a washer-backed lugnut and my ½ inch impact wrench I pulled each new stud until the knurl was fully seated in the hole. The other front hub went the same way, while the rears had to be done with the hubs still in place.

Once all the studs were in place and the hubs and drums reinstalled, I mounted the IROC wheels and lowered the car back onto the driveway. With some driveway-time still available, I proceeded to install the new throttle linkage kit I bought with THRaF money. It was more of a challenge than I’d anticipated and the end of driveway-time came before it was completely installed. I set the alarm clock for early Sunday morning, and finished the job before the lovely Loriann left the bed.

It took another hour or so that evening to pack parts and supplies in the back of the truck, drive Glinda to the gas station to put fuel in her tank as well as fill two five gallon jugs with hi-test, and, finally, hitch her up to the truck.

Friday, September 5, 2014

Still Trying to Thwart Me at Every Turn

Last evening was supposed to be simple – just bolt on the IROC wheels and take Glinda for a test drive. Instead it ended up being a frustrating evening of Glinda still fighting me on every task.

I should have known that just bolting on cast aluminum wheels in place of stamped steel would not work, but, optimist that I am, I thought the included lug nuts would, like they did on Lucy, accommodate the increased thickness of the wheel. They did not. That left me with a decision; put the stock wheels back on which would, within the next two days, need to be replaced (wouldn’t take them on the track), or remove Luna’s wheels and put them on Glinda as I did when she went to this summer’s convention. The former would require me to buy longer wheel studs, install them into the hubs, and then mount the IROC wheels – all before Monday morning. The latter means I’m good-to-go, just not with the wider, lower-profile tires I’d hoped to go with. Given all the time this project has sucked up, I went with the latter with the option to revert to new studs if time allowed. So an hour later, Luna was up on jackstands, and Glinda was finally wheels down.

At that point, I believed the last required task would be to back the car up on ramps and tighten the stabilizer bar bracket bolts. Sadly, it could not be that easy. Even though I had confirmed a couple times I could shift into all five gears, when it was actually required to happen Glinda said no. I’d pulled forward in the driveway until I was facing Ringo, then when I tried to engage reverse, I got nothing. After ten minutes of struggling, I gave up and got out the jack and jackstands. With Glinda’s rear back up in the air safely on jackstands, I slid underneath and adjusted the shifter by loosening the clamps, slightly rotating the coupler inside the shift rod, and re-tightening the clamps. That did it. With that small adjustment, reverse was available, as were all the four forward gears.

Next, I backed her up on the ramps to do the aforementioned bolt torquing. At this point, since I was already deep into the evening, I decided to quickly deal with adjusting and swapping back on Glinda’s right-side racing carburetor. I pulled the top off the carb, bent the float’s tang so it would shut off the needle-and-seat sooner, and, after removing the borrowed carb, bolted the tweaked one on to the head. Finally it was time for a test drive. It went well, other than the issue with that one carb is still there. I was able to shift through gears, although it will take some practice to always smoothly engage first thru fourth.

Back in the driveway, I added to my euphoria by emptying the rest of the gas jugs’ contents into Glinda’s gas tank and joyfully watched the needle climb towards ½ full when I turned the key to ON.

Being’s it was then nearly bedtime, I called it a day on the high note.

This morning I was on the CorvairCenter forum to find a wheel stud part number (Dorman 610-157), and then on the phone with Napa trying to find twenty of them. I succeeded in that it only took trips to the two nearest stores to round up the four wheels worth.

Regarding the still misbehaving carburetor, I’m going to first install the new plugs, points, rotor, condenser, and cap, and set the dwell and timing before I go any farther. I read somewhere that ninety percent of fuel issues are electrical. If that doesn’t solve the poor acceleration, I’ll try swapping the top from the borrowed carb onto the racing carb and see what happens. If it’s still a fail, I’ll revert back to the borrowed carb even though high-speed turns may cause a partial cut-out.

Thursday, September 4, 2014

No Duals for Glinda

After a prolonged battle, I had to give up on installing the dual exhaust. When I test-fitted the left-side Flowmaster muffler, It sat right next to the valve cover – not even enough room to fit a heat shield. I’m not sure what this pipe was designed to do, but it can’t be used with a muffler. Once that decision was made, I grabbed the nearest usable stock exhaust pipe and was thrilled to find it had two reasonably useable gaskets on the input ends and an adapter on the output end. So, only one more adapter was needed to go from two-and-an-eighth to two-and-a-quarter. One pipe clamp later and the inlet was done.

The outlet end of the muffler needed to restrained, and, stock-wise, this is done using a metal strap attaching the muffler body to a hanger bolted to the engine. Sadly, I then found out the stock strap is too short to go all the way around the fatter Flowmaster, so I ended up using a hose clamp run through an opening in the hanger’s flange and then around the muffler’s output tube. Stock, non -turbo Corvairs all have ninety degree elbows on their muffler outputs to aim the exhaust to the side. With the smaller diameter stock pipes, the elbow turn is pretty tight, but with the two-and-a-quarter inch Flowmaster outlet, the elbow on the shelf at Advance Auto had too large a radius to allow it to fit between the end of the muffler and the car body. That meant the outlet of the muffler pointed straight at the rear grill. So off that came. Looks more racy.

I then fired up the engine to check for exhaust leaks, and, while it’s not totally sealed, it’ll do for racing. It would be in better shape If I’d spent the hour to remove the old gaskets and use the new ones in Clark's kit, but this condition will have to suffice for now. By the way, while not nearly as cool sounding as Jonathan’s Corsa, the single Flowmaster is a great aural improvement over stock. I need to take a video and post it. As soon as the engine had started, I noticed that the TEMP/PRESS light stayed illuminated. Since the engine was cold and the oil pressure gauge was reading nearly 50 psi, I knew there was an electrical problem. With the engine off, it took only a minute of sleuthing before I found the exposed connector in the engine compartment grounding on the alternator. With the connector moved to a safe location, the light went out as soon as the starter started cranking. Speaking of lights being out, the left taillight wasn’t working. It only took some bending of contacts to put that right. Next, I wanted to feel how close the clutch’s adjustment was. Still up on jackstands and with no wheels mounted, I made sure the rear drums were in place and the parking brake fully on. With engine running, in went the clutch, into first gear went the shifter, and then out came the clutch slowly. About halfway in its travel, the engine rpm started to drop. Wow, that seems just about right. I tried all the other gears and, happily, was able to engage all. TYL for everything.

At that point it was nearing 9 PM, so I called it a night.

All that’s left is mounting the wheels (having gotten the leaky front wheel repaired this morning) and droppin the car off the jackstands before hitting the road. After the test drive, I still need to get the car up on ramps to tighten the stabilizing rod ends (they need to be torqued down with the suspension at ride height).

I’m hoping I’ll also be able to get to adjusting and reinstalling the racing carburetor, mounting the new throttle cross-shaft, and doing the tune-up.

I will definitely need to pack for the track before Monday morning early rolls around.

Wednesday, September 3, 2014

Pipe in Place


Last night I got to do some welding, which I really enjoy (even though I’m not that proficient at it). My task for the evening was to attach the correct flange to the new dual exhaust pipe and then to weld the two halves of the pipe weldment together. Thanks to a buddy at work, I knew how best to align the unwelded part to the rest of the assembly – screw both flanges to a single 2X4. Using another exhaust pipe for the spacing dimension, I did just that. Next I laid a series of beads around the two joints being careful to fill in all the holes. I then took the still-hot piece over to the car and gave it a test-fit. It was not quite aligned, so I pulled it off and gave the longer leg a bit of tweak with the help of a five foot long pipe. As I was lying under the car fitting the pipe into place, the rain started. Fortunately, I’d already put away the welding equipment which I’d using in the driveway, but the falling drops still signified the end of my work day.

Tuesday, September 2, 2014

Could It Have Been Any Harder?


First, I need to get the complaints off my chest. Here are the top twenty hassles I had to overcome during the three day weekend to convert Glinda into a manually shifted Corvair. There were plenty more, but my selective memory has already forgot them.

1. I have the habit of doing the hardest, longest projects - be they house or car – on the hottest, muggiest weekends. This weekend held to that tradition.
2. I had to sand and wire brush most of the paint I’d put on the shifter rod, after confirming Clark’s instructions with their shifter tube bushing kit “if you painted you shift rod, remove the paint.” Arghhh! An hour down the drain.
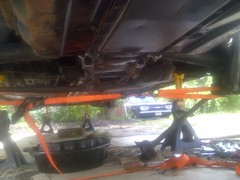
3. It was very depressing to lie on the ground and look up at the rusty underside of a car I’m about to commit my long weekend. I know I won’t even have time to get out the POR-15.
4. Regardless of where I placed my face, rust fell in my eyes.
5. I was reminded that forty-six year-old bolted joints really want to stay bolted. Breaking loose the u-joint bolts carefully enough to not twist off a bolt head is challenging.
6. The plywood I’d planned on using to give me a smooth surface to roll the jacks on being about two inches shy of wide enough, so I was left with rolling smallish wheels over old, heavily cracked concrete.
7. I missed the fact that the generator sticks up enough to catch the perimeter seal while rolling the disconnected and lowered drivetrain out from under the car. Thirty minutes of loosening the retainers and reinstalling the rubber.
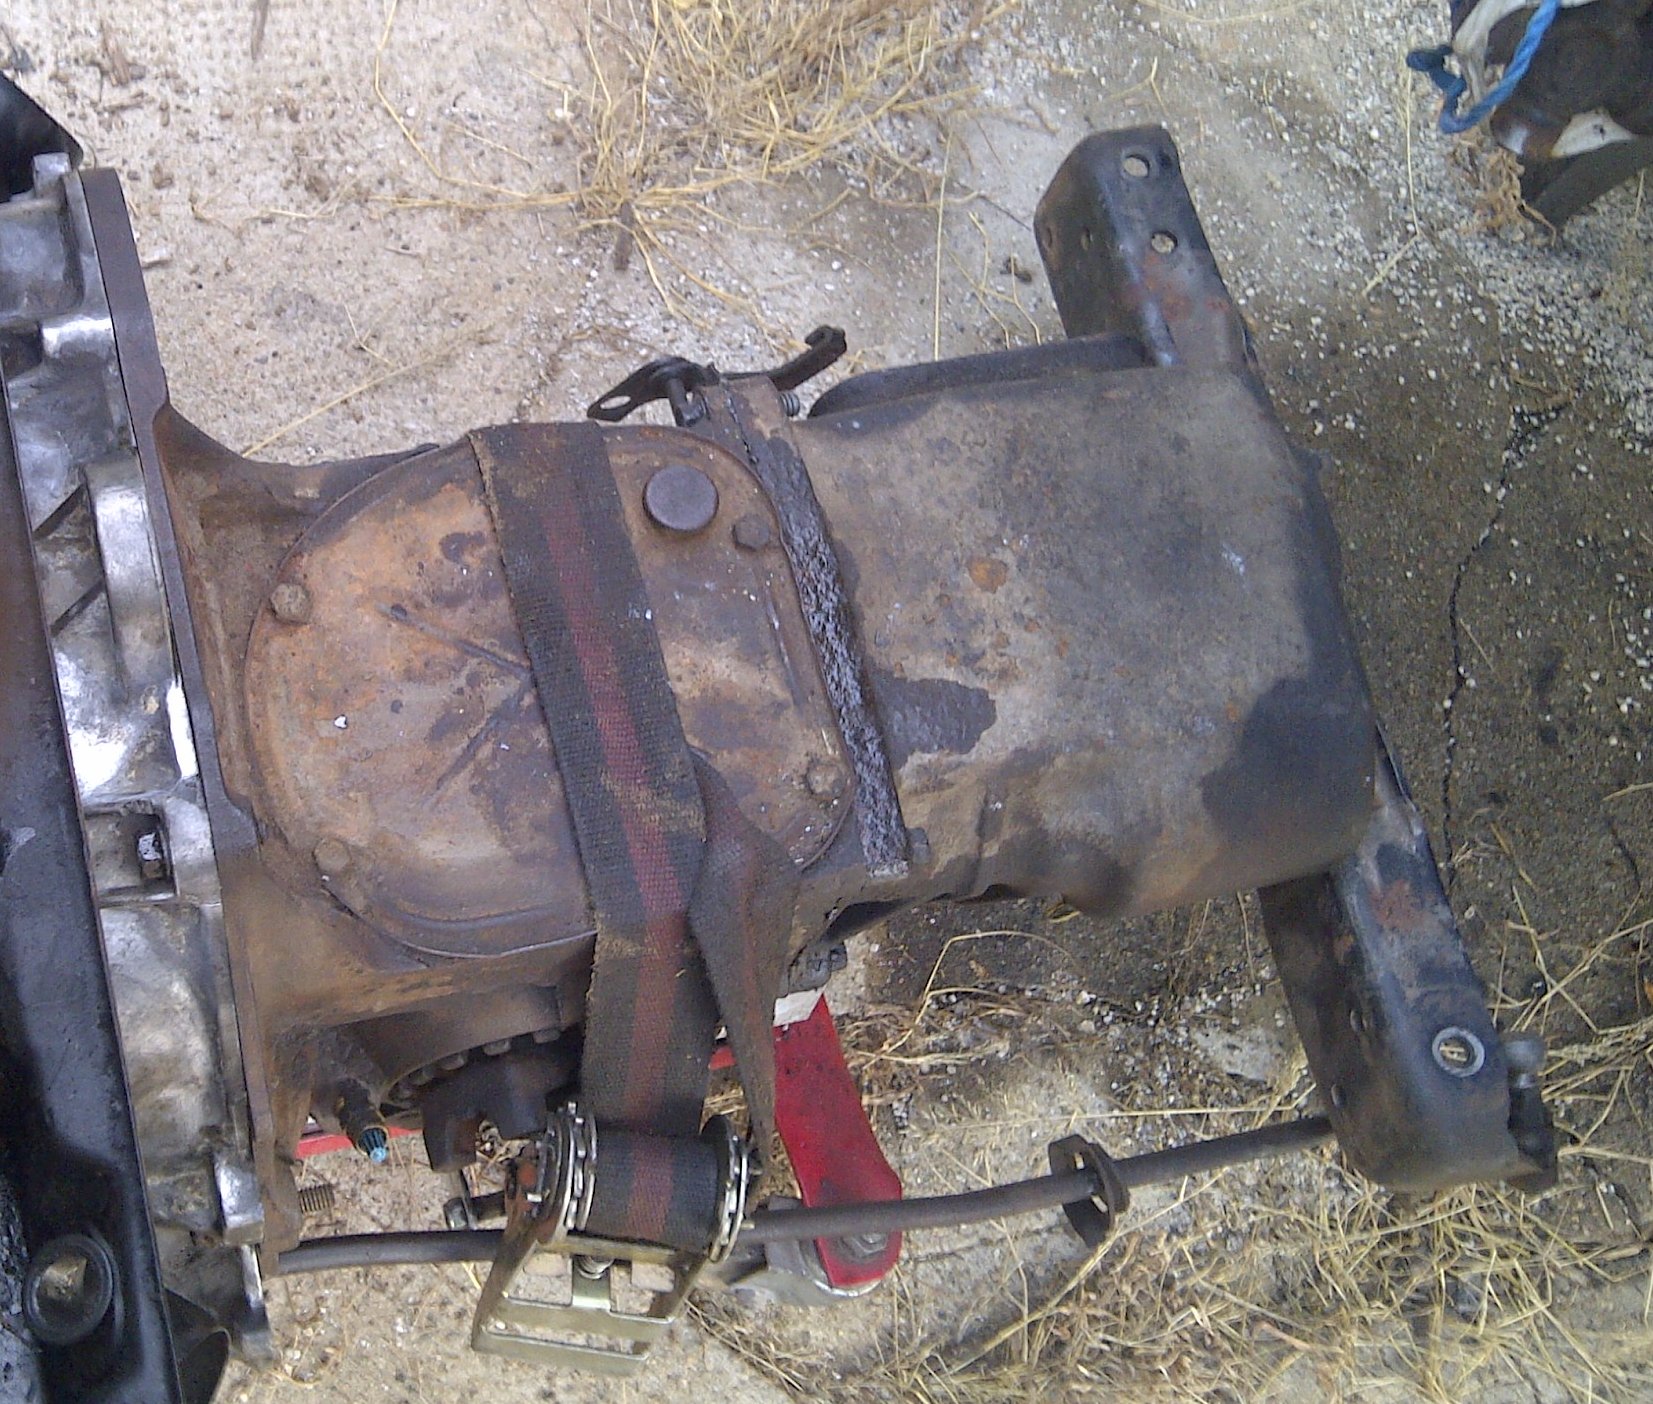
8. I found out that a transmission from a ’66 Corvair will not mate to a differential from a ’65 Corvair after bolting the differential to the engine is bummer. I won’t be getting back those three plus precious hours of cleaning, inspecting, and reassembling.
9. I discovered the 5/16 diameter bolts that came out of the ’68 differential will not go into the ¼ diameter threaded holes of the ’65 differential. Overcoming this issue required two trips to Home Depot and two trips to Lowes (don’t ask).
10. I further discovered that normal ¼ bolt hex heads preclude using anything other than an open-end wrench.
11. And I further discovered the ’65 diff yokes are not threaded deeply enough to accommodate the same length strap bolts as the ’66 (hence the additional trips to the hardware store).
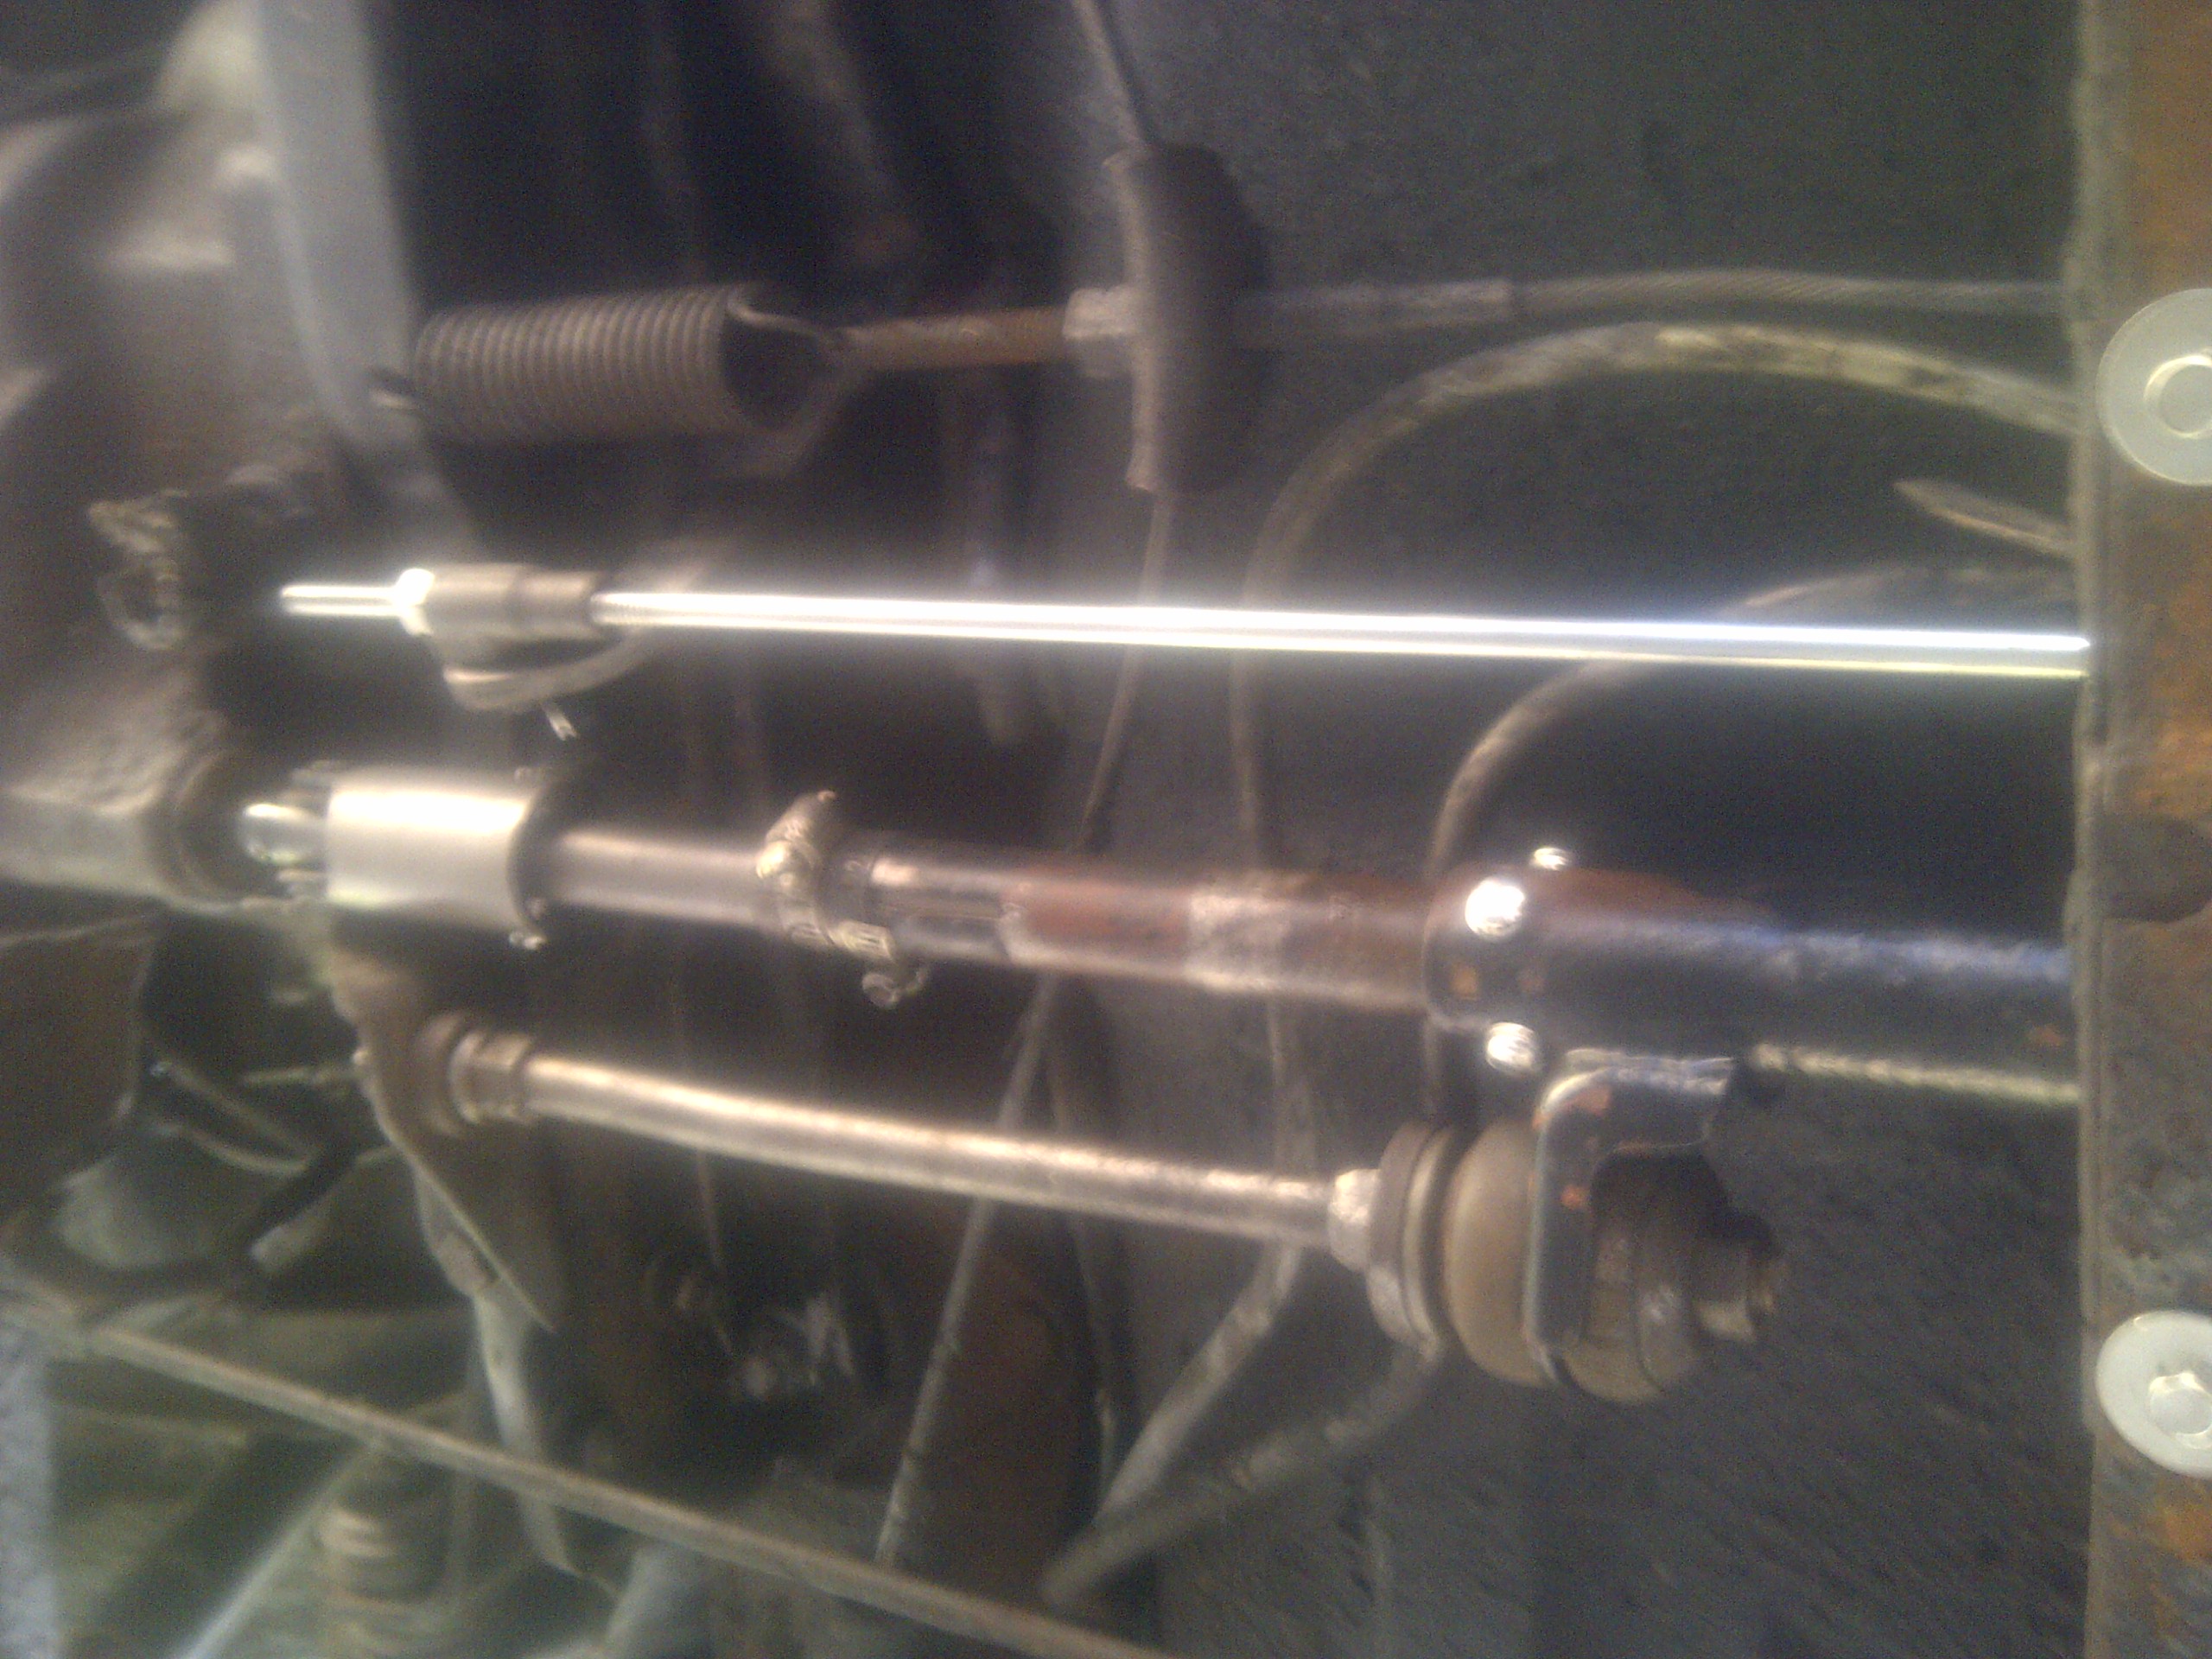
12. I realized that new bushings in the shift tube make dead-nuts alignment of the tube to the transmission a must. Now I understand why the stabilizer rod I just straightened needed to be bent.
13. I forgot the differential also bolts to the oil pan. An oily bummer ensued because of that.
14. I noticed the fuel line rubbed on the stabilizer rod unless I installed the sheetmetal piece I neglected to harvest from the ’65 at the Corvair Ranch. At least a half-hour of quality (not) cut-off wheel work on the automatic piece I’d pulled off and I was good-to-go.
15. It took me over an hour of struggling and swearing before I finally remembered I could use a ratcheting strap to pull the rear wheels inboard enough to install the u-joint straps.
16. I spent another hour plus just to get the left side strut rod bolted to the diff after the right side only took fifteen minutes.
17. I forgot to put the clutch rod on top of the strut rod after the last bolt is driven home. Another twenty minutes to undo and re-do.
18. I had the new clutch cable fall off the pedal arm twice.
19. I had to remove the throttle rod pivot four times to provide access for routing the shifter tube, adjusting the shifter tube, tightening the u-joint strap bolts, and installing the bushing that I found lying on the driveway after the previous removal.
20. I did not finish after three days.

Now there were some positive things that occurred through all this, so I’ve created a top twenty of these as well.

1. I have a VERY understanding wife willing to tolerate a bathroom in disarray while I “play” with my car.
2. There are great guys in the Corvair world (thanks Gary, Jeff, and John).
3. Mikhaila was a willing assistant.
4. Physically I can still do this kind of work.
5. Financially I can afford this hobby (thanks Loriann and Dad).
6. The rain held off.
7. I’ve got a nice fan.
8. Nothing fell on me.
9. I didn’t break any bolts.
10. I cut the hole in the carpet in the correct location.
11. Everything eventually fit.
12. I ran the car with the transmission in all gears and there were no squeals or moans (from either the car or me).
13. I happened to still have the early transmission I was supposed to return to my ‘vair buddy John.
14. I happened to have the correct trans-to-diff gasket in my collection of GNPs.
15. Both Home Depot and Lowes were open on Labor Day.
16. Cardboard, zip-ties, and cans of fasteners are indispensable.
17. It’s so nice to have the right tools…
18. …and the right manuals...
19. …and lots of spare GUPs and GNPs.
20. God answers prayers.

With those out of the way, I’ll dive into some details. Friday evening I had hoped to have everything prepped for installation, but was immediately jammed up by the task of installing the new bushings in the shifter tube. That sucked up that night.

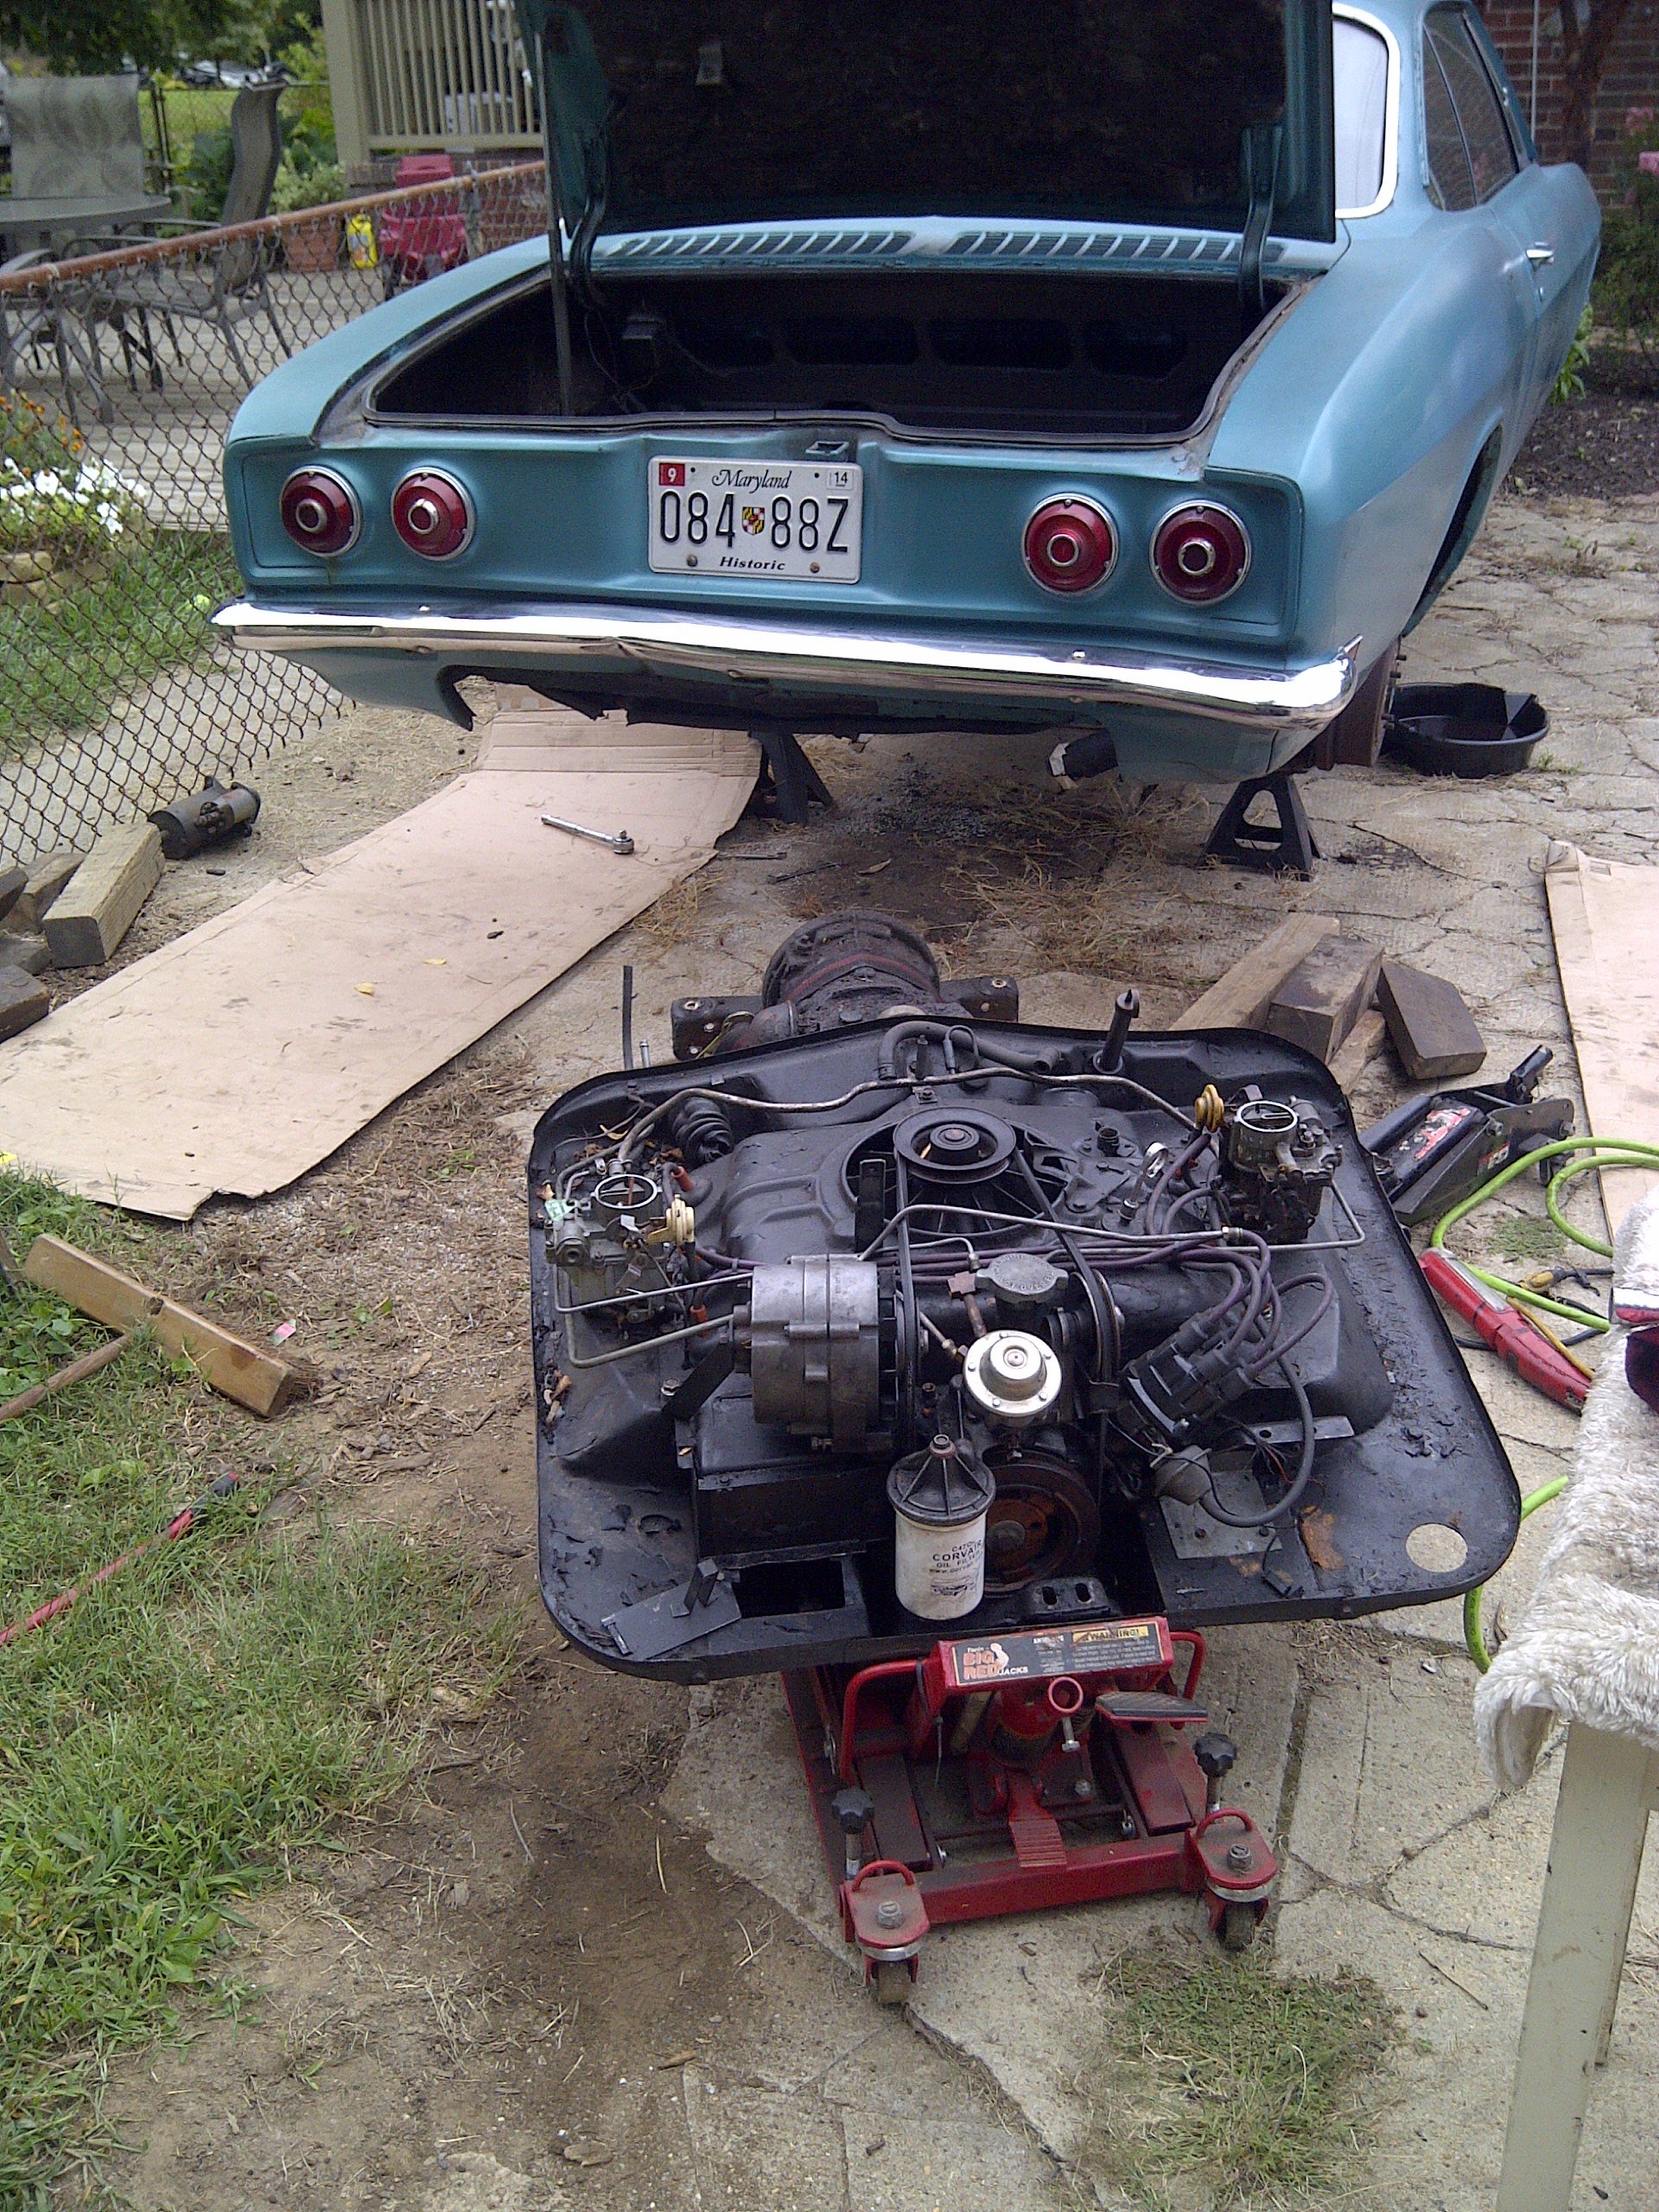
The rest of the weekend was mostly a blur of sweating and swearing. After disconnecting the fuel lines and removing the rear grill, I dropped the drivetrain and rolled it out from under the car. I then removed the transmission, followed by the differential. After removing the three flex plate bolts, I took off the torque converter and then the bell housing. I cleaned off the bore at the end of the crankshaft and tapped in a new pilot bearing. A new crankshaft seal went into the replacement bell housing which was then bolted into place with a new gasket. The flywheel went on next, and while the input shaft centered the clutch disc, I bolted on the pressure plate making sure to match the marks to keep the balance valid. I installed the shaft seal and ring in the bore of the differential shaft before hefting it into position on the flange of the bell housing and bolting it into place. Next it was time to install the transmission. My first clue something was amiss was the gasket Clark’s had sent me. It didn’t look anything like the face of the trans. I went through my collection of gaskets and couldn’t find one that looked like the picture in the manual. I did, however, find a couple of gaskets that were close, so I modified one and Permatexed it to the trans. I hauled it out to the driveway and slid it over the end of the input shaft. At that point it was apparent there was no way these two were going to together. At that point I wanted to cry, but then I remembered the 4-speed that came with the differential. I was supposed to get it back to John, but I hadn’t had a reason to drive out to Eldersburg. Boy was I glad I still had it. I dumped out the old gear oil, stuck the second of the gaskets to the face, applied more Permatex to the outer gasket face, and slid the assembly over the input shaft. In preparation for installing the shifter bits, I removed Glinda’s front seat and put it on Luna’s engine lid for safe keeping. It took some fiddling, but finally all the splines aligned and the trans was face-to-face with the differential. Four bolts later, and the assembly was ready to be rolled back under the car. A short time later and the drivetrain was raised into position, but not without one gotcha’.
I forgot to pay attention to the axles and one hung up on the u-joint and jammed. Fortunately no harm was done, and after lowering, adjusting, and re-raising the drivetrain was back in its home. It took a lot of finagling and a phone call to Jeff at the Corvair Ranch before I had the shift tube installed and aligned properly. Next in were all the clutch bits with a cursory positioning of all the adjustments. After installing the starter, hooking up the wires and fuel lines, I started the engine and kept my hand on the coil wire in case things started beating and banging. No unexpected noises – TYL. I shut off the engine and put the shifter in 1st. After restarting the engine I saw the u-joint yokes spinning quite slowly – good. Engine off, shift into 2nd, restart engine, and the spinning sped up a little. This was repeated for all the other gears with expected results – TYL.
At this point I felt confident enough to bolt up the axles and strut rods followed by the tunnel covers. With the racing seat and belts bolted in, the rear grill back in place, and the left muffler hanger installed, I turned my attention to the exhaust system. I had cleaned the end of an old u-pipe that had come with Lucy joined to a glasspack muffler and cut it off to replace the flat flange that was on the new exhaust pipe (with crossover). I then cut off the flat flange, laid the prospective assembly over an old pipe, and trimmed the end so the welded assembly will, hopefully, be aligned with the outlets of the exhaust manifolds. At that point it was time to call it a weekend.

Here are all the photos from this swap.

Still left to do. Finish welding, assembling, and installing the exhaust. Find and install a cap over the differential fitting that was used for the now non-existent dipstick. Fire up the engine and adjust the clutch if necessary. Get the leaking front tire re-mounted and install all tires. Drop the car off the jackstands and drive.