Yesterday’s car-time, of which there was plenty, centered around two of the non-fleet vehicles. First, I needed to address the dead trailer lights connector. Unlike the Suburban, the trailer lights have their own circuits and accompanying fuse. This discovery courtesy of the internet (what did we do during the pre-web days). All three fuses (TRLR STOP RT, TRLR STOP LT, and TRLR PRK) were blown. There must have been some issue with the wiring on the U-Haul trailer I rented last month. With the fuses replaced, my voltage checker indicated all pins are go and the truck is ready to tow Glinda to New Jersey.
Next, I prepped the lovely Loriann’s car for this weekend’s trip. She and Victoria are hitting the road for North Carolina. I topped off the air in the tires, coolant in the reservoir, and fluid for the power steering.
With the modern cars dealt with, I was able to draft Victoria into helping me drain the gear lube from the new-to-me differential and transmission. I also opened up the boxes that arrived yesterday - two mufflers from Amazon and a transmission cover and convertible top parts from the Corvair Ranch. According to the USPS and UPS the final two packages from Clark’s (tune-up kit) and Amsoil (synthetic gear oil) respectively are supposed to arrive today. I should now be all set parts-wise to do the swap.

Thursday, August 28, 2014
Wednesday, August 27, 2014
Still Finding Time
In the midst of my work and home responsibilities, I am still able to carve out an hour here and an hour-and-a-half there prepping for a big three-day weekend. Last night I looked thought my myriad of parts boxes and cubbies, but could not find any differential output seals. What I did find, however, were GNP engine crankshaft seals. Swapping out old for new on Glinda’s original 110 is now on the to-do list.
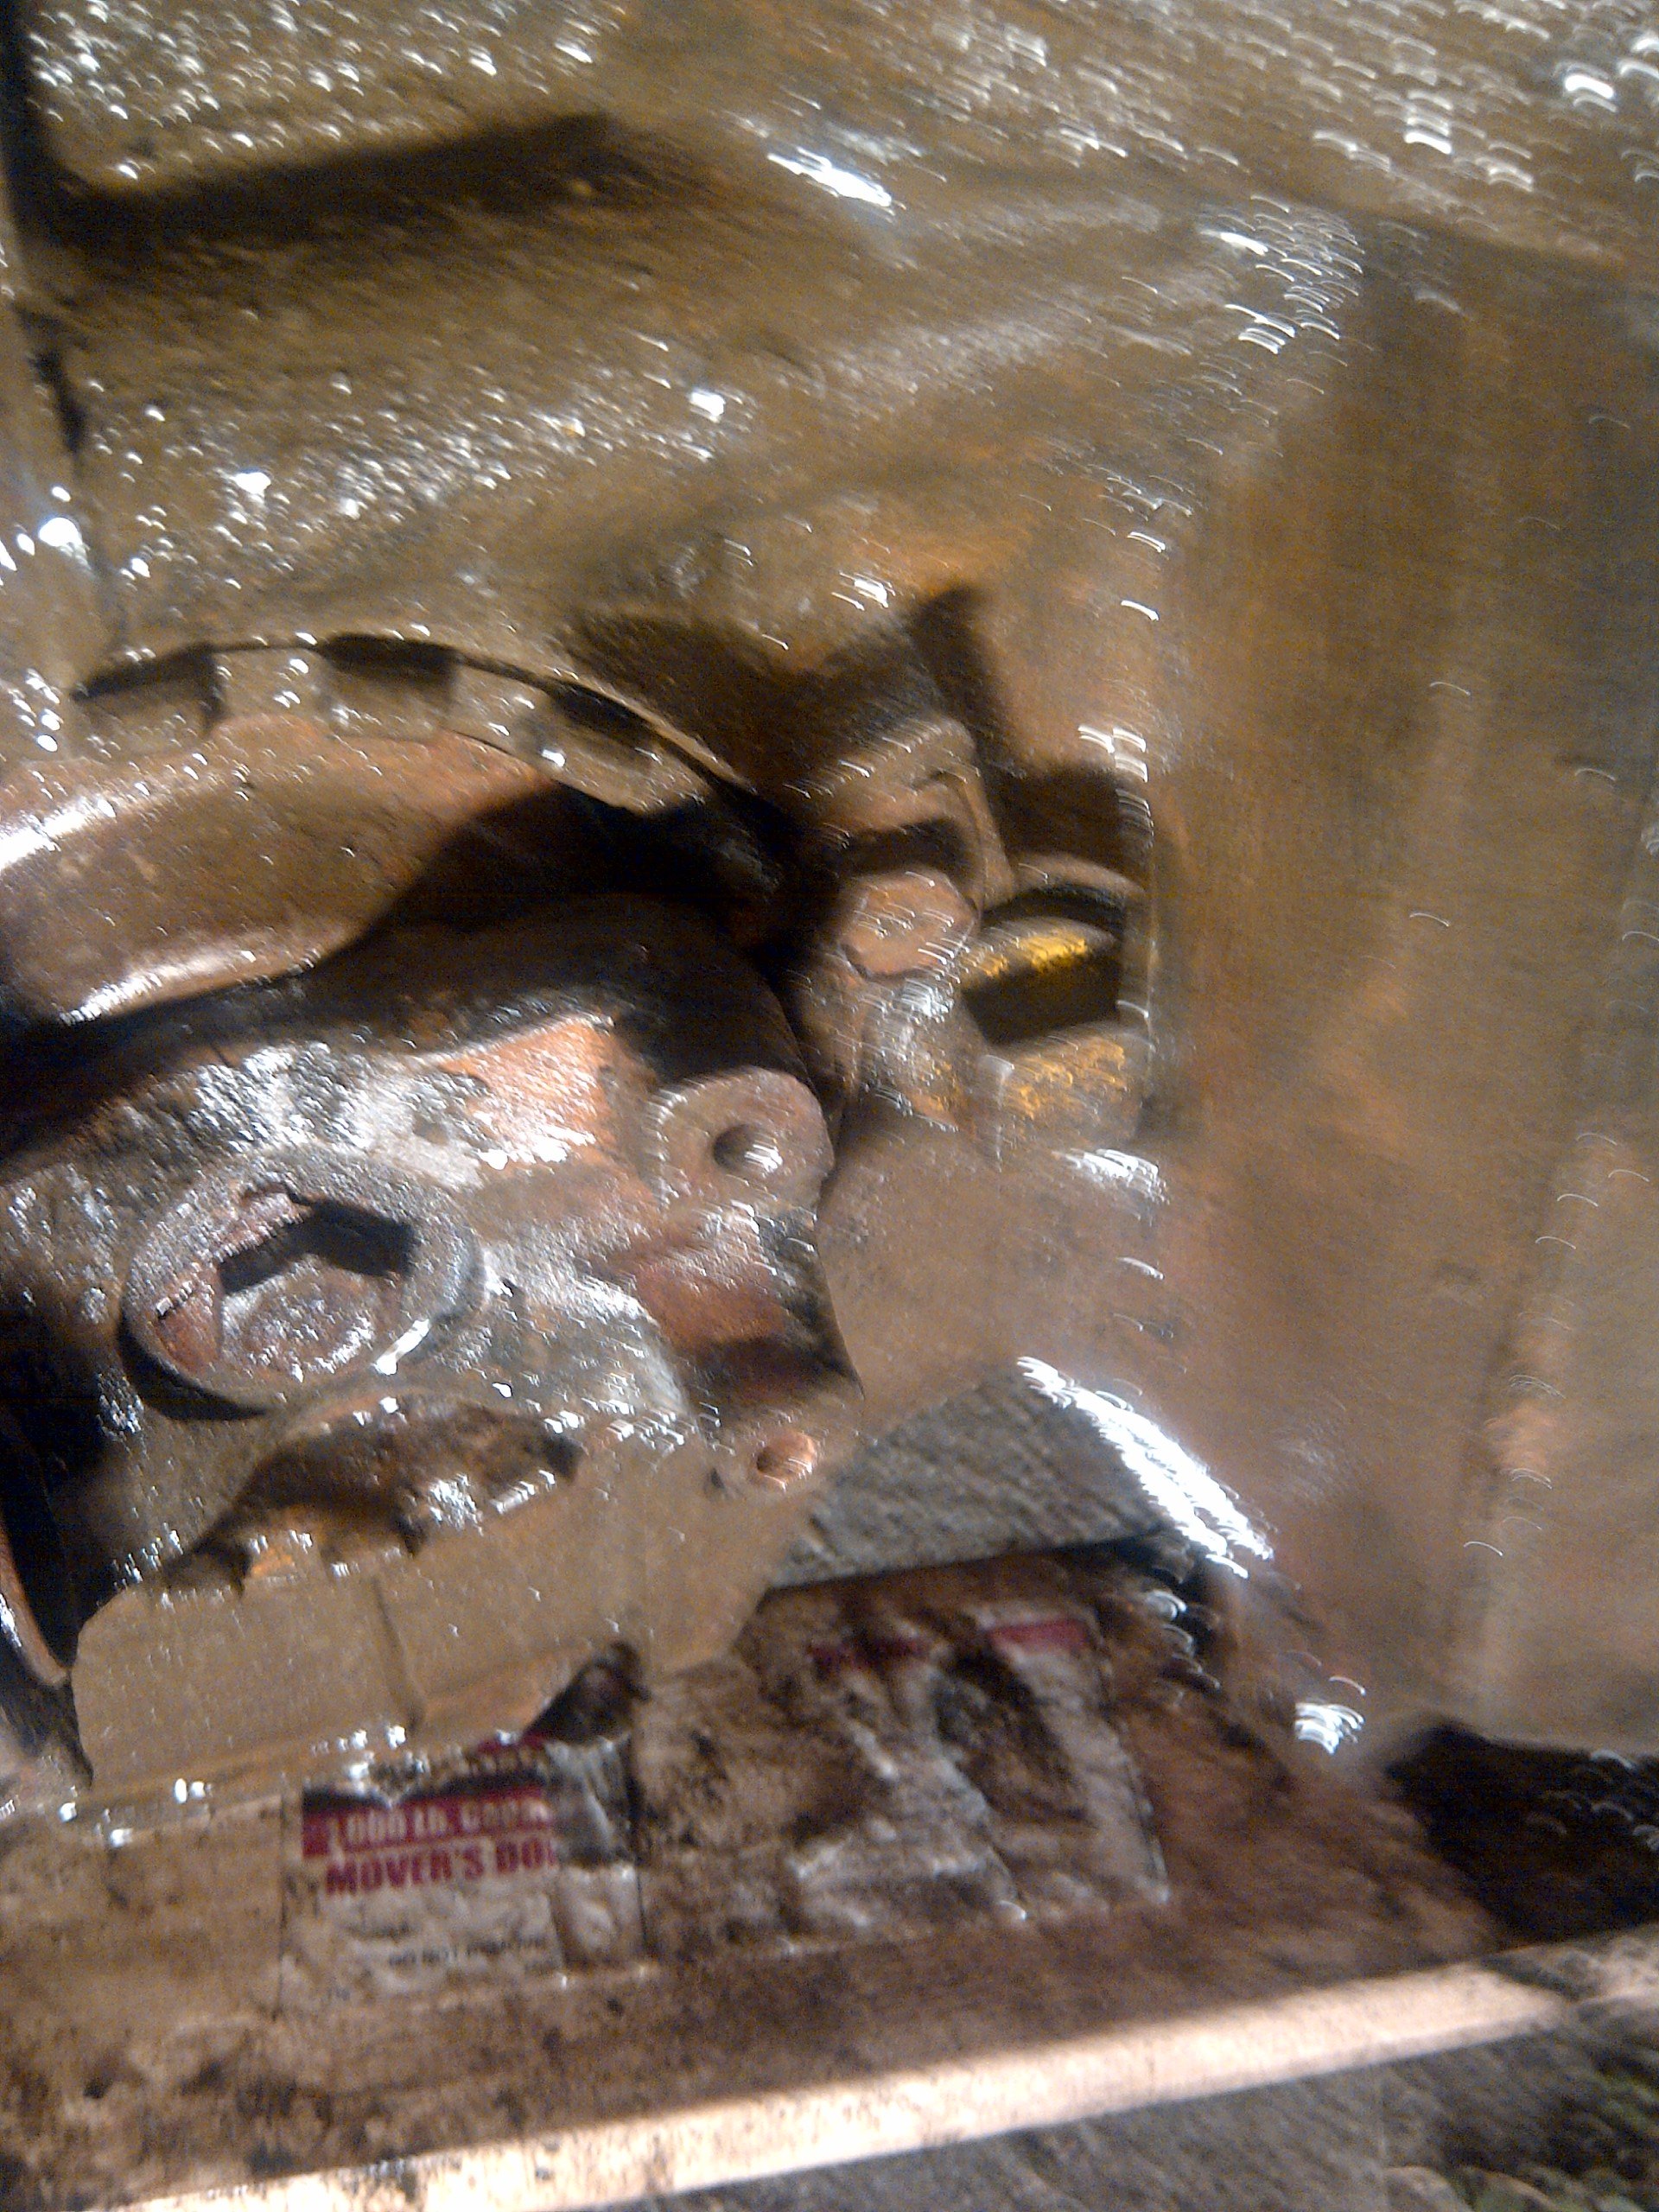
For a bit of peace of mind, I did remove one of the differential yokes and closely inspect the seal. It’s in good shape – pliable and the edge is unbroken. As I bent back the tang on the locking washer, I noticed that there was a missing tang. This, I believe, indicates the seals have been replaced since the differential was put into service.
Since this diff had sat around for a number of years, I needed to clean out the grime in the threaded holes. I’d bought some thin wire brushes and one of these was perfect for the job. Once I drain out the old gear oil, it’ll be ready to install.
The final automotive activity of the evening was to find the leak in one of the front tires that’ll be going on Glinda. A spray bottle applied soapy water all over the wheel and bubbles appeared at the tire-to-wheel inside rim joint. Since it’s such a low-profile tire, I’m not going to risk repairing it myself, but will take it to the local Goodyear shop.
Tuesday, August 26, 2014
Big Balance Issue
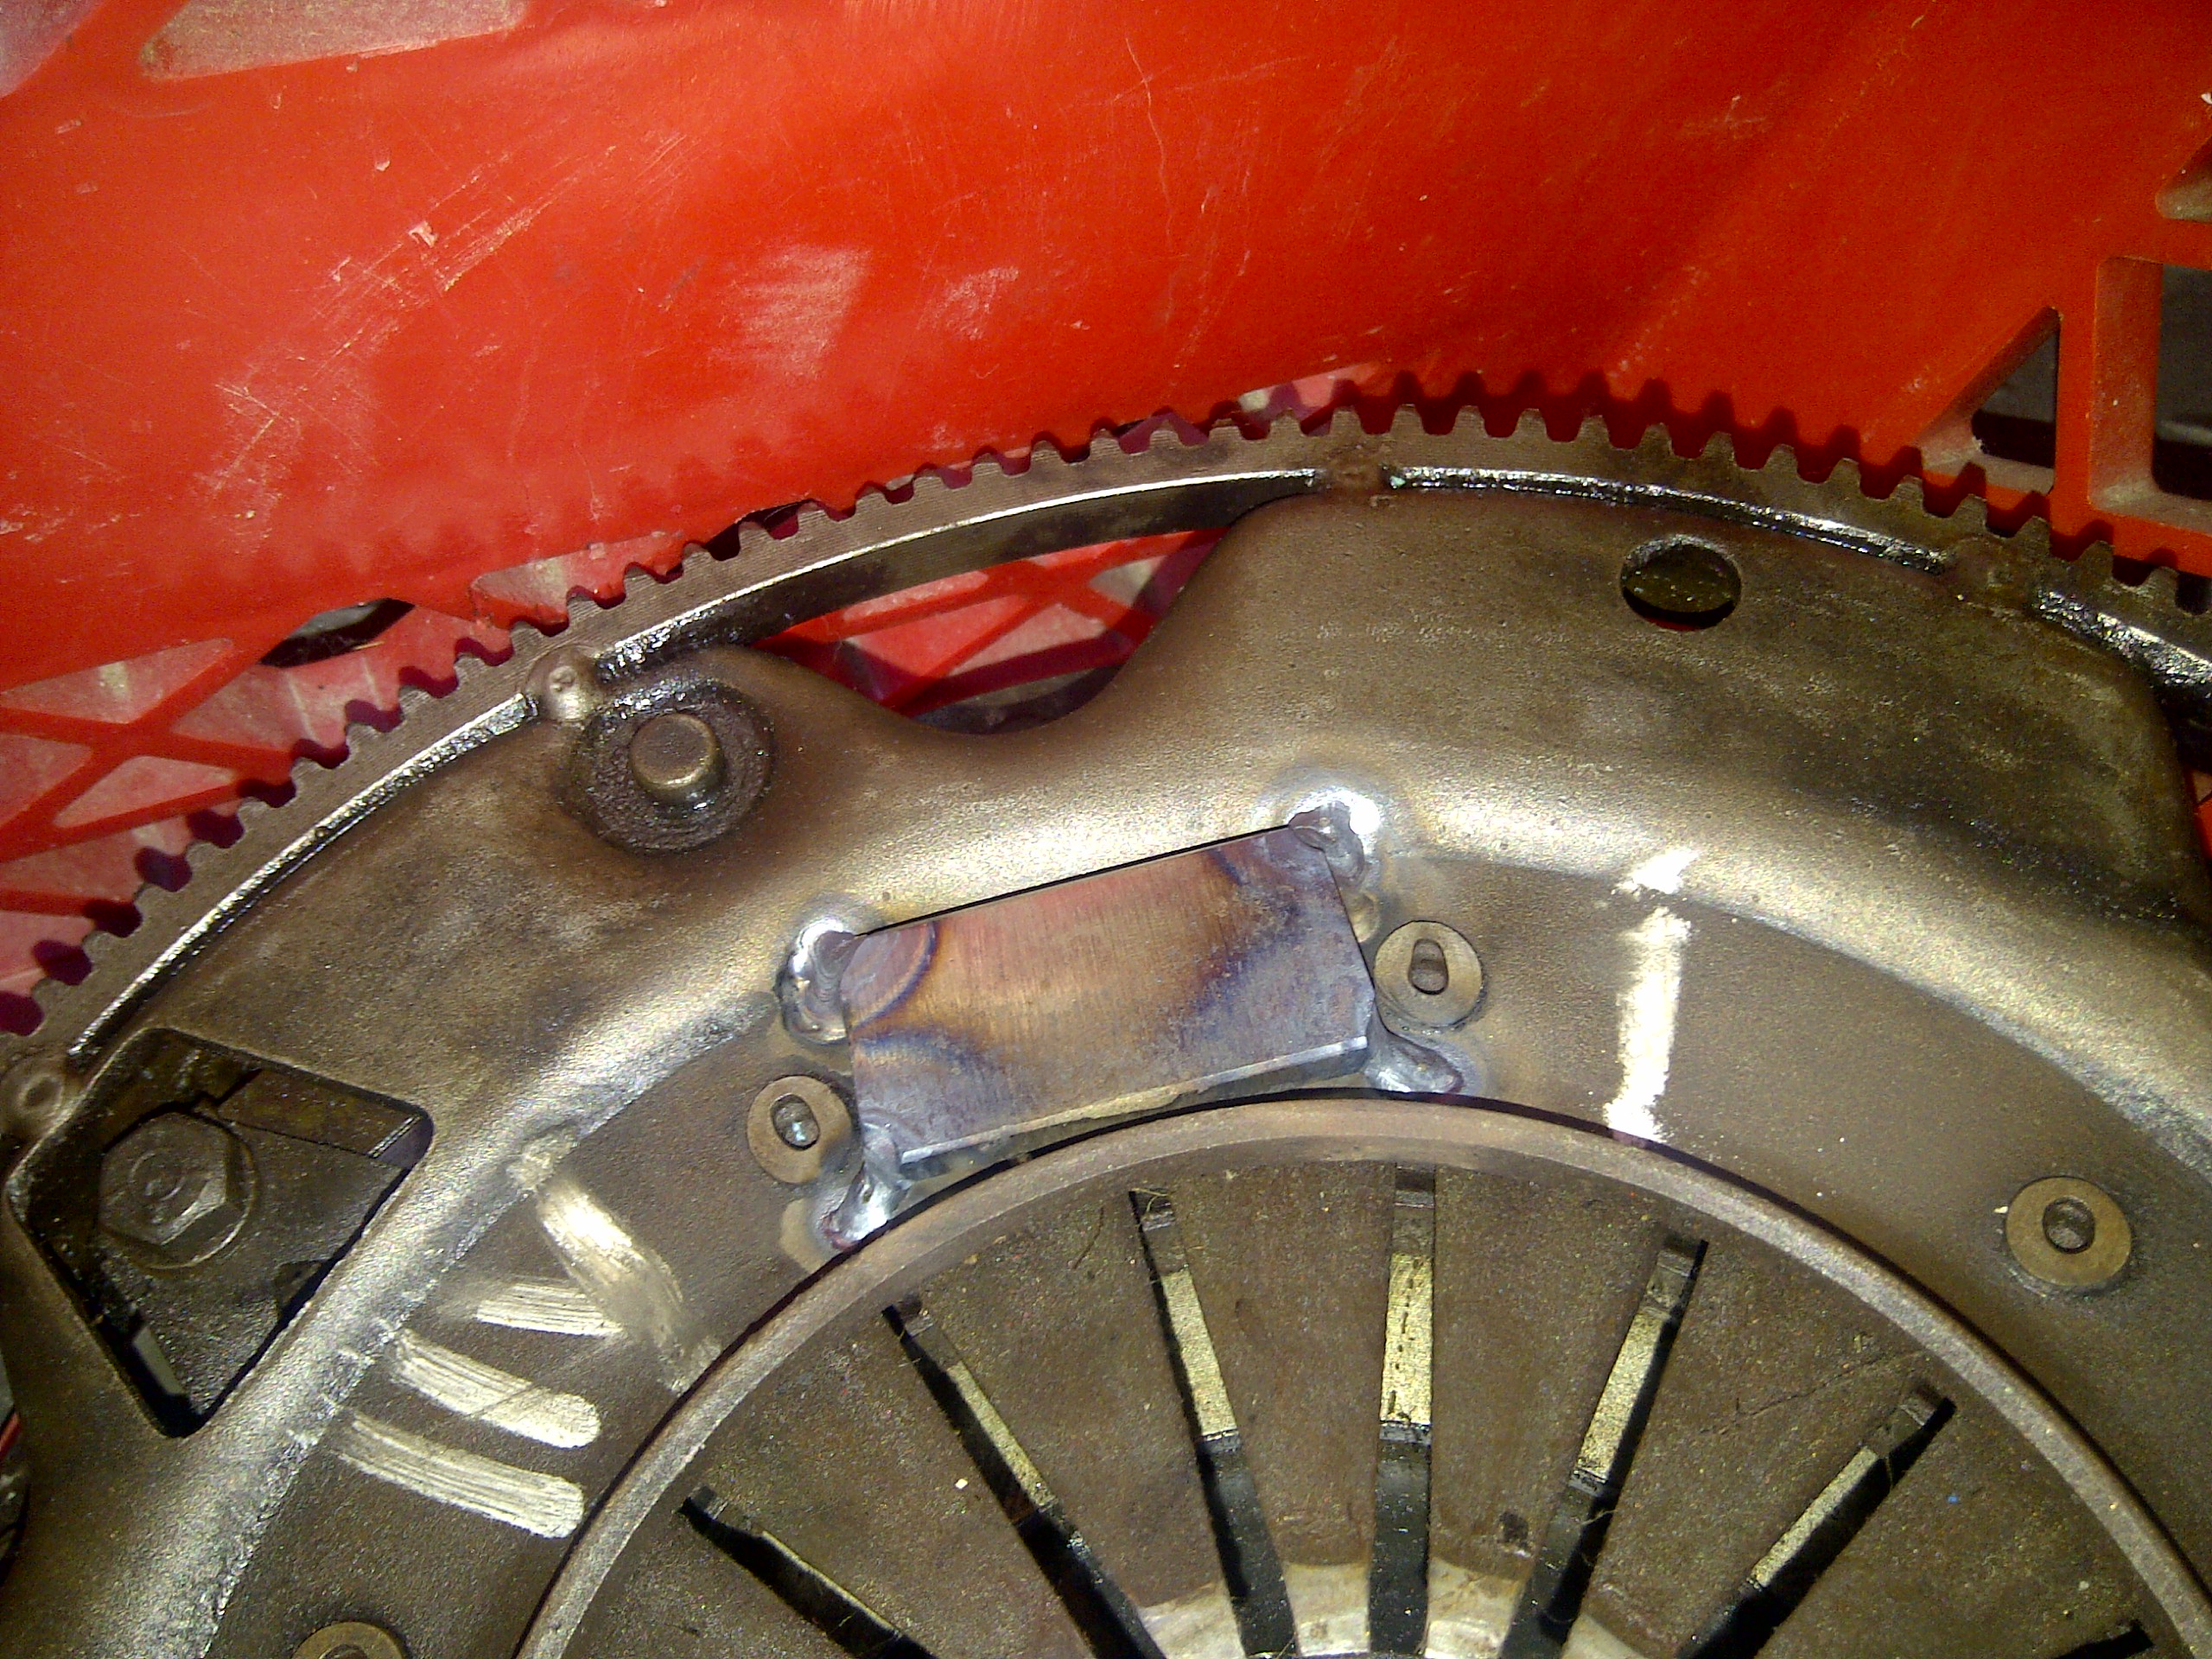
I’m so glad I decided to have the flywheel/pressure plate assembly balanced before installing it into Glinda’s drivetrain. The House of Balance had to weld on a pretty significant chunk of steel to bring the assembly into equilibrium. I’m slightly leery about such a big chunk, but I don’t have a way to check it, so I’m going to trust it was $70 well spent.
Last night I rolled the differential I’m going to use out into the driveway for a cleaning. This lump had been sitting on the floor of a fellow CORSA member’s garage for who knows how long, but it spins smoothly, so I’m full of optimism. An indication that it’s probably a fairly low mileage unit is the relatively small amount of grime on its outer surfaces. After some scraping and wire brushing, I applied Engine Brite and attacked the surfaces with a nylon brush. Some rinsing with more brushing and the diff was clean enough for me. I’ve got a new gasket, so I’ll pull the cover off and look for broken teeth or untoward wear. My worry with this unit and the transmission is one is going to leak. While I’m replacing gaskets, I’m not touching the seals of which there are three that could weep or worse. Again, fingers crossed on this because I won’t be able to fully test the assembly under temperature and at running speeds and loads until after everything is installed in the car. I need to wait for the arrival of the replacement transmission cover coming from the Corvair Ranch before I can bolt the two together with their covers, fill them with gear oil, and check for leaks. Even if they pass this test, once shafts are spinning and hot, leaks could appear. As I write this, I think I may have a couple of these lying around, and, if so, I may replace them just to be safe.
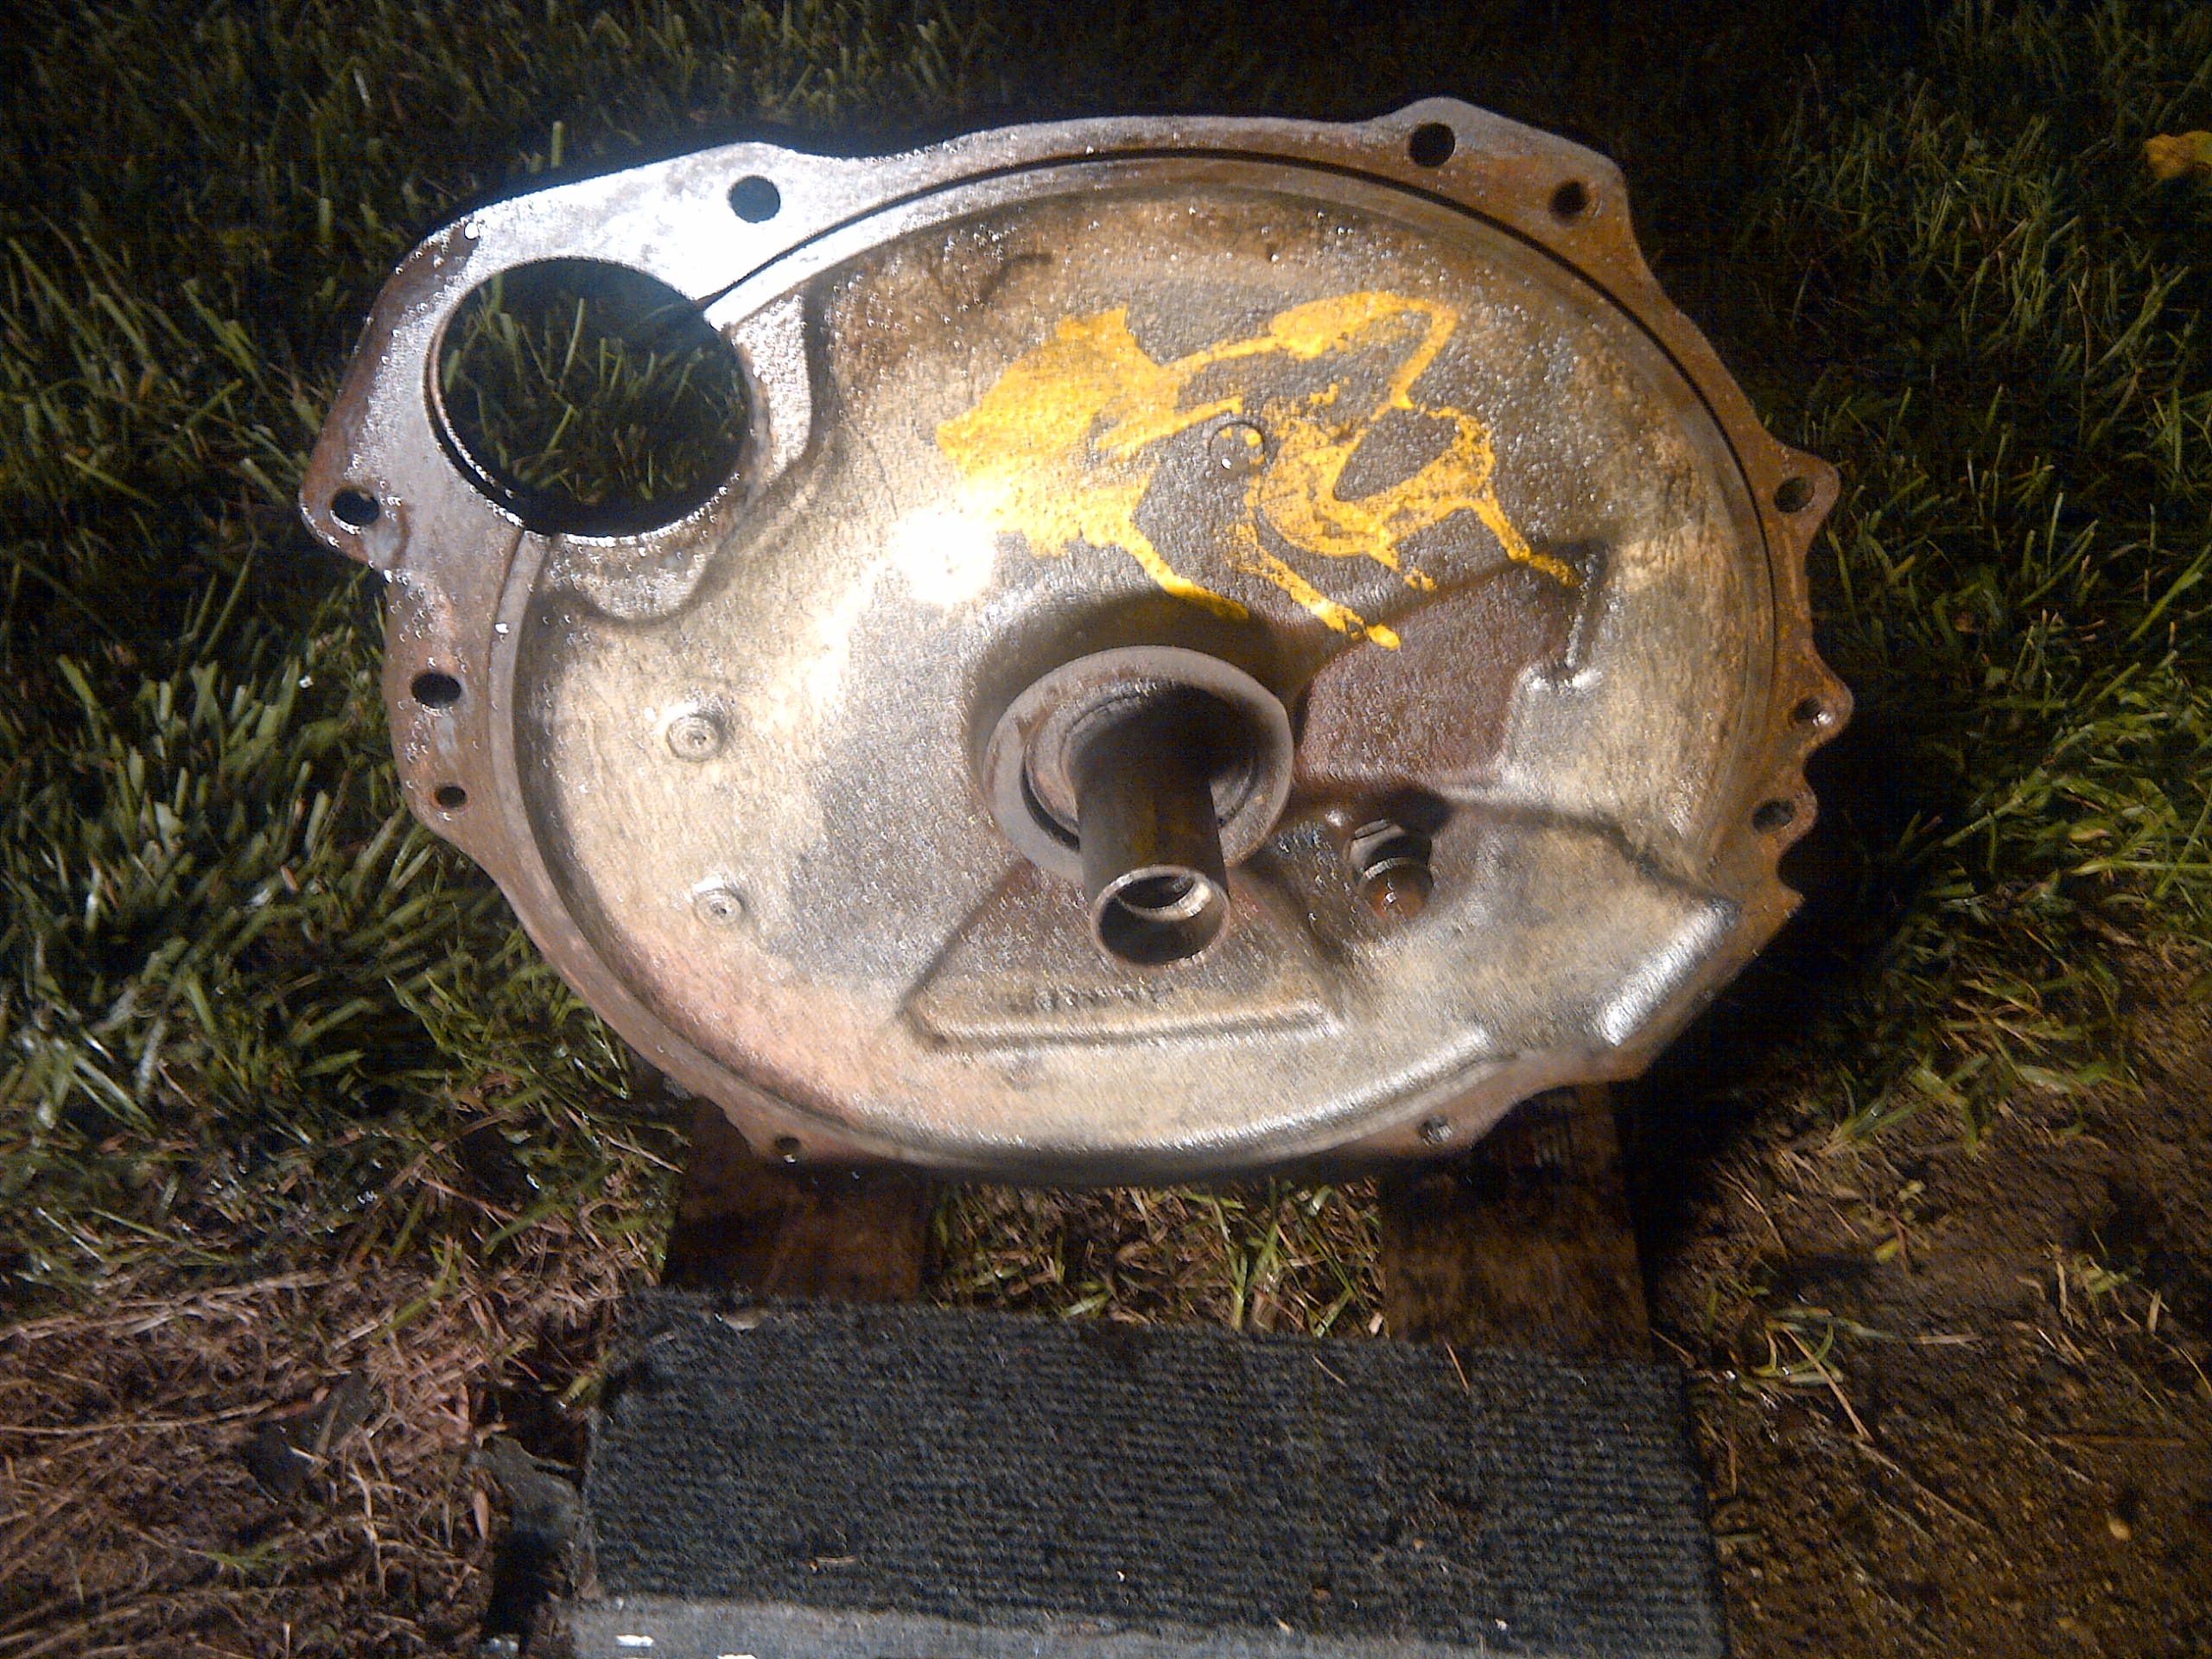
I noticed some yellow paint on the differential as seen on the fill plug and the rear face in the above photos. While I’d bet these indicated the diff had posi-traction, Google couldn’t confirm or deny this. Just for grins I confirmed that this unit has the expected (and desired) 3.55:1 ratio. I believe this was the typical ratio installed in the LMs.
Monday, August 25, 2014
Lots of ‘Vair Time
 Starting where I ended on last Friday’s blog, I’ve done some research on the exhaust pipe. An issue that’s popped up is one of the flanges on the exhaust pipe that I got from Rich’s stash of parts has one inlet flange configured for a ’60 Corvair (flat-faced flange). If I want to use this pipe, I’ll need to cut off this flat flange and weld on a standard post-’60 flange.
While I’m on the subject of exhaust, my buddy Jonathan came through with a part number for the Flowmaster mufflers he has on his Corsa. This morning I placed an order on Amazon for a couple of the same ones - Series 40 Deltas with 2.25” center inlet and 2.25” offset outlet. Since I don’t plan on ever driving this car during our season of salt again, I figure I’ll get plenty of years of aural enjoyment from my investment.
Now on to the weekend work. Saturday morning Victoria came over and she and I attacked Luna’s top installation. It took a WHOLE lot of blood, sweat, tears, and one bent wrist (sorry Victoria), but by the middle of the afternoon we finally had the well cover, back window, and top pieces all stapled to the trim sticks in the best-guess locations and all three trim sticks bolted to the body. Sadly, we lost a few of the rubber spacers and were short some to begin with, so we’ll have to go back and sneak them into place after the package from the Corvair Ranch shows up.
As we got back into it yesterday afternoon, I told Victoria that the hard part was done. I was wrong. The first task was to attach the rear side window weatherstrip pieces. At one point there were eight hands working at once as I drug Ariel in to stretch the front of the top forward and Loriann to stretch and hold the flap in place, while Victoria held the weatherstrip and poked an awl through each hole while I attempted to follow the awl’s withdrawal with the point of the screw. Finally, we had all eight screws in and torqued. Sadly, the right rear corner of the top has a nasty furl where it should be smooth. Hoping we could make some adjustments later on, Victoria and I continued. We did the best we could and we did finish, but neither of us is real happy with the results. We do have the option to take Luna to a professional and have them do the tweak(s) necessary to smooth out the one corner.


Once we completed the top work, we tried starting the car. The battery had plenty of charge on it, but it again it seems like the tank is empty since a number of cycles of me pouring gas down the carb throats would not get the car to run longer than it took to burn off the tablespoon or two that was sitting in the intake manifolds. Ironing out this issue needs to be the next task we deal with. Other Corvair activities of the weekend included spending some time Saturday working on Ringo. My initial intent was to only put the battery charger on his batter, but I noticed that his throttle linkage had seized. I isolated the problem to the left carb, so I sprayed some Deep Creep penetrating fluid on both ends of the butterfly shaft and let it sit to, hopefully, work its magic. Yesterday, during one of the breaks, I was able to finally work the shaft loose. I re-attached all the linkages and cranked the engine. After a few seconds, it started up and, as expected, there was some clanking from deep within the block where the lack of running had caused at least one lifter to drain down. I let the engine idle for about ten minutes and the nasty noise abated.
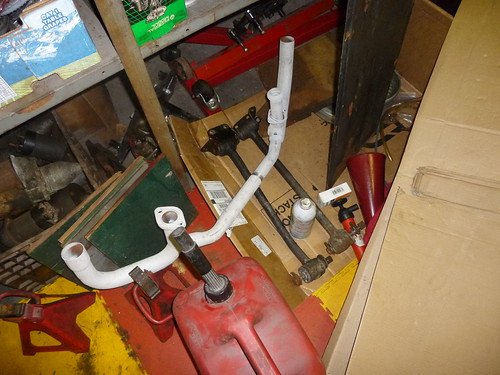
The work on getting Glinda a four-speed setup continues as well. Saturday evening I was in the garage giving the prospective transmission a close inspection. I removed the side cover, gave all the sychros and gears close scrutiny, and, fortunately, saw nothing amiss. I moved the internal shifter parts around until I was sure I’d be able to engage all four forward gears and reverse. At that point, I went to install my fancy new transmission pivot, but found the existing rod had been welded into place – it was supposed to be screwed in. A GUP cover from the Corvair Ranch would have to be added to the shopping list. All-in-all, a ‘vairy nice weekend.
Friday, August 22, 2014
Almost Ready for the Drop
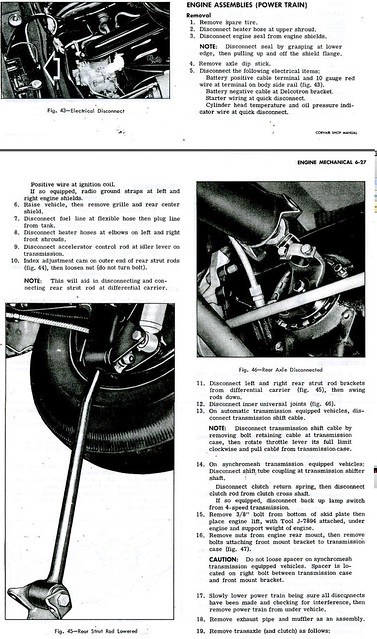
With the fuel gauge issue considered put to bed, I turned my attention to completing steps one through sixteen under ENGINE ASSSEMBLIES (POWER TRAIN) Removal in Chevy’s 1965 Corvair Shop Manual. Just before nine the raindrops began falling on the bodyparts not lying under the car. At that point, I crossed off every pertinent step except for 3, 7, 15, and 16. While not instructed to completely remove the strut rods, I did so. Also, I removed the exhaust system (Step 18) and, since I need to replace the front transmission mount, I unscrewed the nuts and bolts retain the left and right stabilizer rods.
This weekend Victoria and I have a date to install Luna’s top. I made a visit to Harbor Freight to purchase an electric stapler to aid our assembly. I also picked up a tarp to cover up the rips in the portable garage cover.
While on the subject of buying stuff, I‘ll share the status of depleting the THRaF. After recent orders with Clark’s (Shifter Boot, Tunnel Pan parts, and gaskets for the Diff and Trans covers) and the Corvair Ranch (right side muffler hanger and a couple muffler straps), it’s now sitting at $261. $50 of that is already committed to the House of Balance (they promised the flywheel and pressure plate would be ready early next week) leaving a little over $200. I want to give Glinda a tune-up, so a tune-up kit from Clark’s will leave me with roughly $120. With that I need to buy a couple mufflers.
One of the items I bought during Rich’s big part’s sale was a dual exhaust pipe with crossover. This should allow me to use fairly loud mufflers without the 60 MPH drone I dreaded when I was running duals on Lucy. I’ve always loved the sound from my buddy Jonathan’s Corsa equipped with Flowmasters but they run about $90 apiece. Next down in price are the Thrush Cherry Bombs at $46 each (within my budget). Finally, I could go cheap with Flowtech Raptors like I had on Lucy for less than $30 each. I’ll sleep on it.
Wednesday, August 20, 2014
I Hate the Smell of Gasoline in the Morning
As I posted yesterday, Monday evening was spent replacing the leaky float in Glinda’s gas tank. Yesterday afternoon I bugged out of work at 4 and was pouring gas into Glinda’s tank by 5. After putting about three gallons in, I turned the ignition key to ON and watched while the gas gauge needle did … NOTHING. I had it in my head that the capacity of the tank was twelve gallons, so a fourth of that should at least move the needle above E. As a check of the gauge, I disconnected the sender and measured resistance across it - about 3 ohms – the same value I got for a completely empty tank.
Thinking the new float was bad or I'd put it on backwards and it had stuck to the wall of the tank, I siphoned out the fuel in the tank and removed the sender - the float was dry and empty; measured the resistance across the sender while manually moving the arm – it went from about 3 ohms to about 90 ohms; plugged the sender back in; grounded the sender's black wire; and had a friend watch the gauge as I manually moved the arm with the sender in the same orientation as it would be in the tank - the needle moved just as it should. By the way, as soon as I disconnected the sender, the gauge needle did go to well above F. I then flipped the float around (even though it now disagreed with the manual), reinstalled everything, poured about three gallons in - needled didn't move from E.
Okay, everything checked out as functional, but the stubborn donkey-esque needle wouldn’t be budged. My next step was to go whining on the internet and see what stupid error I was making. Responses came back that four gallons was not enough to move the float. GM meant it to be that way. Since the tank holds 14 gallons (not 12), once the needle reaches E, you’ve still got three to four gallons of reserve fuel.
Excellent – I spent three precious hours solving a non-existent problem. I guess gas fumes do have a long-term, detrimental effect on brain activity.
Tuesday, August 19, 2014
Will It Continue?
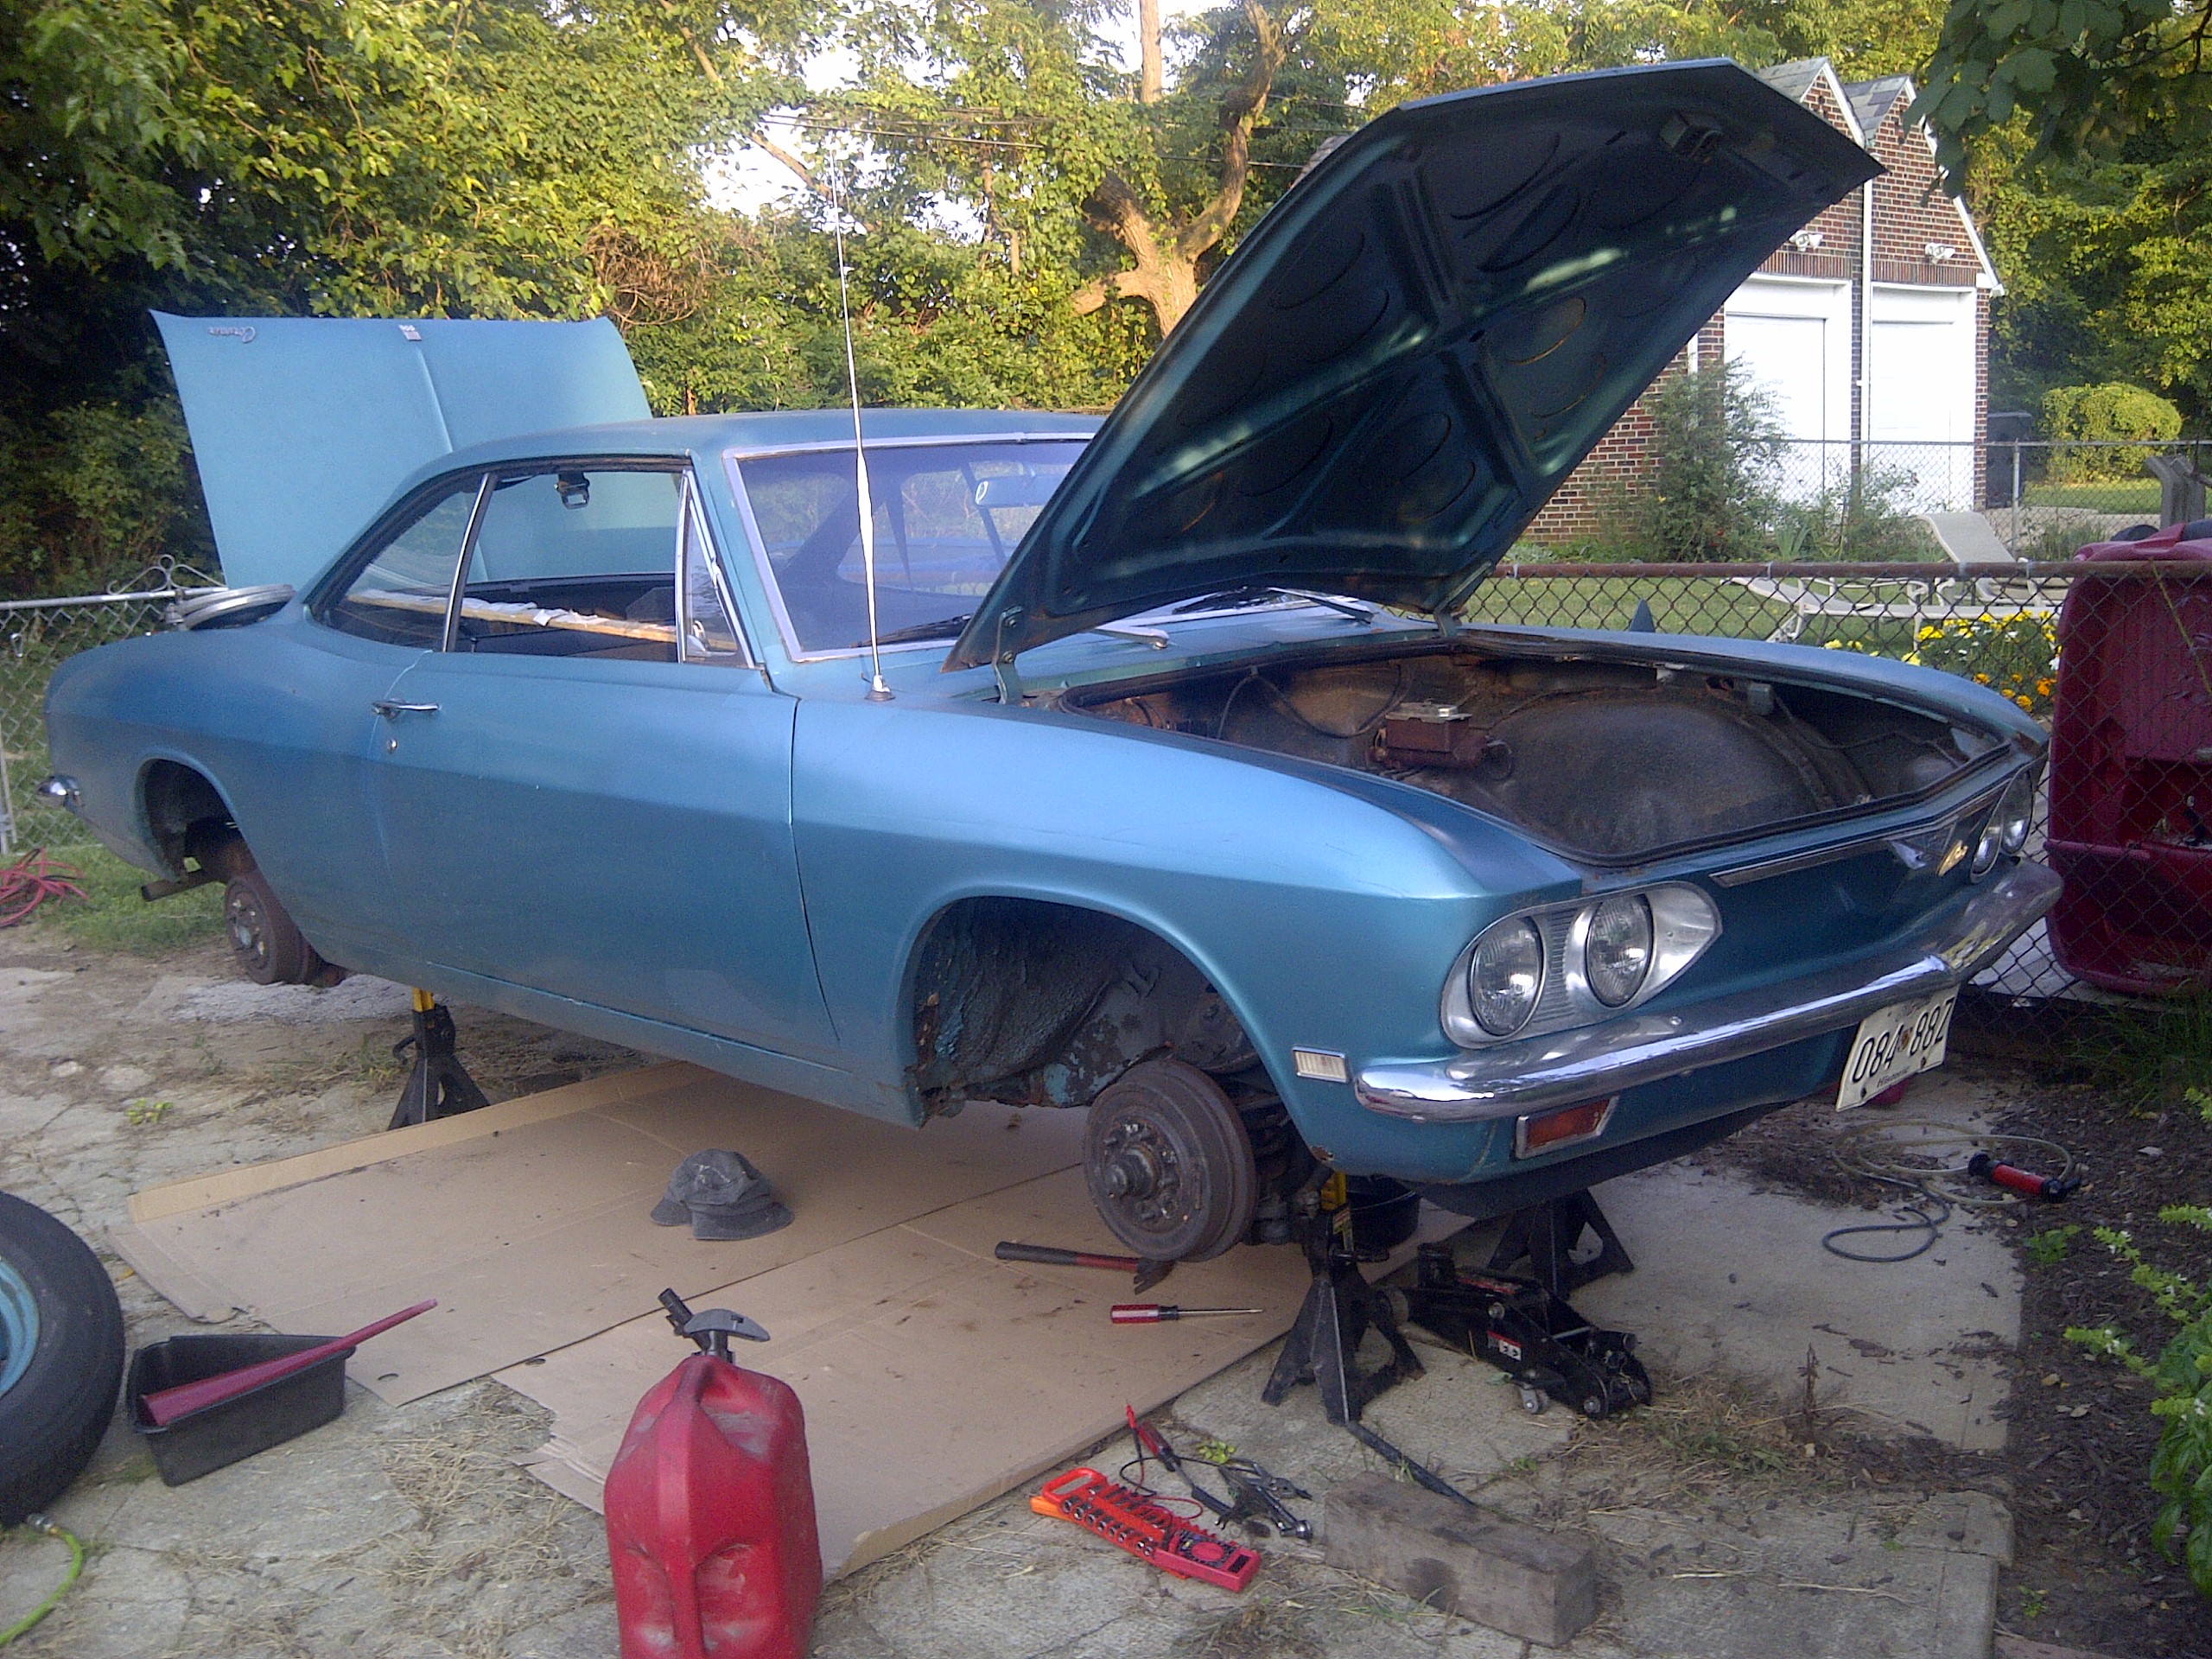
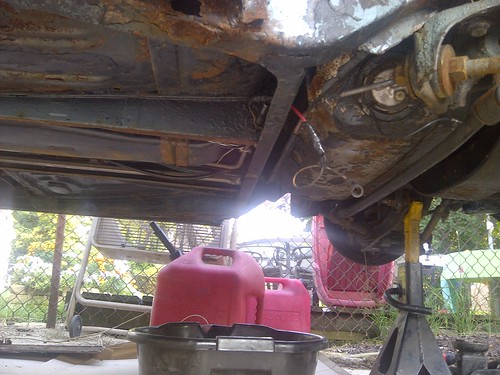
Late yesterday afternoon, I had a meeting at a location about 4 miles closer to home than my desk. At the meeting’s end, instead of driving back to the office, I continued on home and went to work on Glinda. After donning grungies, I put the car up on jackstands and, with great determination, attacked the faulty fuel gauge. After a number of electrical tests, I concluded the problem must be with the sender. To the chagrin of the lovely Loriann, I drained the fuel from the tank releasing a cloud of fumes to pollute her air. With the gas safely stored in containers, I removed the ring retaining the sender at the bottom of the tank and removed the assembly. The heavy float emitted a fine spray of 93 octane as I turned it over. Problem detected. Fortunately, I had a new float and a new sender sitting on the shelf, so taking the chance that it’s a good sender, I installed it. At that point, the dinner bell was ringing, so I quit for the night.
While I’d been waiting for the gas to siphon into the gas containers, I began preparing parts for the pulling of the drivetrain. I removed the two tunnel covers, the fuel pump, the oil gauge tube hookup, and the air cleaners. I disconnected the fuel lines and the connectors at the alternator.
Now I need to keep the momentum going since I just signed up for the event and spent $25 on a used helmet. I’m really going to New Jersey Motorsports Park!
Wednesday, August 13, 2014
Keeping in Touch
“Sold the Corvair today. Thanks for all the help with questions we've had. The experience of owning it was one I won't forget.” I received this text from one of the guys that bought Lucy from me about a year ago. Out of the seven Corvairs I’ve sold to other people, I’ve only been contacted after the fact by three of them. Wilma’s buyer and I met up at the 2012 Corvair convention; YellowVert came by and bought some seats from me about a year after buying the car, and Lucy’s buyers texted me a handful of times asking for help with a few easy issues. When I sold Heidi, I was given the new owner’s name and address. I really should get in contact with her and see how things are going. Other than Heidi, I’m fine not knowing the current status of any of the other ‘vairs that have passed through the fleet.
Twenty-five days until the NECC time trial event at NJMP. While there are four weekends within that span, two are already booked. That leaves me quite the challenge to get Glinda To-Do list whittled down to nothing. Here’s what’s left.
Play musical cars with Glinda ending up in the garage on jackstands
Get the flywheel/pressure plate assembly balanced at House of Balance
Get the leaking front tire fixed
Fix the busted gas gauge (I’m hoping it’s just a short)
Drop the drivetrain
Swap PG/differential for 4-speed/diff including new pilot and throw-out bearings
Swap the clutch and shifter linkage parts including the new tunnel pivot
Reinstall the drivetrain and top off the fluids
Adjust and install the racing carb with the new linkage
Swap the bench seat out for the racing seat
Install the racing harness
Get a helmet
I estimated I’ve still got at least 25 hours left of work. An hour a day. That’s not asking too much, is it?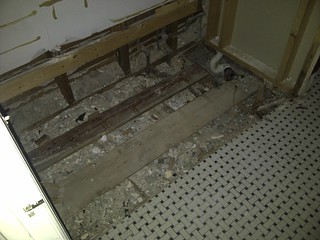 There is an issue with devoting time to cars, and it’s illustrated by the photo to the left. This void in one of our bathrooms was recently created by yanking out the tub. There's a similar void where the sink and vanity used to reside. By the end of this weekend, radiator and toilet removal will add a third and fourth void. These voids in my house will certainly cause voids in the spare time I have to work on a car.
Twenty-five days until the NECC time trial event at NJMP. While there are four weekends within that span, two are already booked. That leaves me quite the challenge to get Glinda To-Do list whittled down to nothing. Here’s what’s left.
Play musical cars with Glinda ending up in the garage on jackstands
Get the flywheel/pressure plate assembly balanced at House of Balance
Get the leaking front tire fixed
Fix the busted gas gauge (I’m hoping it’s just a short)
Drop the drivetrain
Swap PG/differential for 4-speed/diff including new pilot and throw-out bearings
Swap the clutch and shifter linkage parts including the new tunnel pivot
Reinstall the drivetrain and top off the fluids
Adjust and install the racing carb with the new linkage
Swap the bench seat out for the racing seat
Install the racing harness
Get a helmet
I estimated I’ve still got at least 25 hours left of work. An hour a day. That’s not asking too much, is it?

Friday, August 1, 2014
Empty Handed
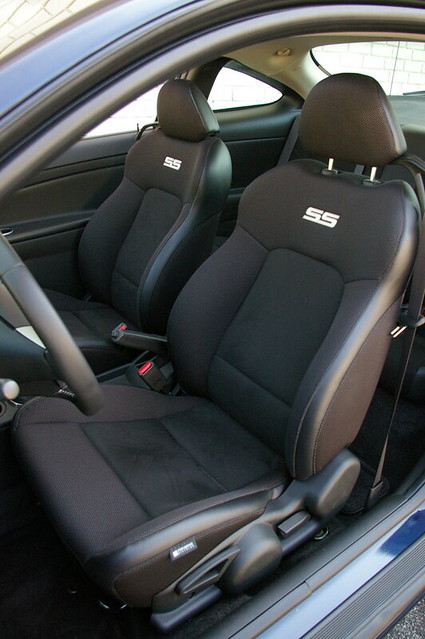
Since the THRaF is still flush with funds, I headed over to Crazy Ray’s to see if I could find a pair of bucket seats to bolt into Glinda. I wove my way around the lines of both imports and domestics for about forty minutes. Since access to the back seat is still required, I was able to walk by more than eighty percent of the candidate cars - seatbacks of four-doors don’t tilt far enough forward. While I found a pair of light gray seats in a Cobalt that I came close to getting, all the other coupe and convertible seats were too beat, worn, and nasty to even be considered. One of the Cobalt seats had a small hole in the fabric of one bolster. Since they were actually clean enough to sit in, I tried it out to verify it’s acceptable. While it’s not nearly as effective as my racing seat at restraining side-to-side movement, I’ll remember it’s there in case all other avenues are exhausted. It appears what I really want are the Cobalt SS seats in black (see below photo). Now I’ll just have to find them. Could be tough – and pricey.

Subscribe to:
Posts (Atom)