
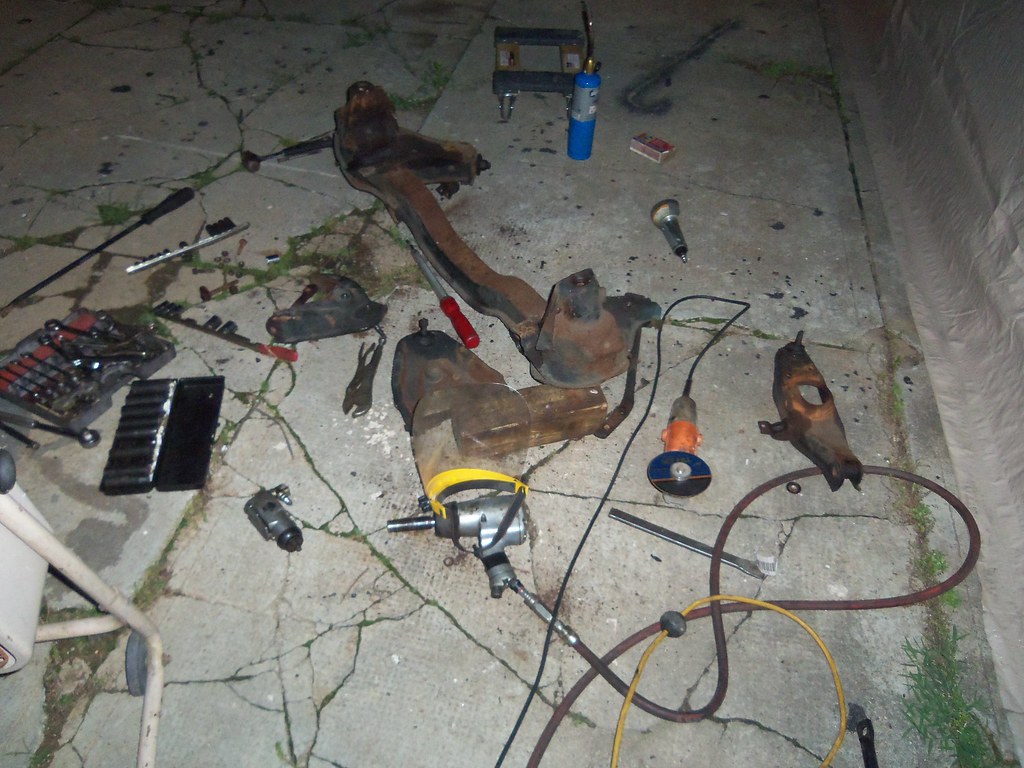
All the tools I’d hoped would be necessary to remove the upper and lower front control arms:
- Needle nose pliers (to pull cotter pins)
- 3/8” impact wrench, assorted sockets, assorted wrenches (to remove nuts and bolts)
- A couple sledgehammers (to release ball joints using the magical method of banging both sides of the attached part at once)
- 1 evening
- Needle nose pliers (to pull cotter pins)
- 3/8” impact wrench, assorted sockets, assorted wrenches (to remove less than 20% of the nuts and bolts)
- 1/2” impact wrench, assorted sockets, assorted wrenches, propane torch, center punch, drill, drill bits, pneumatic chisel, cold chisel, sledgehammer, pry bars, jack, mover’s dolly, drift, 3” pneumatic cut-off wheel, 4” electric cut-off wheel, torque wrench (to get the other 80% of the nuts and bolts out, as well as remove the entire front crossmember to give me access to the more stubborn fasteners)
- Pickle fork and sledgehammer (to release ball joints)
- 3 evenings
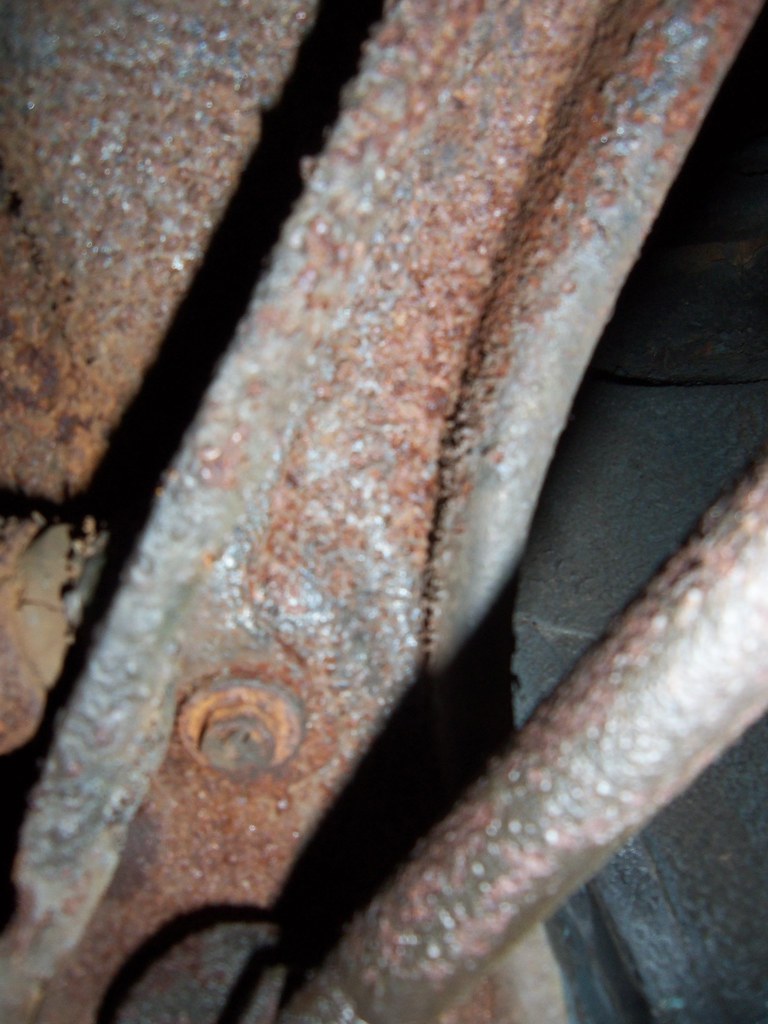
Driver's side bolt with rounded off head.
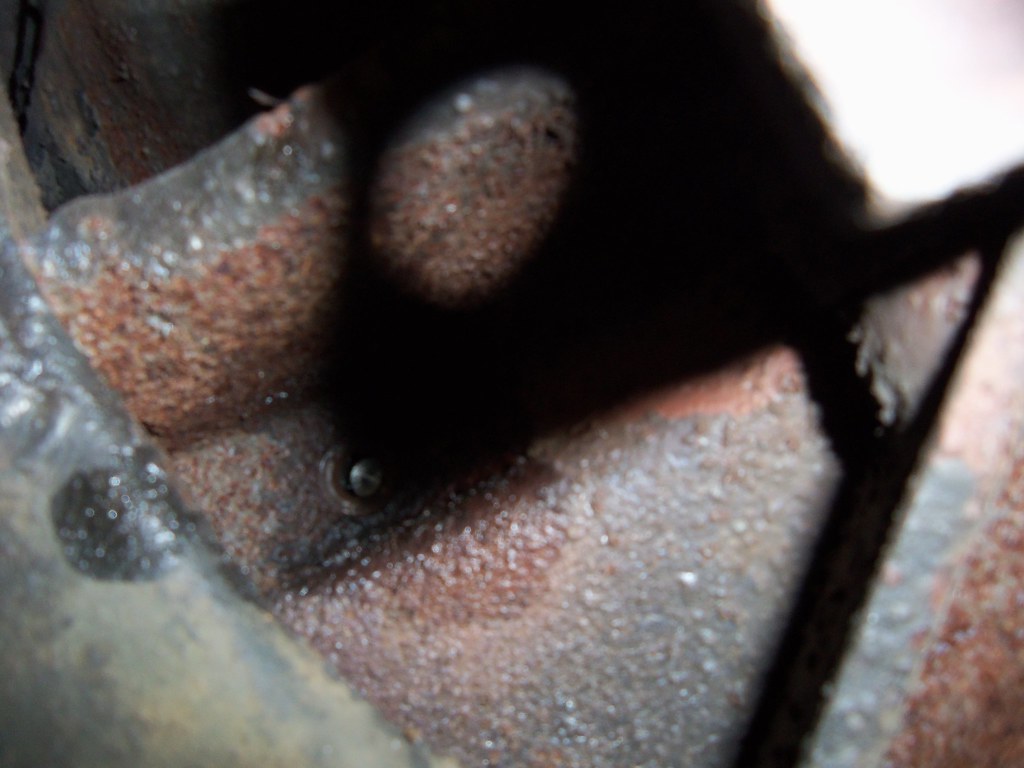
The other bolt with the head drilled off.
A lightened front end.

The control arms are in the back of the truck, the new polyurethane bushings are in the cab, the shipping box is in my cubicle, the Corvair Ranch's address is in my phone, and a lunch-time trip to FedEx is on my calendar. Given the high price of shipping things, I toyed with the idea of just driving the parts up to the Ranch, but my time is too precious to give up an evening. I'm already planning on driving up there to pick them up once the new bushings are in since I'll also be going through Jeff's stash of LM coil springs to find Heavy Duty front and rear coil springs to replace Glinda's standard stiffness springs.
No comments:
Post a Comment