

After removing the air cleaner, I started with the right-side carb. The first issue I discovered was a missing clip on one of the linkages. Not sure how that happened – I suppose I could’ve left it off. I searched the surrounding area for the part, but came up empty. With all the linkages undone and fuel and vacuum lines removed, I undid the remaining screws and pulled off the carb top. Once the two screws holding the cluster in place were twisted out, I popped off the cluster and blew out all the passages with shop air. Just as I was about to return the cluster to its home, I noticed the shiny gray of the little main well insert (circled in red in the above drawing) was not visible through the hole in the gasket. I carefully pried back the gasket and, sure enough, no main well insert. Out of all the carburetors I’ve rebuilt I shouldn’t be forgetting parts. Wondering if I’d missed this part on the left carb, I immediately turned my attention to the left carb. With the cluster off, I found that at least I was consistent in my screw-up – no emulsion tube. Fortunately, my container of carb parts yielded two of the needed parts, so both clusters were reinstalled with all their parts intact this time.
Since one of the possible causes of high-rpm stumbling is a lack of fuel, I checked the float levels, both dropped and seated. Neither were to spec (1-1/16 seated and 1-15/16 dropped per the rebuild kit instructions), so I did a little bending of tangs until I achieved the desired measurements for both tops. I also noticed that one of the accelerator pumps was installed backwards (entering the inboard side of the actuator plate). While I’m not sure it really matters, I made it match the manual.

A few long minutes later the carburetors were all back together and the linkages and lines hooked up.
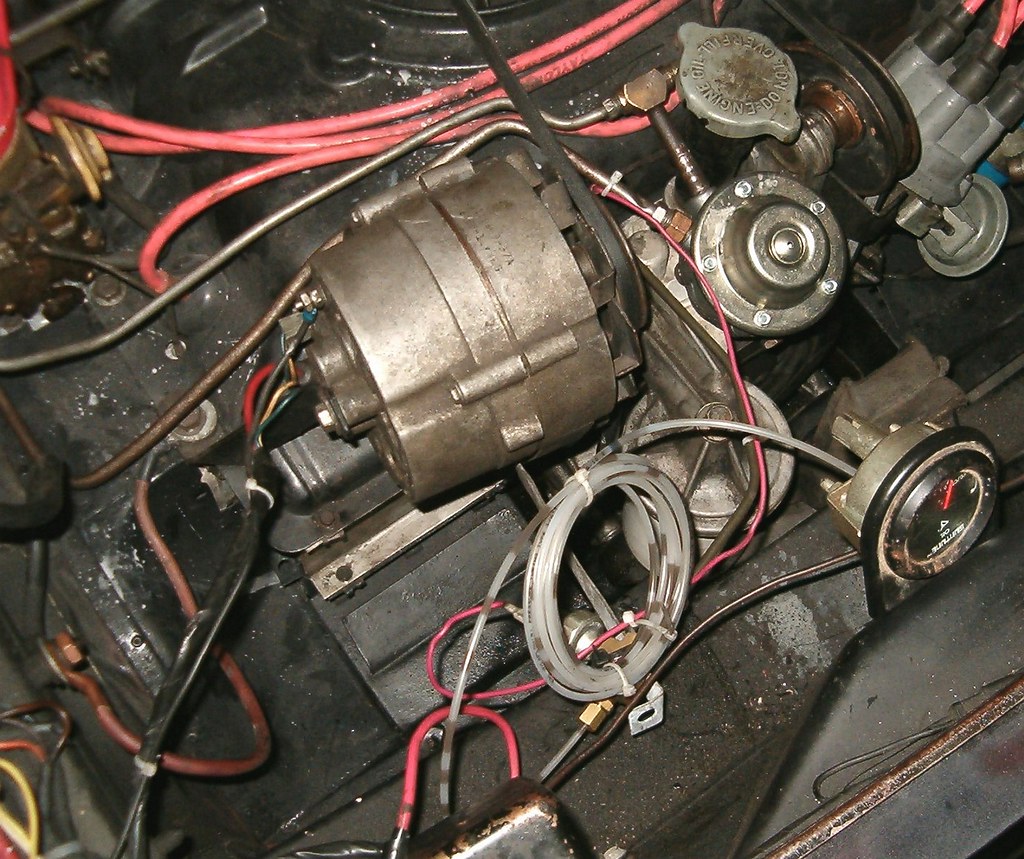
With time still left before bedtime, I moved on tackling another niggling issue – the placement of the oil pressure sender. When I’d made this modification a while back using the setup I’d created to check Ringo’s oil pressure (see above photo), I didn’t think it all the way through (shocking). The first time Glinda’s engine had a fan belt failure I was discovered it was necessary to undo the oil line from the T to slip the new belt into position - what a hassle. Since I’d already removed the whole thing from the engine prior to dropping the drivetrain, I straightened the brake line and put a new ninety degree turn in higher up. I screwed it back into the port on top of the oil filter housing (the place where GM had the original sender located) and put a few more bends in to route the line under the fanbelt and in front of the alternator (I know a picture’s worth a thousand words, so I’ll take one this weekend and post it). A few zip-ties later, and that project was complete.
Since I was on a roll, I continued working and re-mated all the electrical connections I’d disconnected prior to dropping the drivetrain. That included the wires to the alternator and the one going to the coil.
At that point it was nearing my bedtime, so I put away the tools, locked up the garage, and headed into the house.
With the upcoming NECC track day at New York’s Safety Track coming up in early June, I’ve added some items to the To-Do List that need to be completed before the car’s track-worthy. Take a look and wish me luck.
No comments:
Post a Comment