
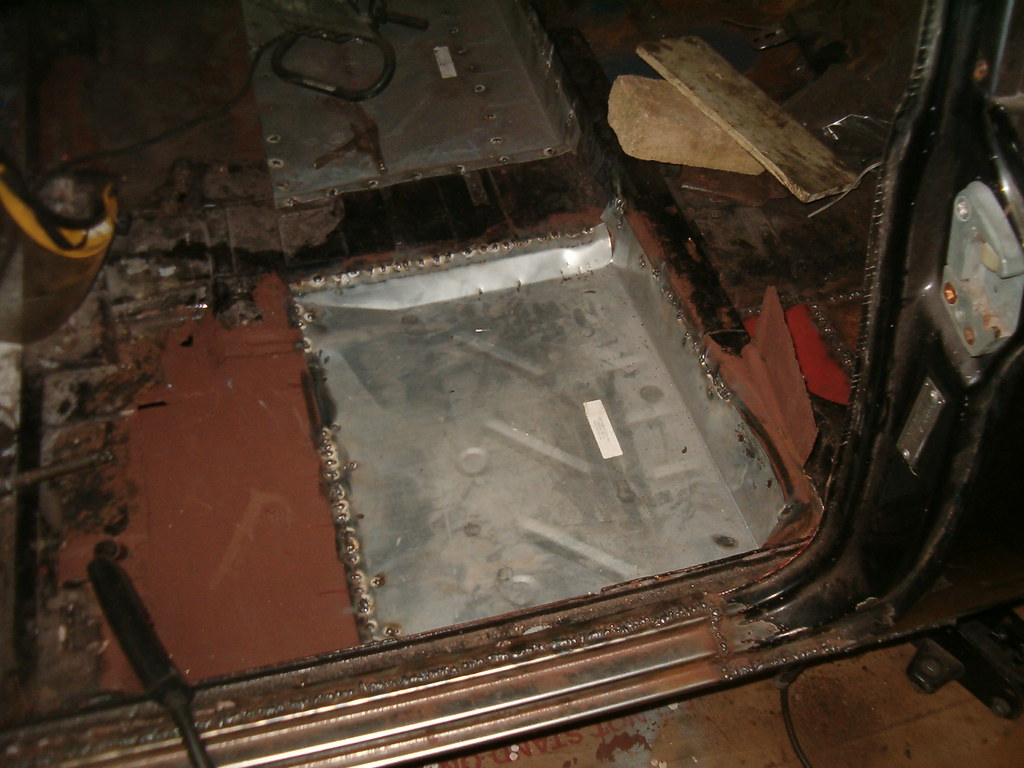
Last panel of the floor installed.
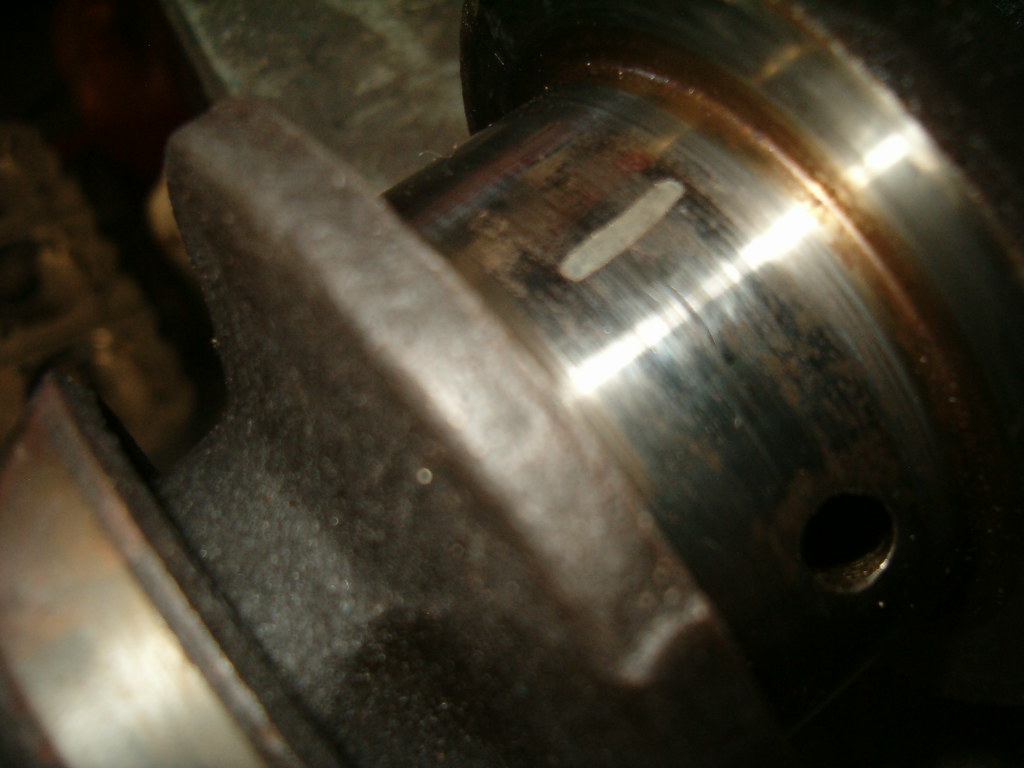
Plastigaged crank journal.
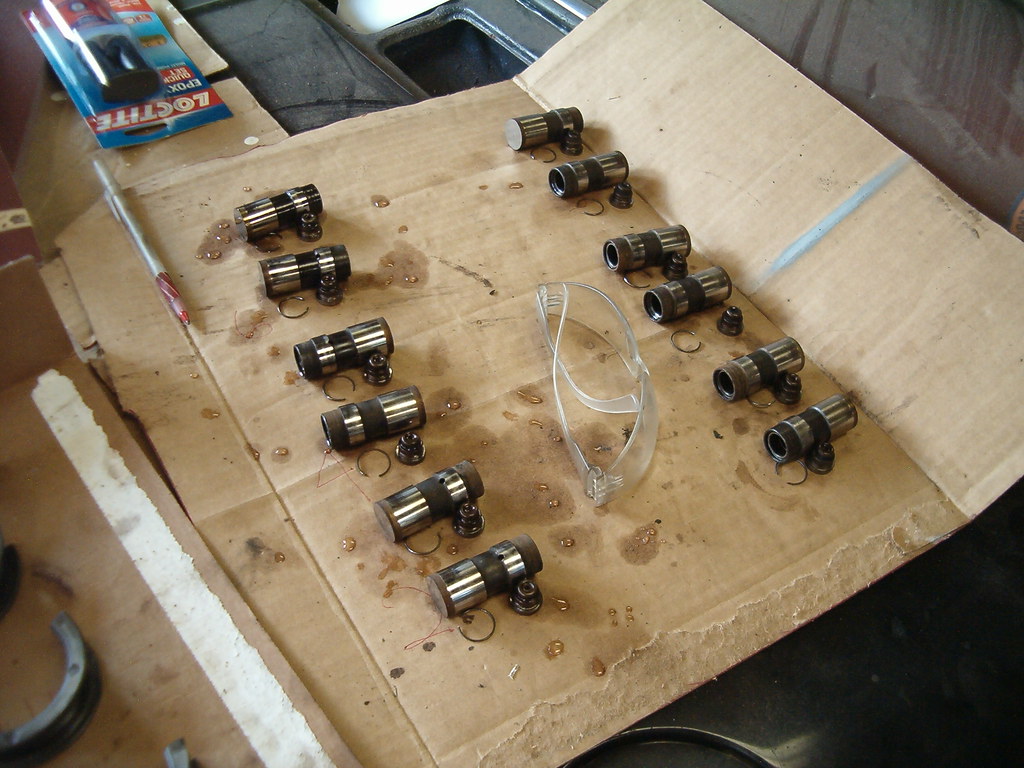
Lifter pieces all cleaned up.
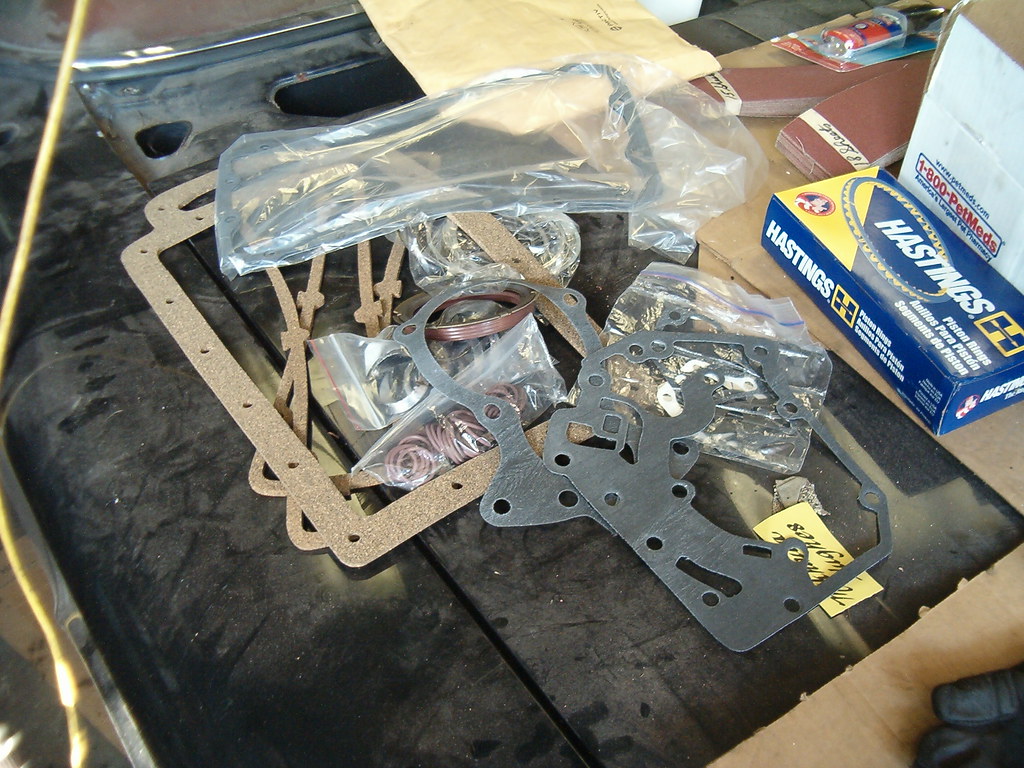
Gaskets, seals, and rings ready for installation.
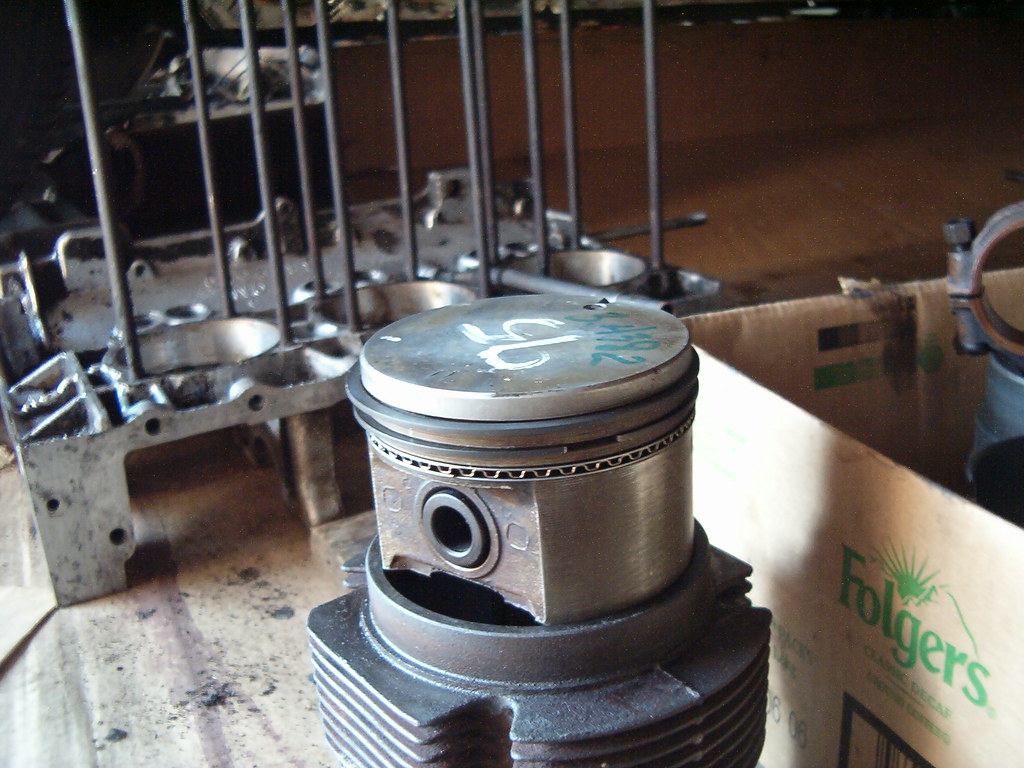
First piston with rings in place.
As soon as I got home from work yesterday, I changed into grungies and headed out to the driveway. The first task of the evening was cleaning the bellhousing I’d pulled off the shelf so it would be ready to install after I’d bolted the engine halves together. After much scraping, Purple Power spraying, brushing, and rinsing, it was clean enough for me.
Inside the garage I installed the bearings into the block halves, oiled all the journals, and set up the right half so parting line face up. Next, I carefully set the crankshaft into place rotating the shaft so its key was at 12 o’clock following the manual’s directions on orientation. The cam went in next so its keyway pointed to 9 o’clock. With dabs of RTV on the outer corners of the joint, I set right half in place and lightly bolted it all together with the eight bolts and nuts. To facilitate torquing the nuts to their nominal fifty-five foot-pounds, I moved the assembly to sit in proper orientation atop some four-by-fours. Once I’d tightened everything following the manual’s prescribed pattern, I bolted on the bellhousing with its lightly greased new gasket and crank seal and tightened the attaching bolts to twenty-five foot-pounds. That allowed me to then attach the engine stand adapter to the face of the bellhousing. Ariel and I then lifted the assembly and slid the adapter’s tube end into the stand base. Next I greased the end of the oil pickup, slid it into the its hole, and retained it with its bolt properly torqued to spec.
The next piece to assemble is the rear housing, but first I need to reinstall the pieces that fit into it. At that point, it was getting late and time to quit for dinner.
No comments:
Post a Comment