The Glinda work consisted of using her engine to determine which subassembly of TwoTone’s rebuilt carburetors is bad. As I posted last week, one carburetor assembly appeared to function properly, while the other wouldn’t work right when bolted to the Glinda’s left head. So, on Friday I created a table like the following (yeah, I am an engineer):
| Wouldn’t Work | Seemed to Work | |
| Bad Top | Good Top | |
| Bad Cluster | Good Cluster | |
| Bad Bottom | Good Bottom |
With the assumption that only one portion of the bad carb was causing the malfunctioning, I swapped both the Bad Top and Bad Cluster onto the mounted Good Bottom. While the engine started and ran fairly smoothly, the right side would not heat up telling me it wasn’t getting the proper flow of fuel. Off came the Bad Top and back on went the Good Top. This time the engine ran nicely and soon after the restart, the choke opened up all the way. With the engine fully warmed up and shut off, I hooked up my length of clear tubing with some water in it to the vacuum ports on the two carbs. With the engine running again and the left carb disconnected from the throttle shaft, I turned that carb’s idle screw in until the water was static in the tube. I then turned the small linkage rod until its end lined up with the hole in the throttle shaft. The new carb was now balanced with Glinda’s old carb. Before quitting for the night, I disassembled the presumed bad top and dropped it into the carb cleaner for a good soak. Referring back to my table, the two carbs now looked like this:
| Installed & Working | Unproven & Soaking | |
| Good Top | Bad Top | |
| Bad Cluster | Good Cluster | |
| Good Bottom | Bad Bottom |
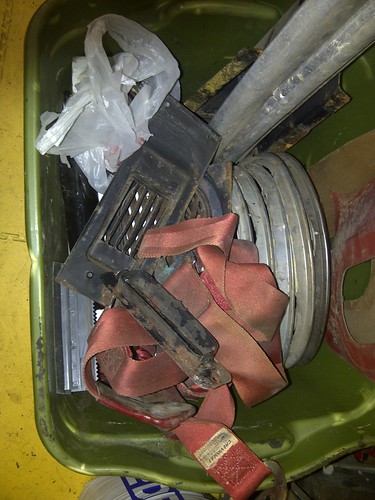
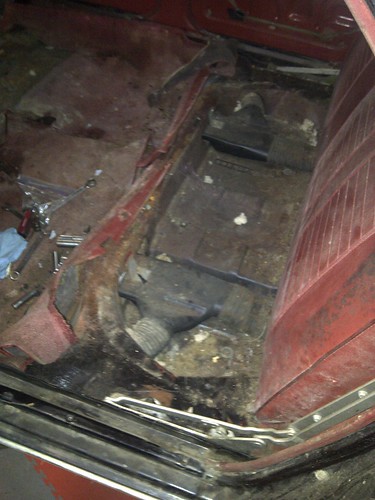
Saturday afternoon, both Mikhaila and I had finished our house chores and we headed to the warmed-up garage (I’d gone out about an hour earlier and fired up two of the kerosene heaters). She started by spraying gloss black Rustoleum on the front brake backing plates while I emptied out a bin to collect TwoTone’s removed parts. We then worked together to empty out the salon (interior space) of all the loose pieces I’d stored there. We found some new parts that will be used in the roadification. Next, we moved on to removing the seats. All the fasteners but one were cooperative. I slathered the stubborn nut with the magic elixir of 50/50 acetone/transmission fluid. We’ll let that one sit a while. The final actions for the day were removing sill plates, vent grills and covers, and the seatbelts. Once that last nut is loose, we’ll finish exposing all the floor and Mikhaila can have fun with the wire brush getting rid of any loose rust.

Speaking of rust, I can’t say it too many times - disassembling this car has been quite a treat compared to previous projects. As mentioned before, only one threaded joint out of a couple dozen was seized. We’re quite fortunate to have landed another barn find (Heidi was the other one and more accurately they were garage finds).

Finally, this morning I got on the phone with Clark’s and placed an order for POR-15 for coating TwoTone's floor, a bunch of carpet, paint, and upholstery samples (more on that later) and three wheel cylinders (there was a brand new right front cylinder assembly amongst the parts we pulled out of the salon). Not wanting to pay the nearly $100 for a rebuilt master cylinder, I hopped on Amazon and bought an aftermarket dual master cylinder for $33. I’ve decided I’ll do the conversion to dual from single (1964s only came with a single master cylinder). I’ll need to buy some fittings and a couple short brake lines, but I’ll do that once I have the master in hand. The running expense tally on the sidebar has taken a hit. Won’t be long before we’ve topped a grand.
I mentioned samples – it looks like Mikhaila has a color scheme for this car. She shared with me that she likes a darker green for the body with a white top. For the interior she’s thinking white seats and door panels, black carpet, and a flatter version of the exterior green for the exposed interior metal (dash, doors outside the panels, etc.). I pulled up a photo of a 1960 Corvair in Jade Green, and she liked it so one of the samples I ordered was for that color. The other was for a Fathom Green from 1969. Much darker, but not nearly as 50s as she mentioned she was going for.

No comments:
Post a Comment