
Oh well, life goes on. We all have the vehicles we need to meet our daily commitments, so I need not get so negative.
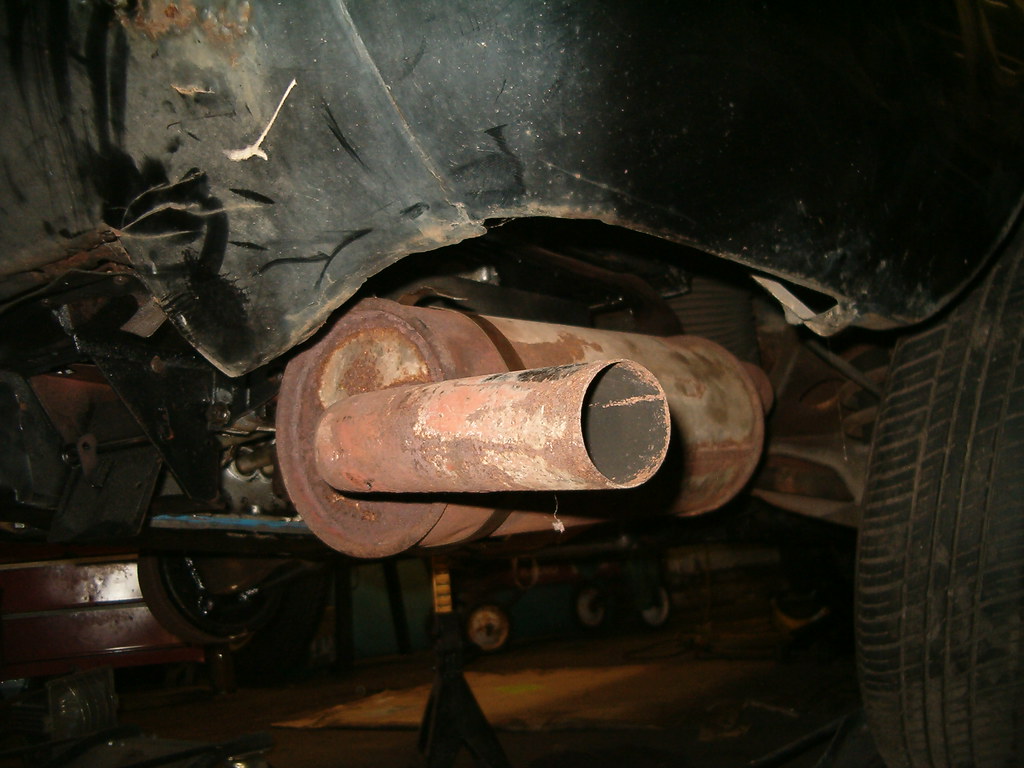
But I digress; back to the list. I wanted to refer to it because I’m at a point where I want to take care of the non-bodywork stuff while I wait for the funds to purchase the epoxy bodyfiller required to continue Ringo’s exterior repairs. Here are the items I dealt with last night but not before finishing the muffler installation:
Floor
While I’d previously welded down all the patch edges inside the car, there were some underside edges that were flapping in the breeze so to speak. After maing sure I still had some welding gas in the tank, I exposed bare metal in the spots to be welded, donned all my welding garb, and rolled the jack under the car. I used the jack to hold the loose edges snug against the mating panel while laying down sufficient beads to do the job. While lying under the car, I noticed a number of areas that need a couple coats of POR-15. On the bright side, there is metal there to coat.
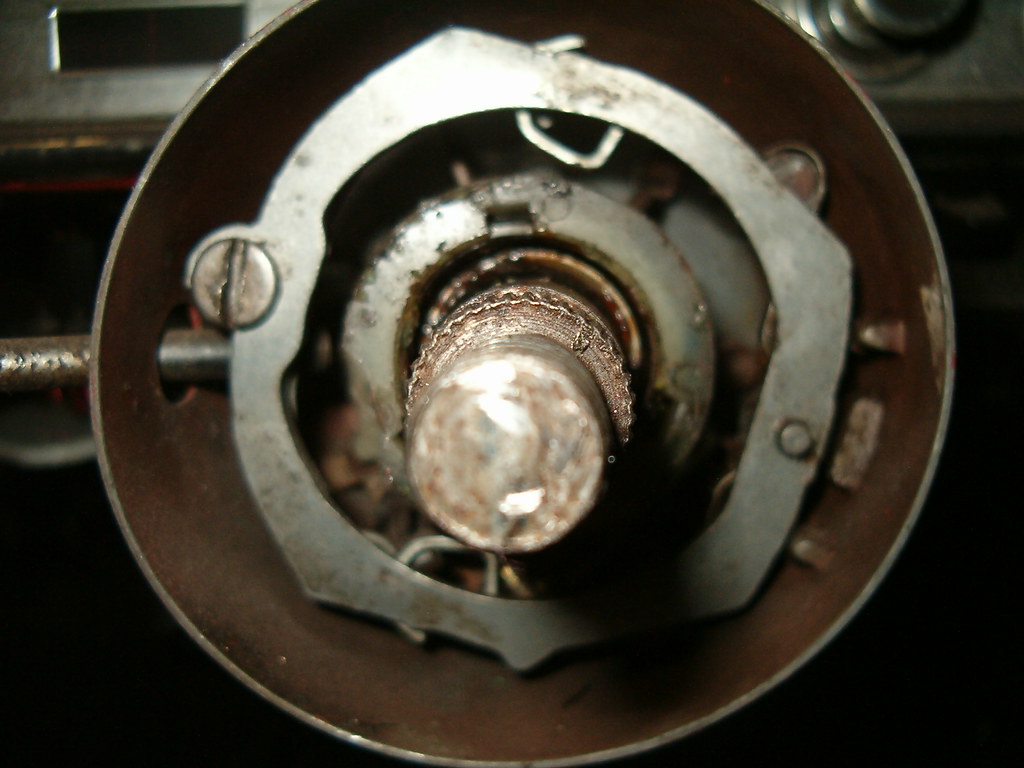
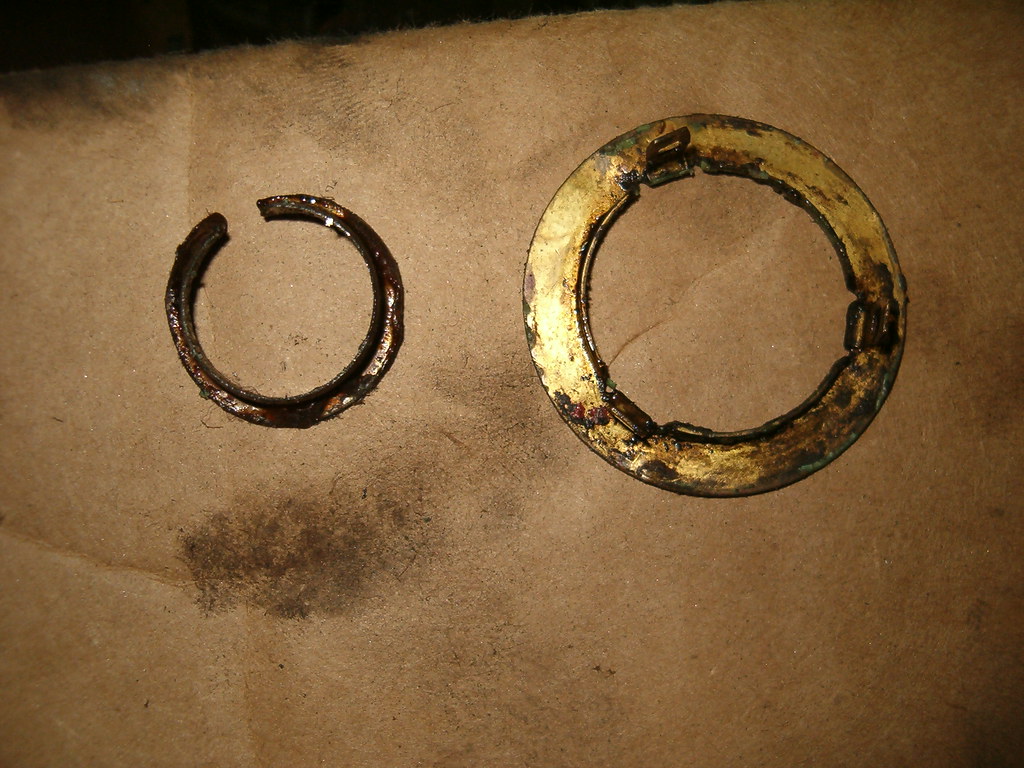
Tighten Steering
I removed the steering wheel and tried to carefully remove the bearing assembly so I could clean it and put in new grease. I didn’t get much farther than inspection since I was unable to move the bearing on the steering shaft. I submitted a message on the CorvairCenter forum asking for guidance on how to proceed. We’ll see if anyone responds.
Tighten Brakes
While this item was intended to remind me to tighten the parking brake cable, I also used it as the reminder to complete the rebuild of the rear brakes. I dug out my one-person brake bleeder kit and bled the air out of the two rear brake cylinders. I still need to do some work on the right side shoes to ensure there’s the proper clearance to the drum. While that will require disassembly of that side, it won’t affect the wheel cylinder.
Gas Gauge
This task was to make sure the gauge behaved properly – F mark when full and E mark when empty. Before entering re-roadification the needle wouldn’t drop much below ½ tank regardless of how empty the tank was. Research indicated the resistance when the sender is bottomed (empty tank) should be zero, so I made sure the tank was empty by pumping out the last gallon left in the tank (nice to have fresh gas for the fresh engine anyway) and hooked up my voltmeter. While the reading wasn’t zero, it was in the millivolts. Next, I went to the shelf and found four gauges I’d pulled from previous dashes to test. The first one I tried showed far below E before plugging in and didn’t move once it was connected. Trash. The second one read about ½ tank before and just below E after being plugged in. I’ll go with that one. Now I just need to pull the dash and install it. That’ll give me good access to the speedometer so I can address another item on the list.
No comments:
Post a Comment