


After a walk with the lovely Loriann to buy motor oil at Advance Auto, I filled Ringo’s engine crankcase and added an ounce of ZDDP additive. Then, with my electric drill and a 3/8 diameter bar with a flat milled in one end, I primed the oil system by spinning the pump input at the bottom of the distributor bore for a few seconds noting the Temp/Press light went dark soon after starting. That is a good thing. I also noticed an increase in torque required to turn the pump once the light went off. Also good. I then rotated the engine some and repeated the priming. After going all the way around the engine twice, I pronounced the engine fully primed, pushed it back into the garage, and called it a day.
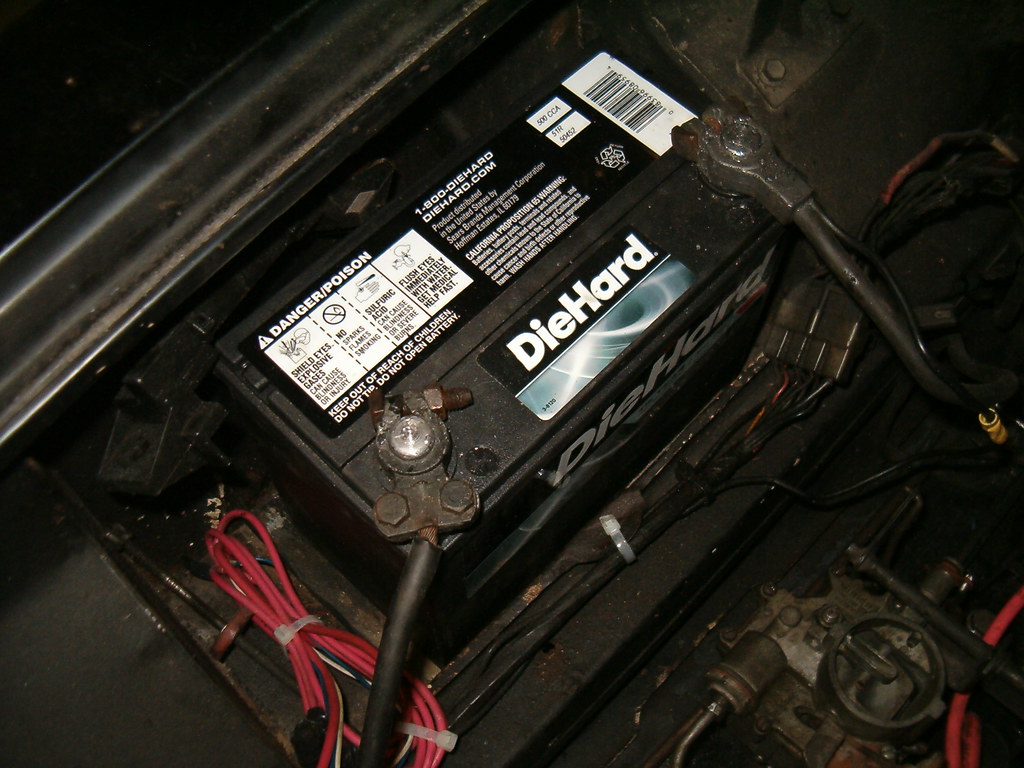
Yesterday, after lunch, Mikhaila and I took a trip to Sears where I bought a DieHard to replace Ringo’s dead battery.
 I was now ready for the rebuilt engine’s initial startup. I rolled Ringo back into driveway and installed the distributor being careful to get the rotor pointing at the #1 terminal on the cap with the timing mark at 8 deg BTDC. To static set the timing a little more accurately, I hooked up my timing light and turned the distributor counter-clockwise until the light flashed. With the clamp secured, I then connected the battery, hooked up the carburetor linkage, turned the key to on, hooked up a jumper wire to energize the solenoid, slipped one end of a hose over the fuel line inlet and immersed the other in a can of gas, poured some gas down each carb, and touched the jumper wire to positive. A big click from the solenoid, but and nothing else. Crap, bad starter. When assembling this engine, I chose the best-looking GUPs, and this starter had the cleanest solenoid. Guess I should’ve tested it. Half an hour later the starter was lying on the garage floor. I discovered the solenoid’s main connector was missing one of its nuts, so it was loose. With the battery hooked directly to the starter, it now tested fine. In the meantime I’d also pulled another GUP starter off the shelf and it also tested fine. I decided to install that one and hold the previous one in reserve. Another thirty minutes of assembly, and everything was ready to go again. This time touching the jumper to positive resulted in a spinning engine, but, sadly, nothing more other than some backfiring from the right carb. I poured a little more gas down each carb and tried again. Nothing different. Not liking what I saw in the right carb, I swapped it with another one that had tested out okay the other day. No difference. Since it appeared the fuel pump wasn’t priming, I pulled the tops off the two carbs and filled the now-dry bowls. More cranking and still no running and still some popping from the right side. Concerned I had a valve adjustment issue on the right side, I pulled those three plugs and tested compression. All three, thankfully, pumped up to 120 psi. I put the plugs back in and checked dwell. I’d set the points at .016, but with the engine only turning by the starter, the dwellmeter was only showing 20 degrees where I wanted 32. I tweaked the gap until the dwell was a little over 30 degrees. I static timed the distributor again and energized the solenoid. The engine still didn’t want to run. I then decided to put the timing light on and verify my static timing. With the starter turning the engine, I couldn’t see the timing mark when the light flashed. Irr. Not sure why the static timing method was so far off, I twisted the distributor first one direction and then the other. Finally, with it turned to about 20 degrees more advanced than my static setting, the engine started running. It didn’t run for long since it was back to using what little gas I poured down the venturis. It was now dinner time, so I kept the battery on the charger, and headed inside for break. After dinner, I rigged up a fuel supply system that gravity fed the carbs though a long fuel line with a funnel on the end. After cranking the engine a few revolutions, it fired right up. There was only a little bit of lifter noise and no banging from the bottom end. I ran the engine this way, varying rpm, for about five minutes. When I noticed only the left choke was opening, I shut it down and swapped the right carbs. At this point, I was basically out of gas, so I put all the tools away and pushed the car back in the garage.
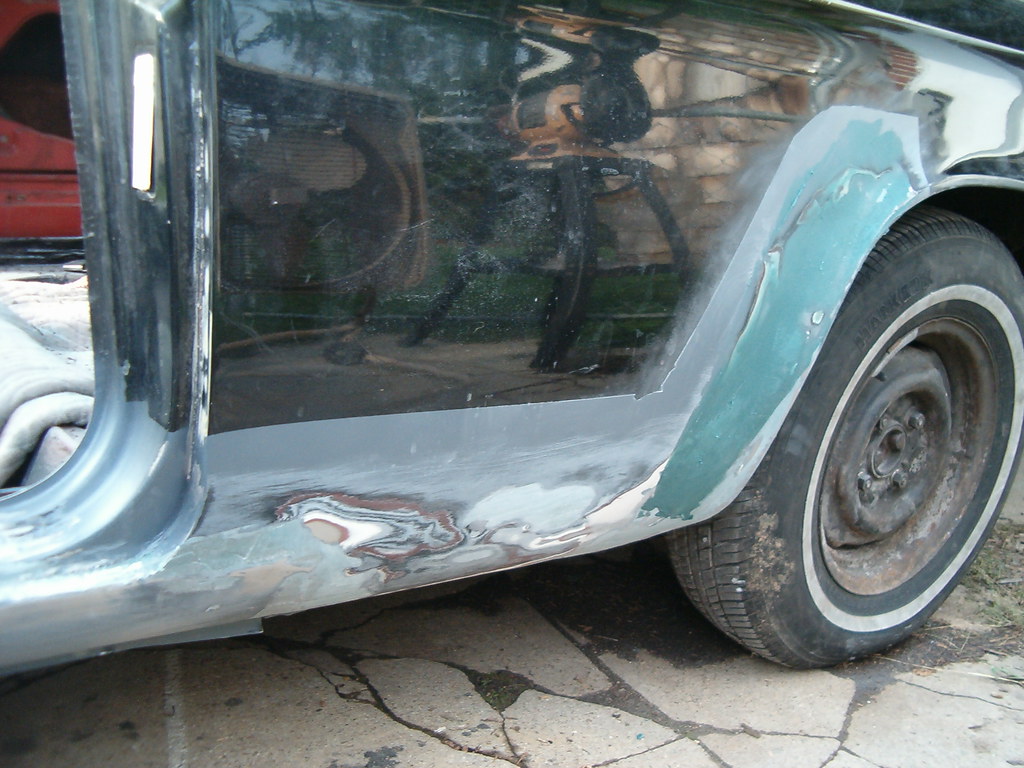
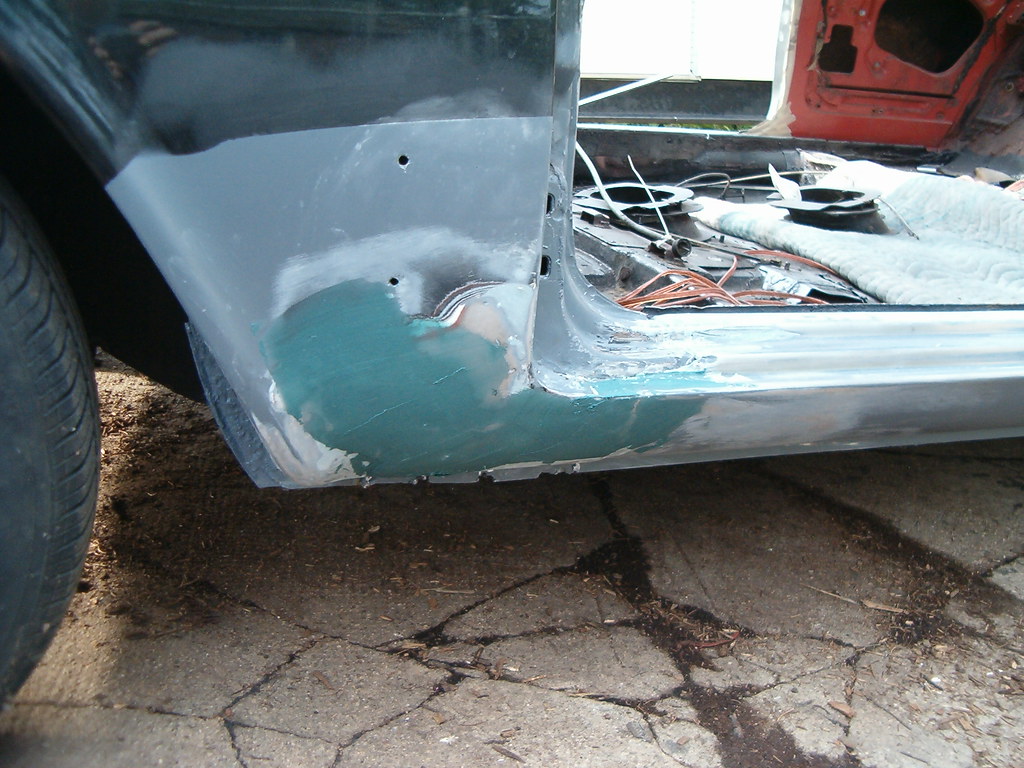
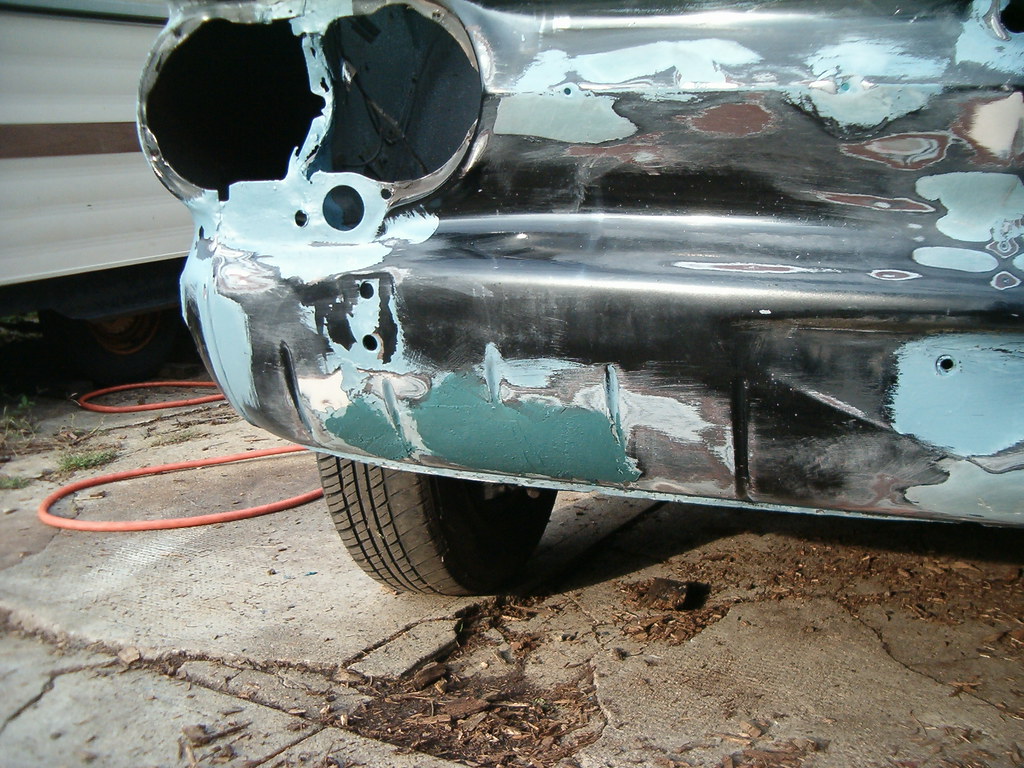
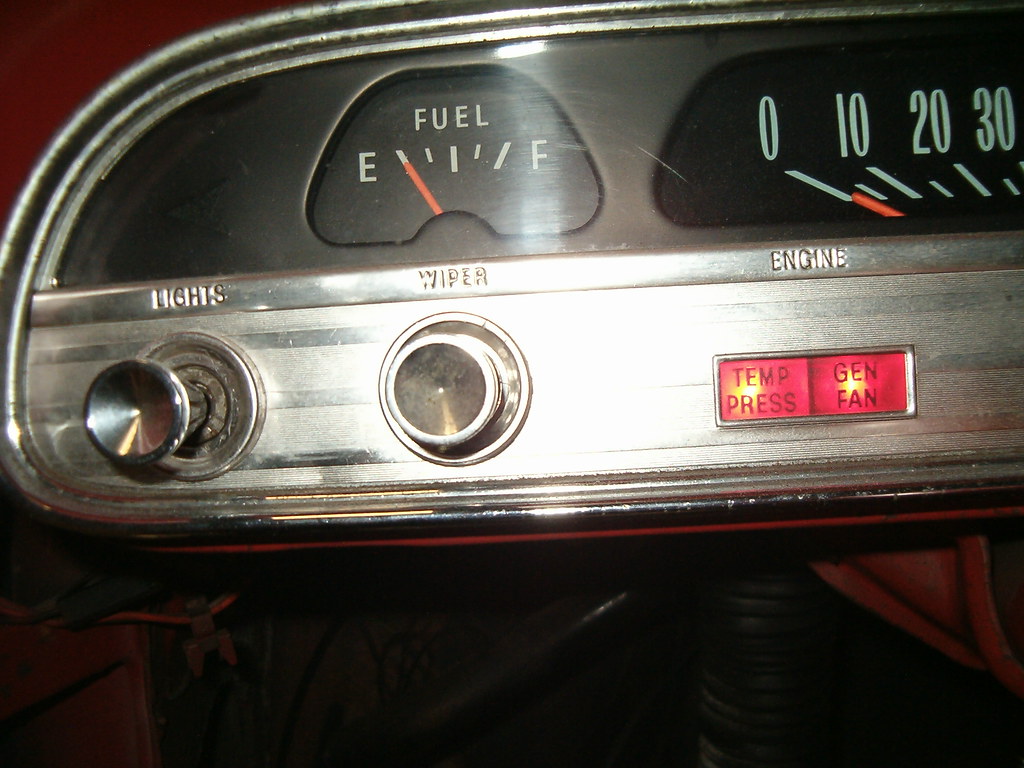
With another hour left before quittin’ time, I figured I’d get back to sanding filler. The problem was the cooler, damp air had left a fine coating of dew on everything. While great for making filler-dust pudding, it wasn’t conducive to cleanly smoothing bodyfiller. Instead, I tackled the gas gage issue. The one that had tested good off the dash, now read ¼ tank once installed. I pulled the two replacements I had left and tested them, this time clipping the gage’s body to ground when plugging it in. I noticed that in both cases, grounding the housing caused a rise in the needle. I did find one that hovered at E with everything hooked up so this one was swapped into the dash, but not before contortions and cutting on sharp sheetmetal. Oh well, the joys of working on cars continues.
No comments:
Post a Comment