Back to the engine. I was convinced, after my audible sleuthing, that the puff-puff-puff sound was coming from the #6 cylinder. Per the recommendation of both Jeff (of Corvair Center fame) and Gary (THE local Corvair guru), I checked for a loose spark plug over the weekend. Finding all the plugs snug on that side, I resigned myself to replacing the 2-4-6 head gaskets. After laying out a piece of cardboard to collect the removed components, I removed fanbelt, carbs, fuel pump with gas lines, throttle linkage, and vacuum balance tube. At that point, a conversation I’d had with one of my car buddies at work, Larry, came to mind. “Why don’t you do a compression check,” he’d asked me. To confirm my diagnosis, I pulled all the spark plugs. As I applied torque to remove the #3 plug, I discovered it was not screwed in tight. CRAP! Had I just pulled off all that stuff only to NOW find all I’d needed to do was tighten a spark plug. Just as a check, I did do a compression check on all the cylinders. I found that the suspect cylinder only got up to 130 psi, while the other five all measured between 150 and 160. Not sure if that difference was enough to indicate a failed head gasket, I cleaned, re-gapped, and installed the plugs along with just enough components to get the engine running again. The engine started right up, and sadly, so did the puff-puff-puff. Oh well, I was prepared for that.
Back off came the just-reinstalled items followed by the alternator, oil cooler, fan, shrouds that were attached to the head, and then the valve cover. Next the rocker arms, pushrods, and guides were removed. This exposing the rest of the hardware holding the head in place. Removing these always carries the risk of unscrewing the long head studs from their holes in the block – an undesirable occurrence since this joint is supposed to be locked. The lower six fasteners are the rocker studs with integral hex and an internal thread to mate with the long studs coming from the block. The internal threaded hole mostly protects the end of the studs, so I was relieved, but not surprised, when the impact wrench removed all six without a single stud loosening. The upper nuts allow full exposure of the stud ends to the rust-making environment, so the risk is much higher. I took two precautions before I applied the impact wrench. First, a couple nights ago, I liberally coated the threads and nuts with a rust penetrant (50-50 mixture of Acetone and Trans Fluid). Second, using vice grips, I clamped each stud while removing the associated nut. Everything came off without incident. TYL.
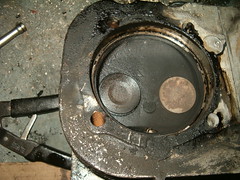
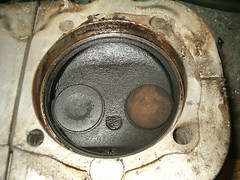
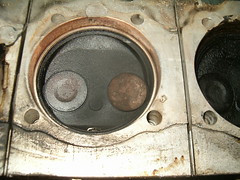
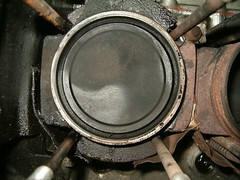
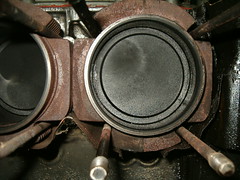
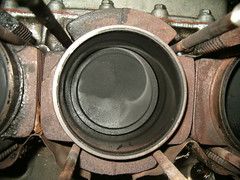
Yanking on the head to pull it off yielded no progress at this point. After thoroughly re-checking I hadn't missed a bolt, I went ahead and took out the six push rod drain tubes. They were difficult to remove, but once they were out, the head would wiggle around freely to extract. As I slowly pulled the head away from the block, I noticed the cylinders were coming off with it – NOT GOOD. Using a hammer and cold chisel, I tapped them back against the block. Of course, the head went back in too. Finally, after a few repetitions of pulling, tapping, pulling, tapping, the cylinders came free of the head and the head came off. Now I could survey the state of the joints. Sure enough, the state of #6 confirmed a leaky gasket. See the pictures below. At that point it was nearing 11 and getting close to my bedtime, so I knocked off for the night.
Combustion chambers 6 - 4 - 2 (click for hi-res):
Cylinder/piston faces 6 - 4 - 2 (click for hi-res):

No comments:
Post a Comment